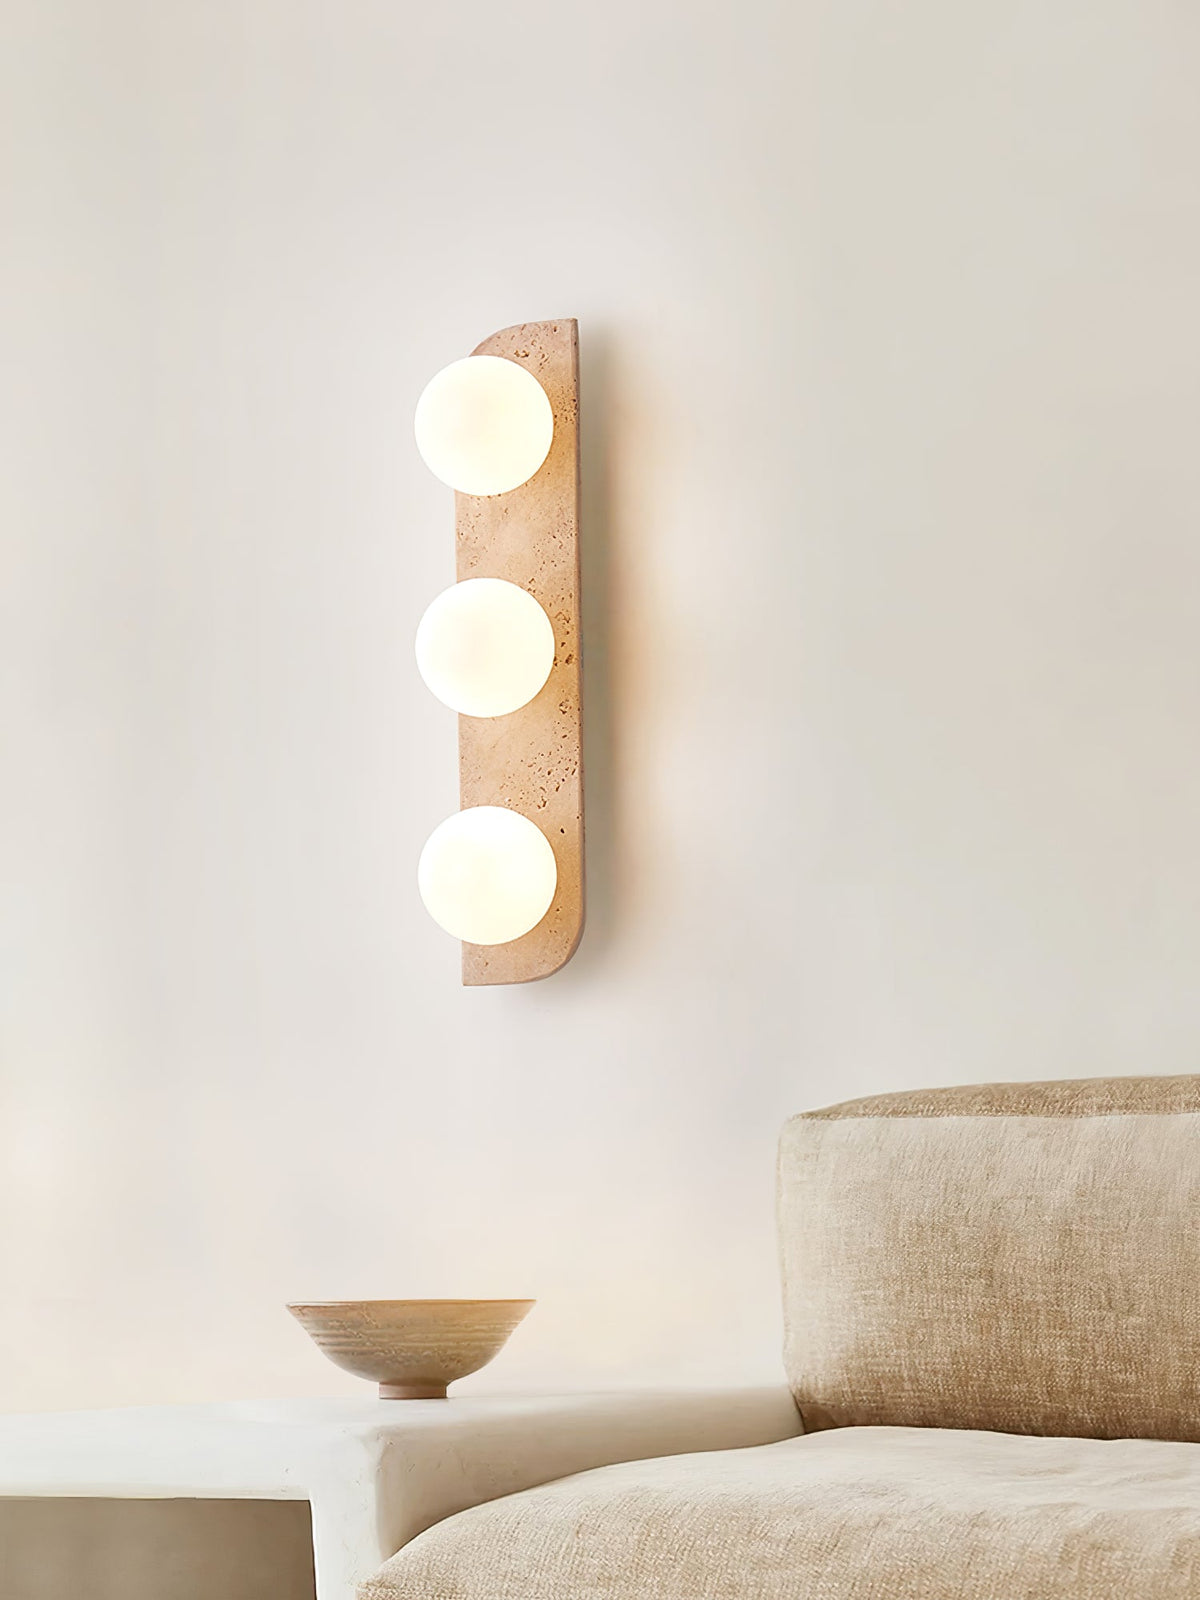
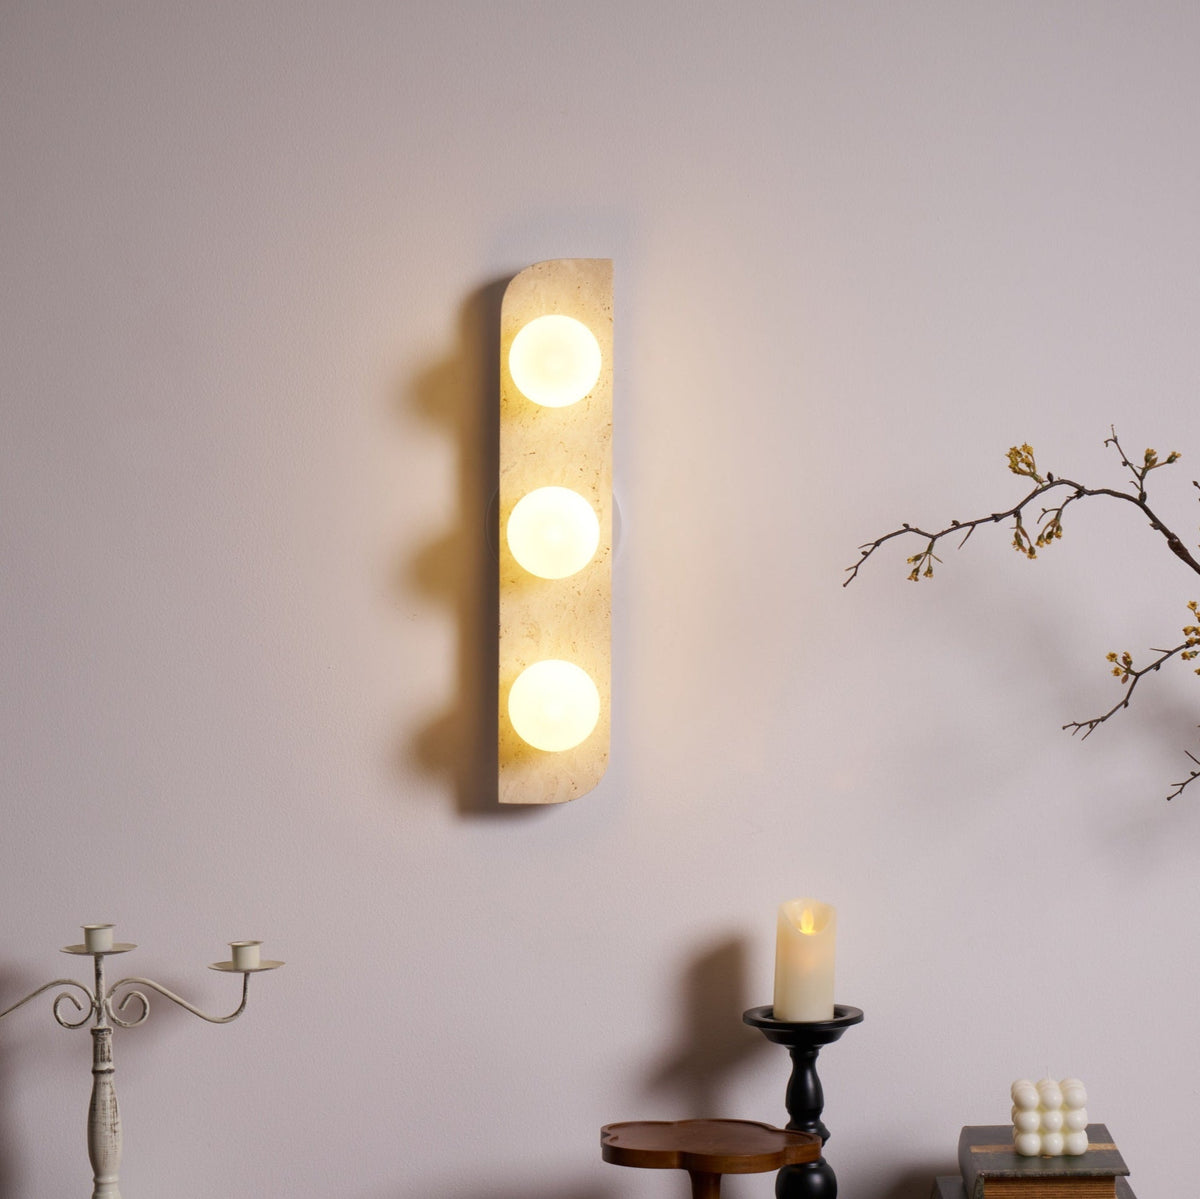
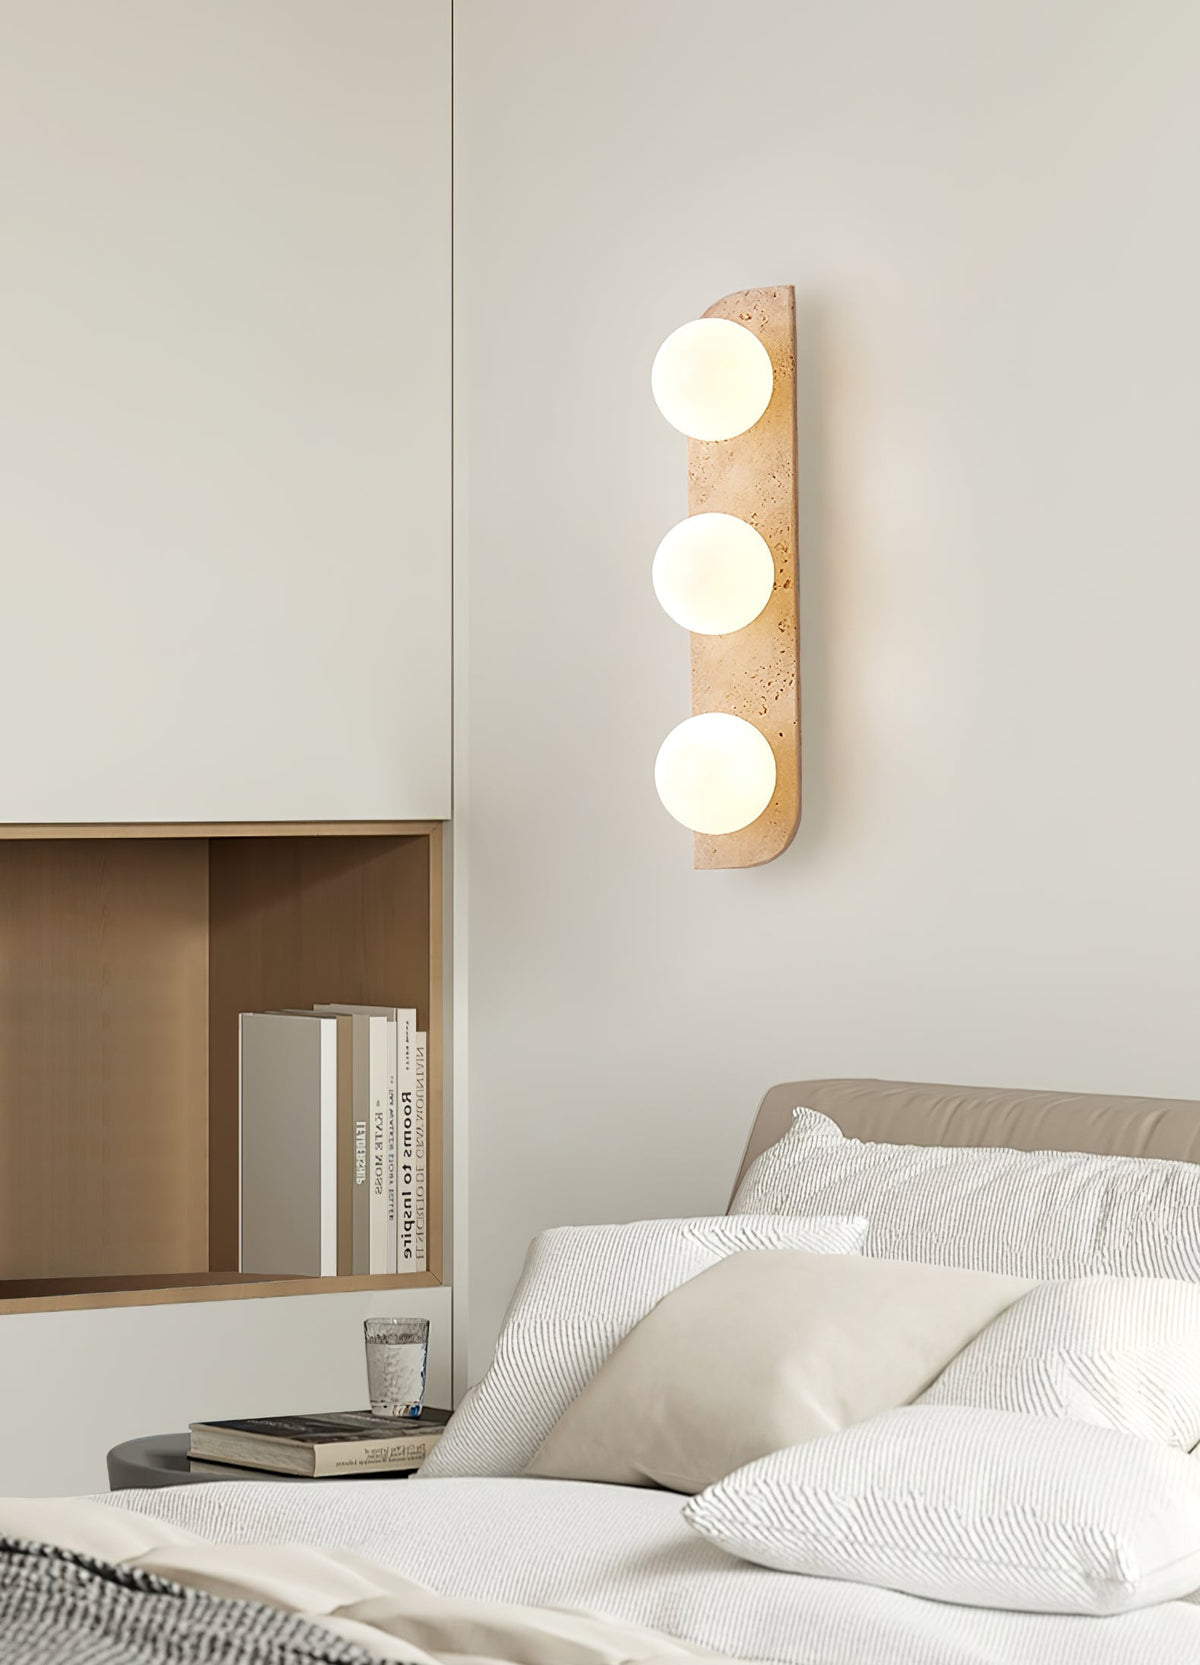
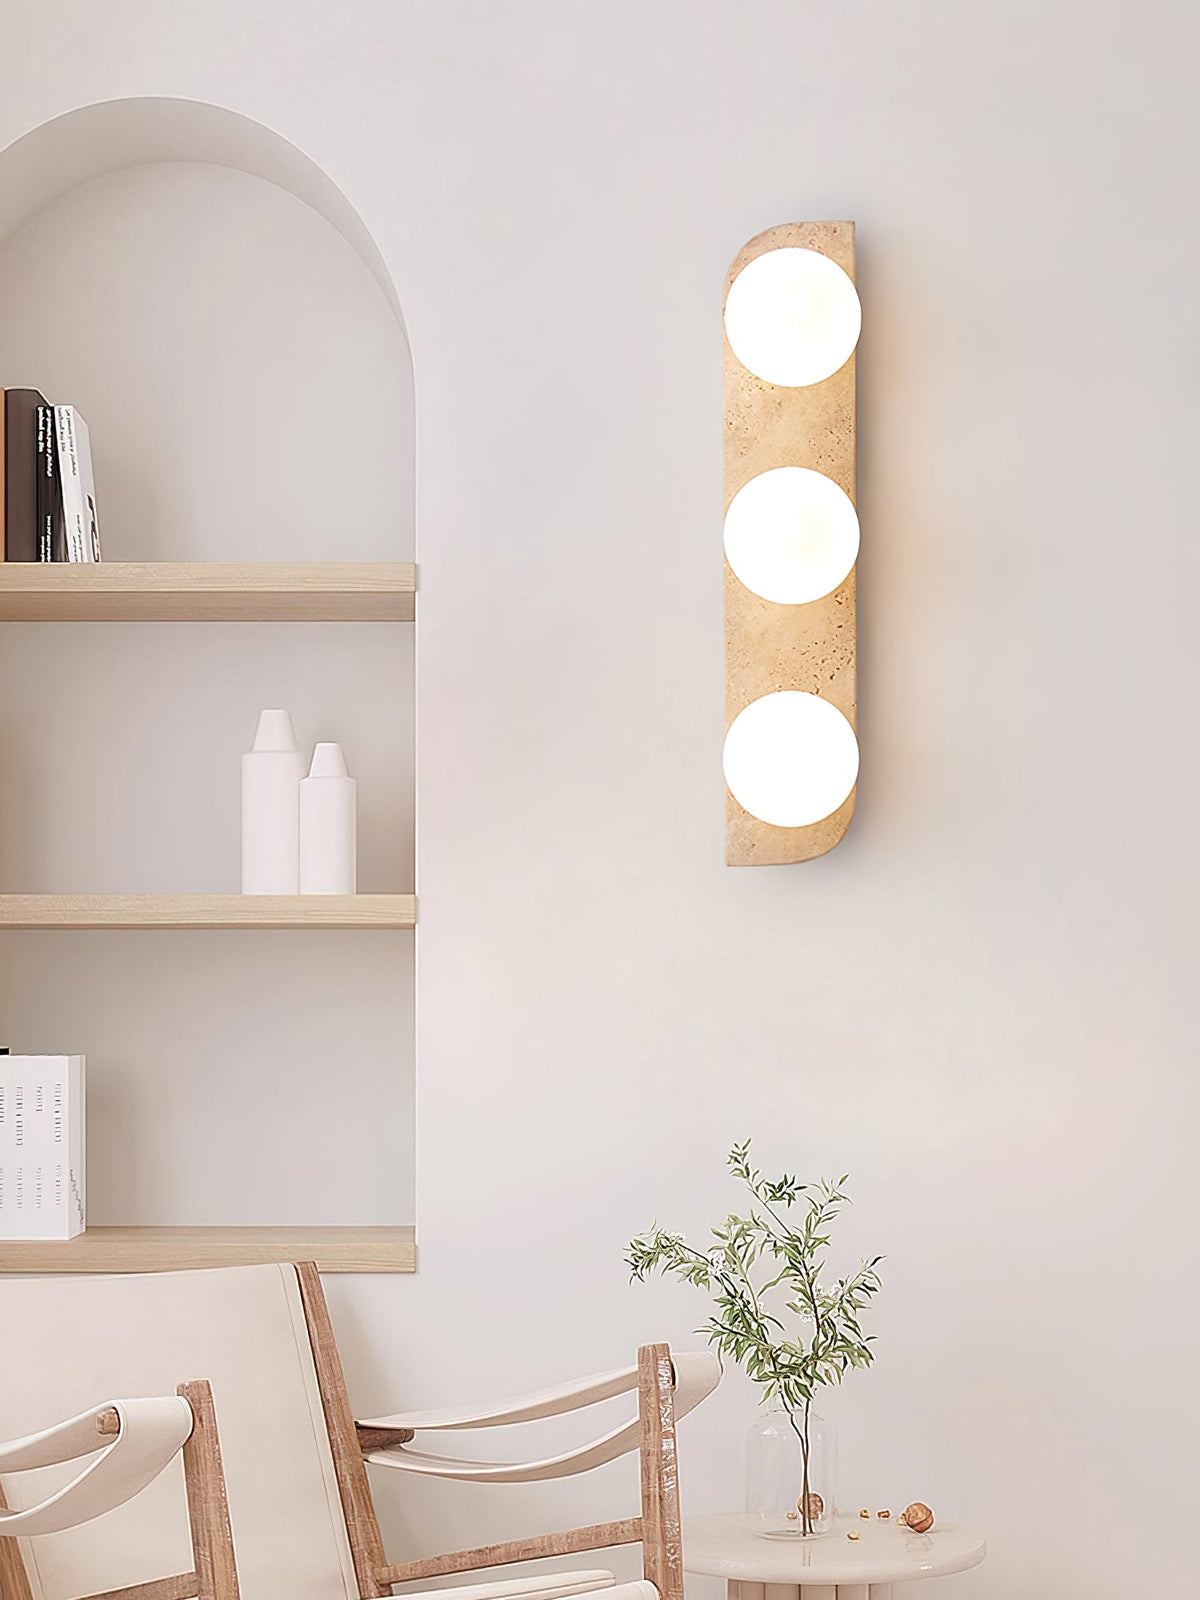
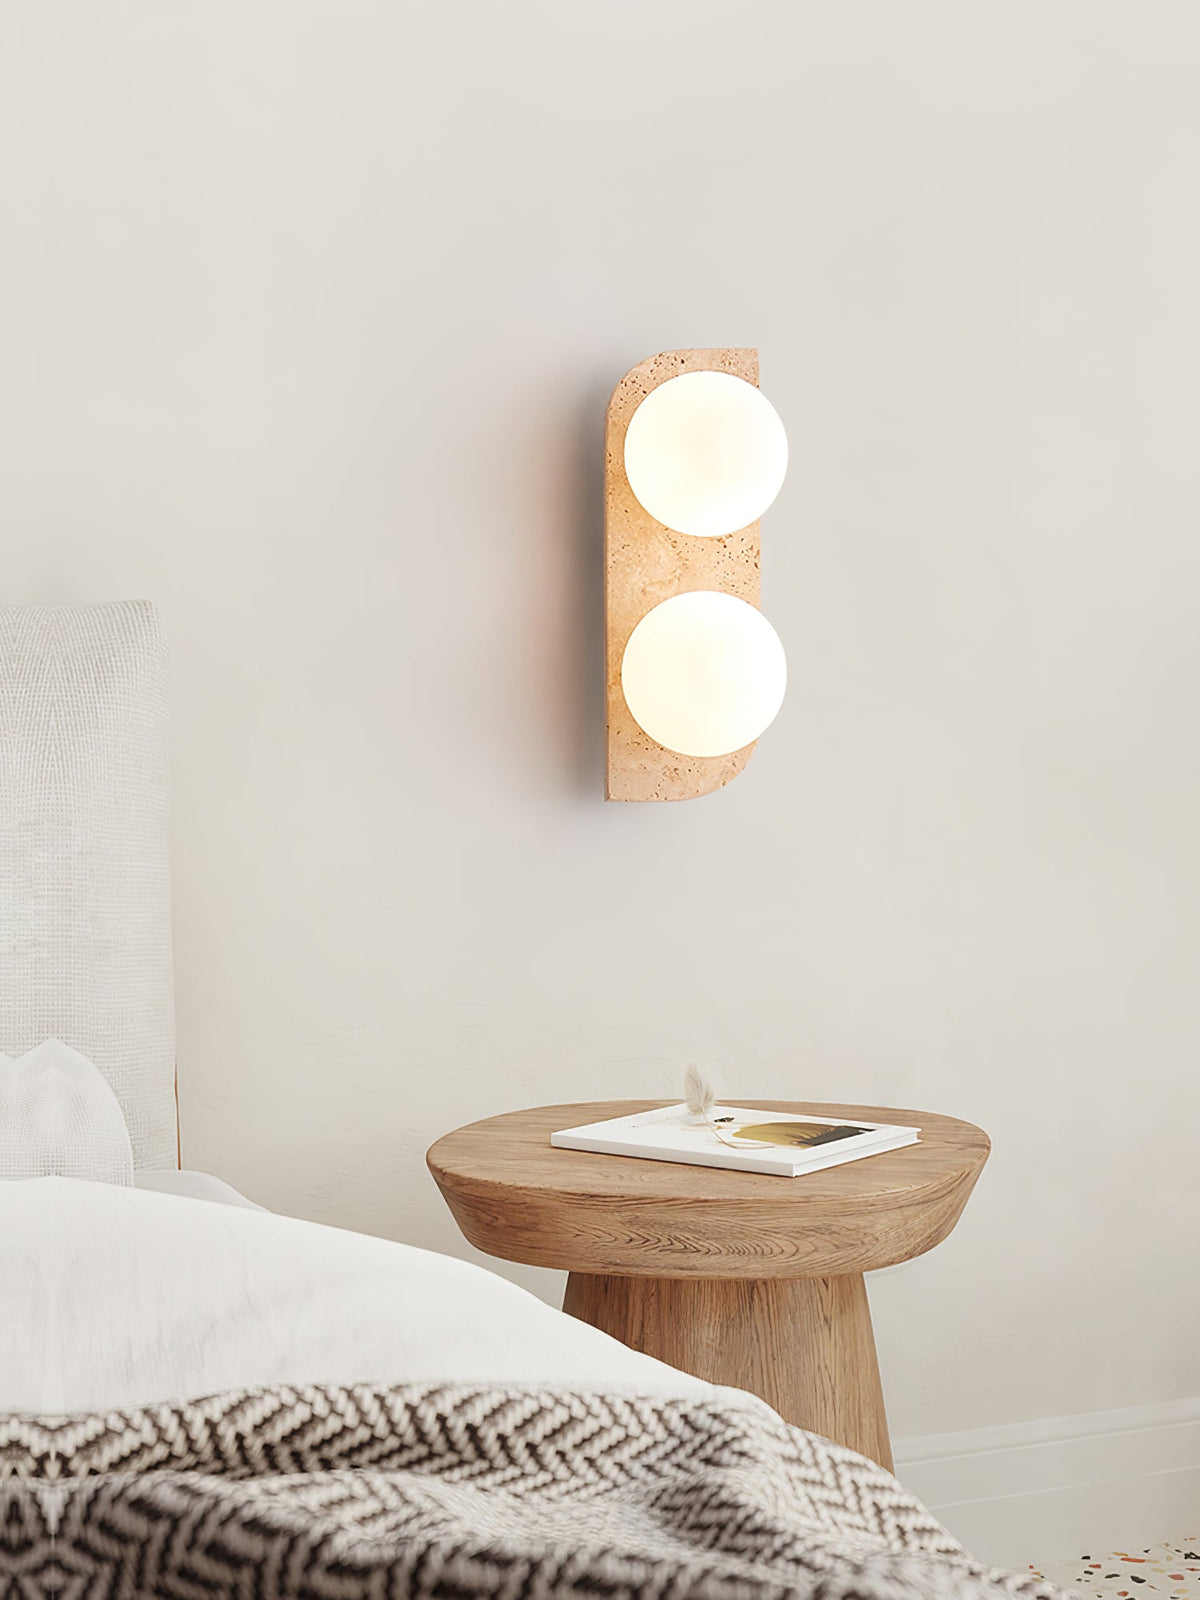
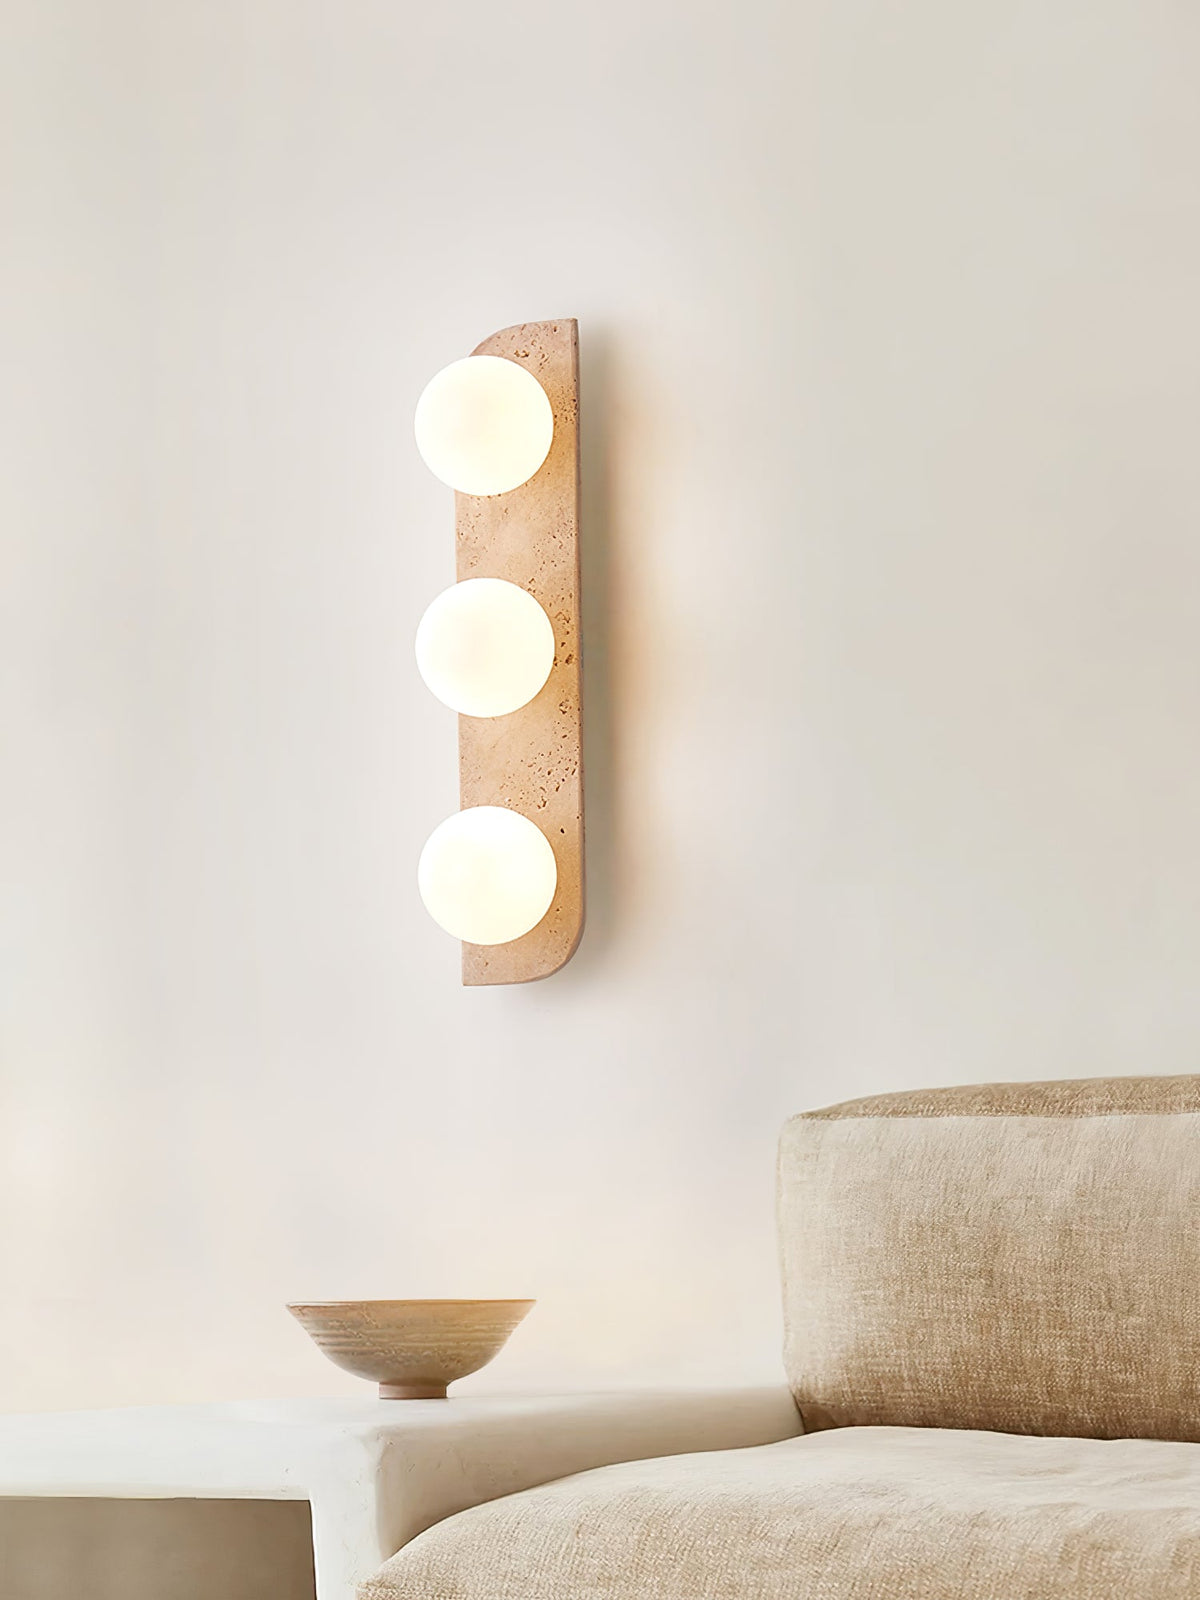
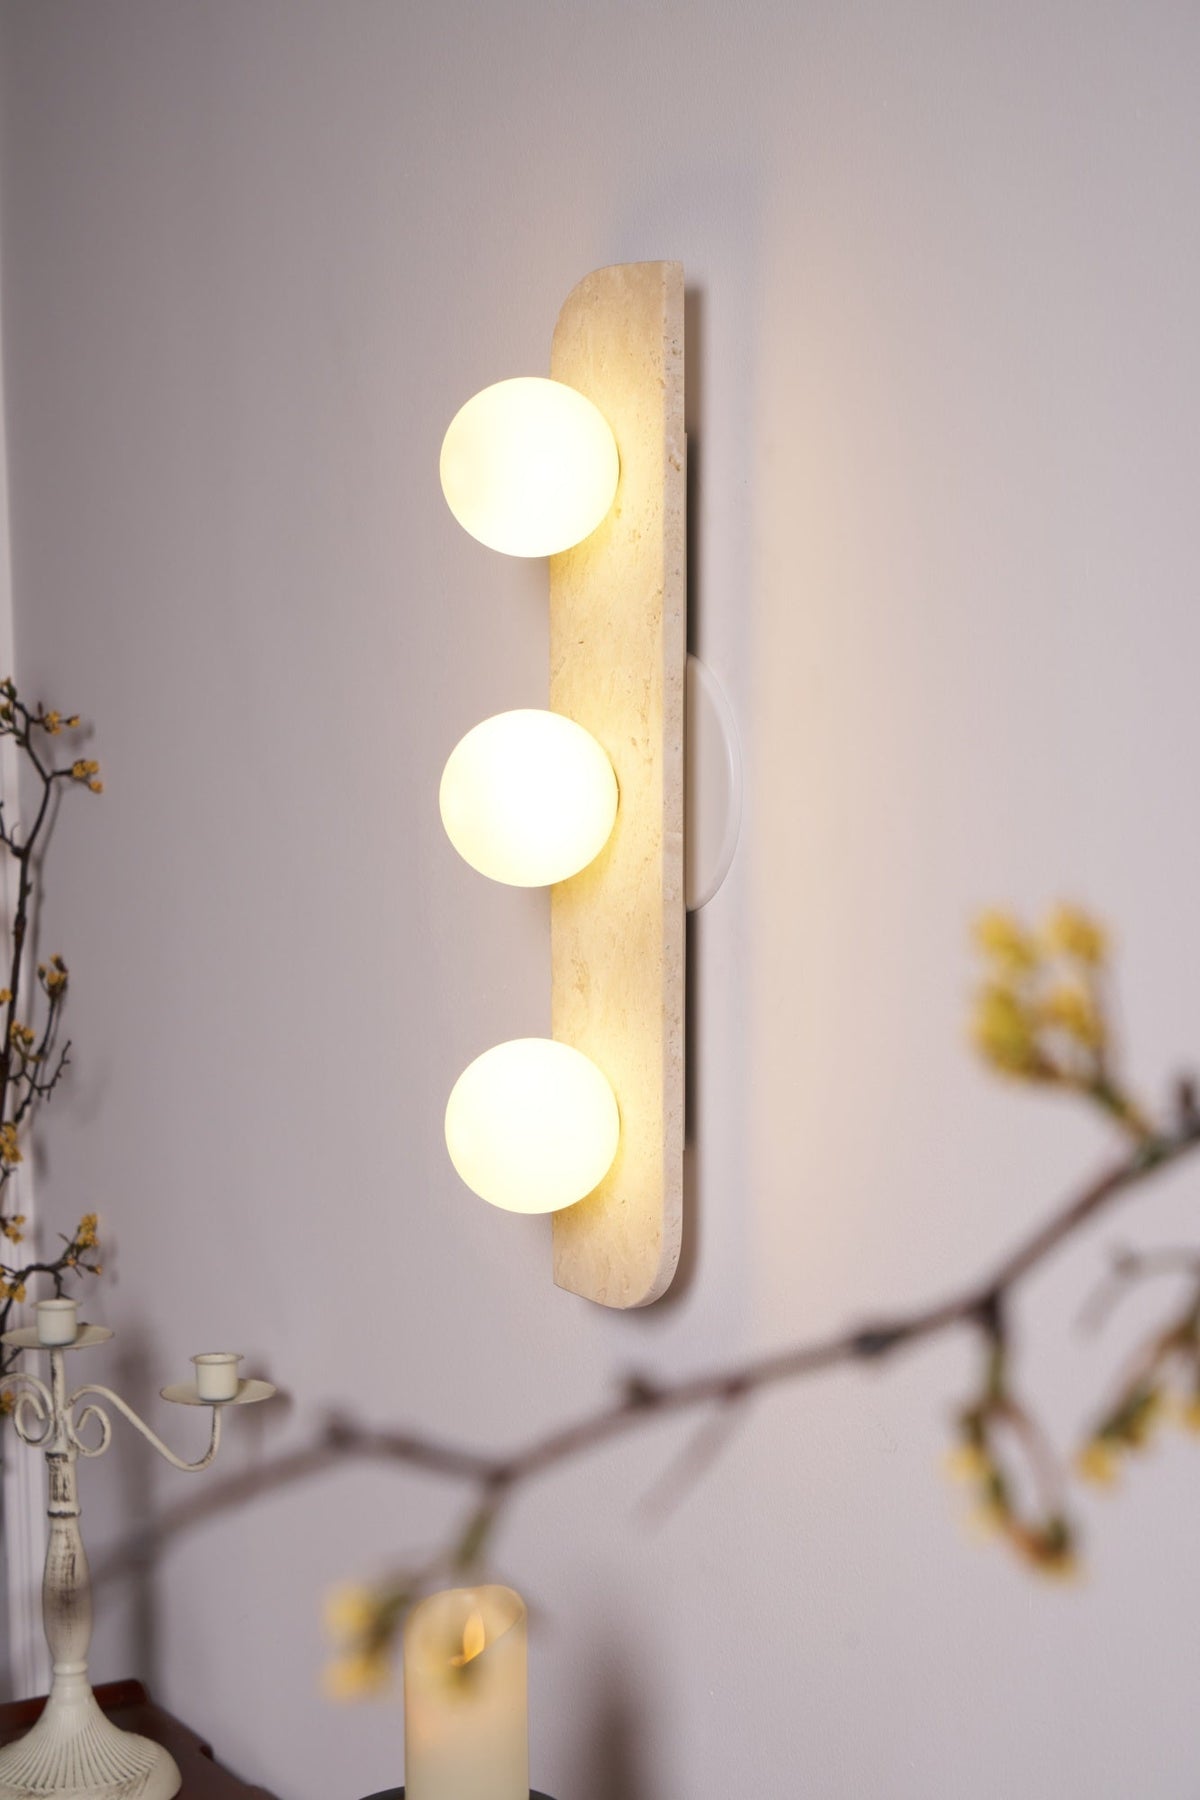
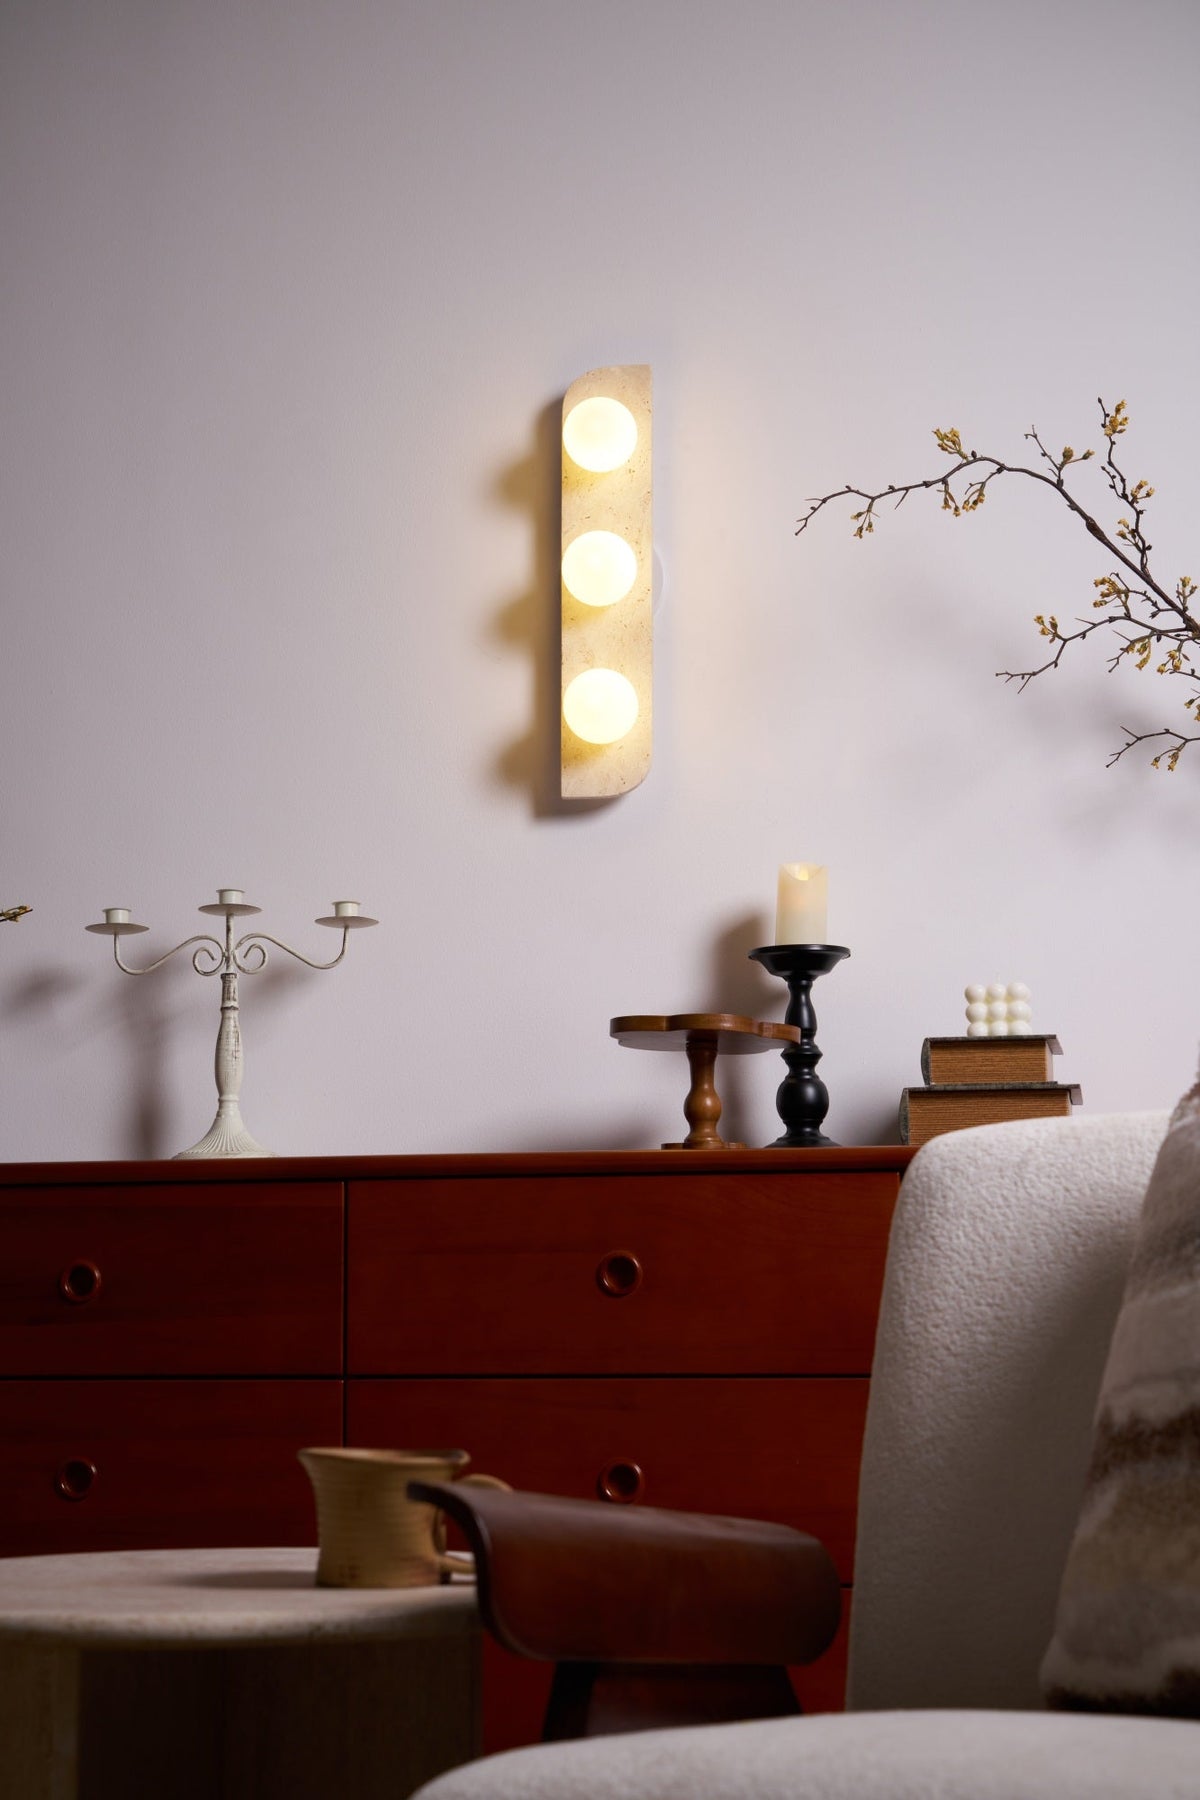
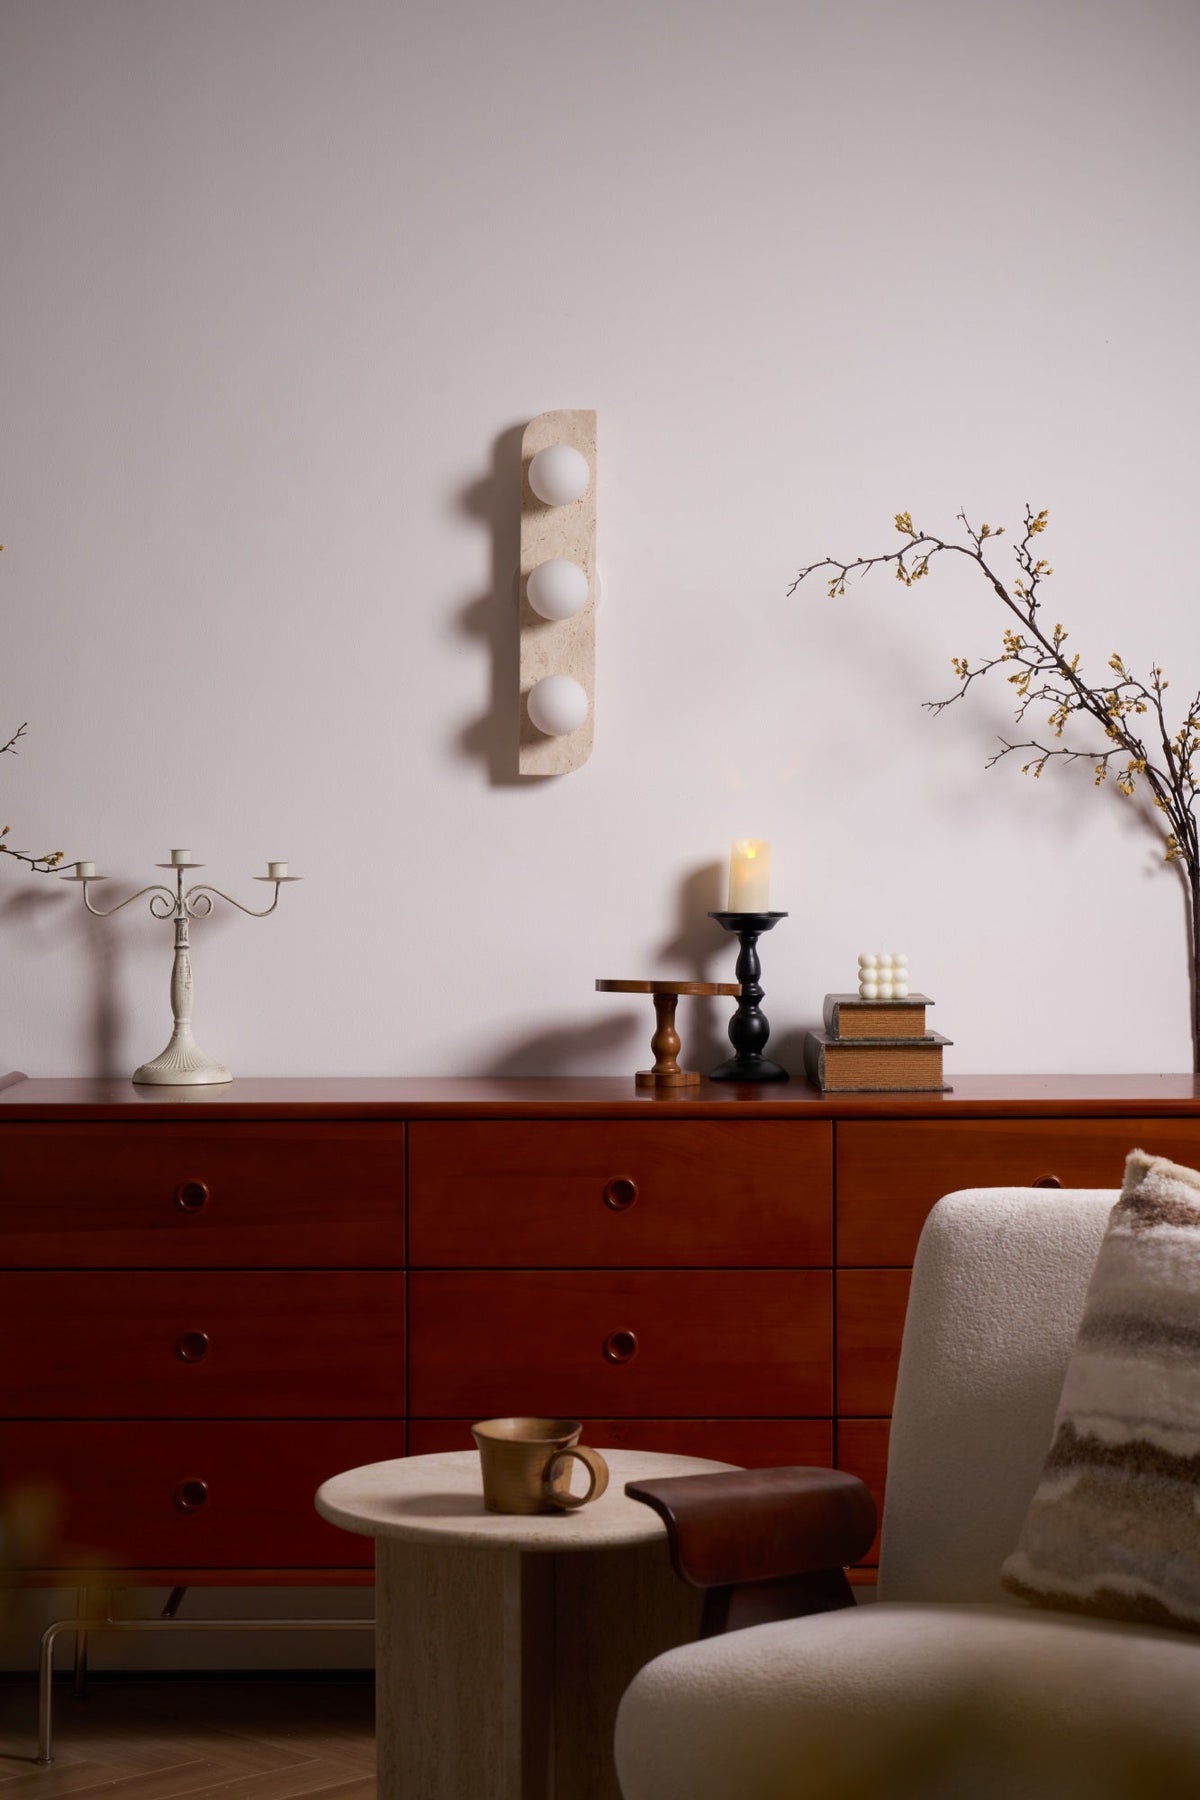
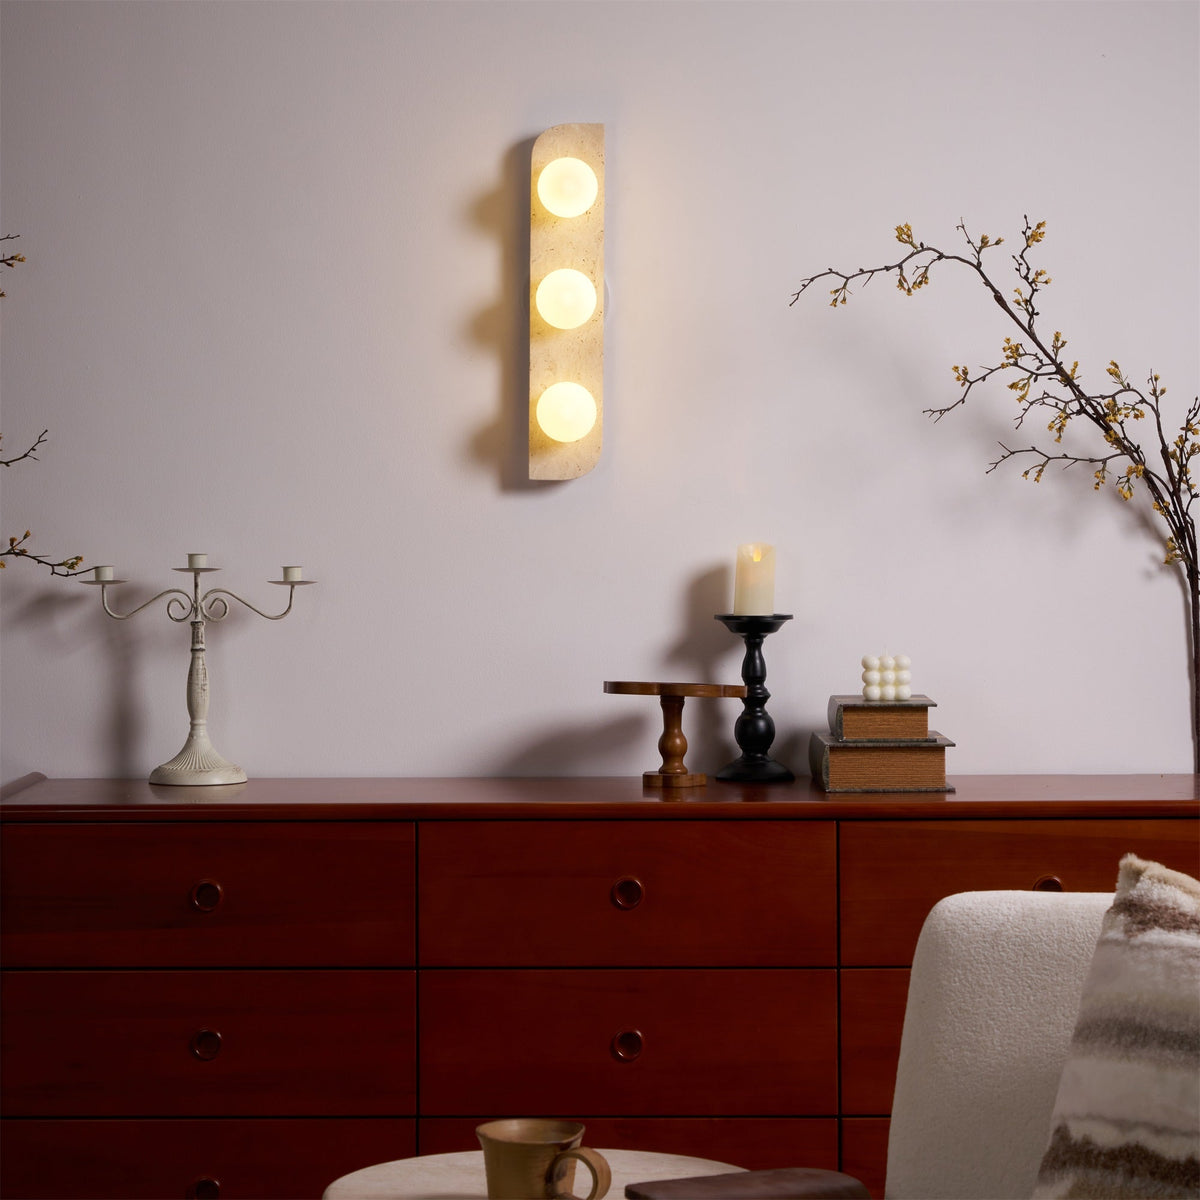
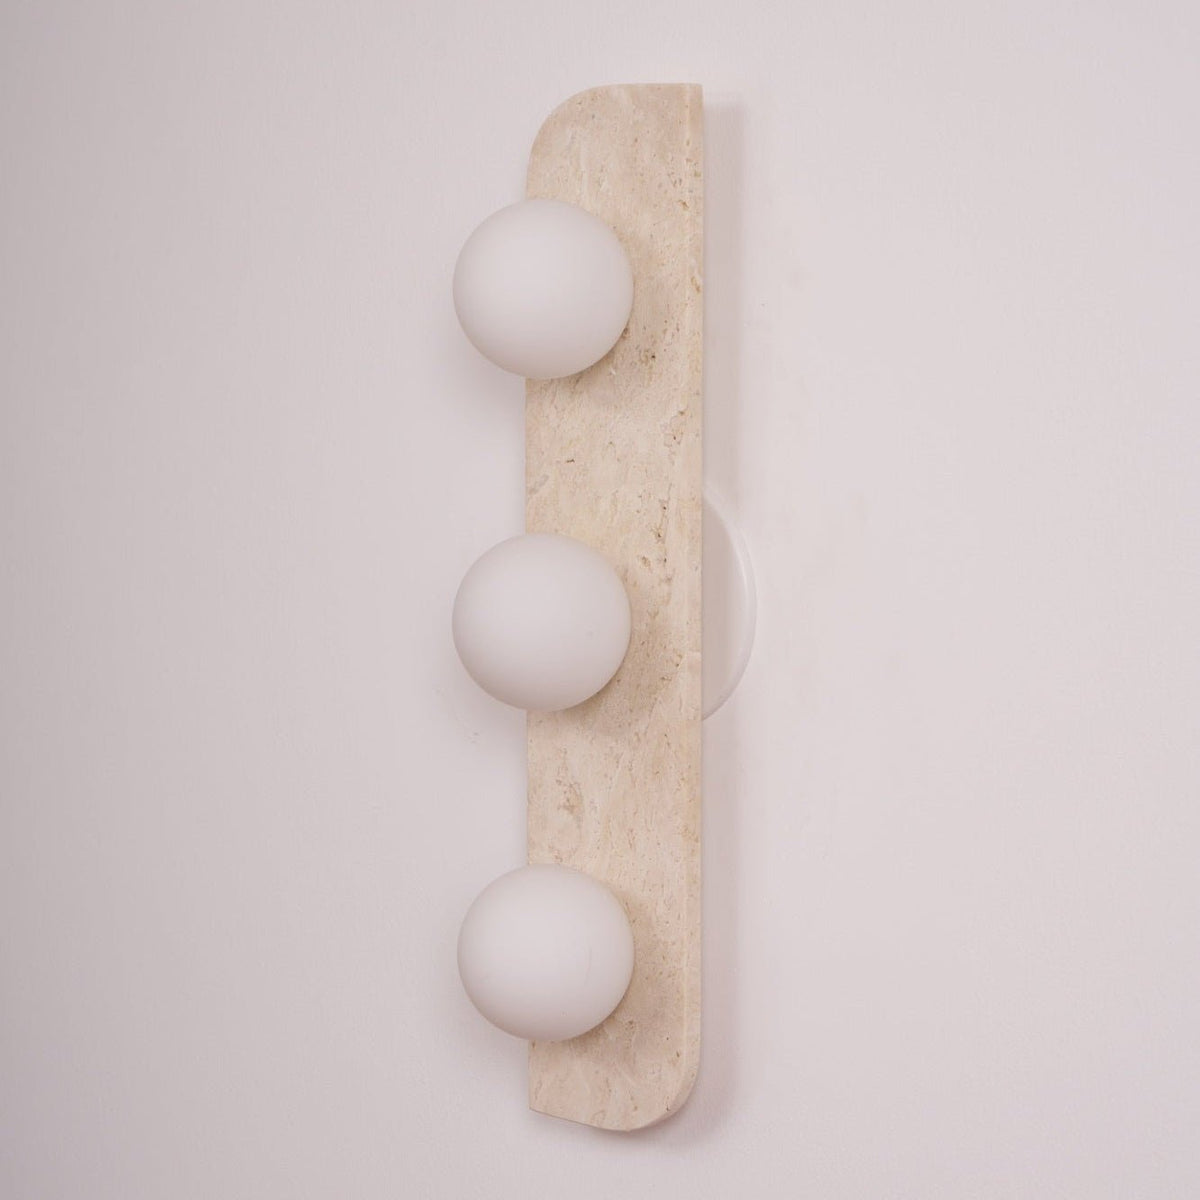
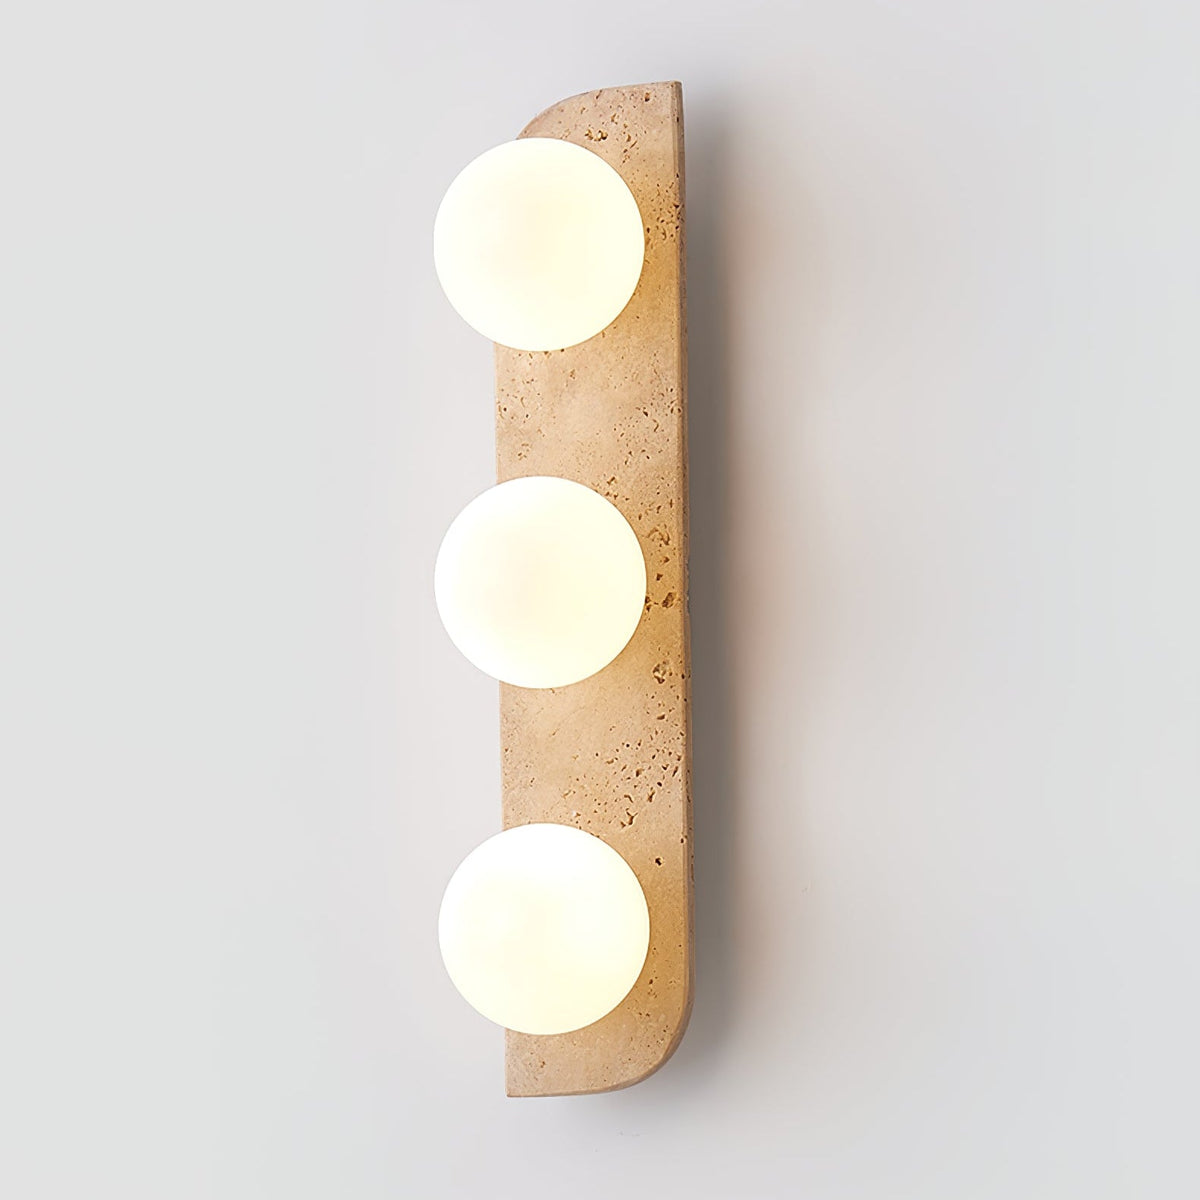
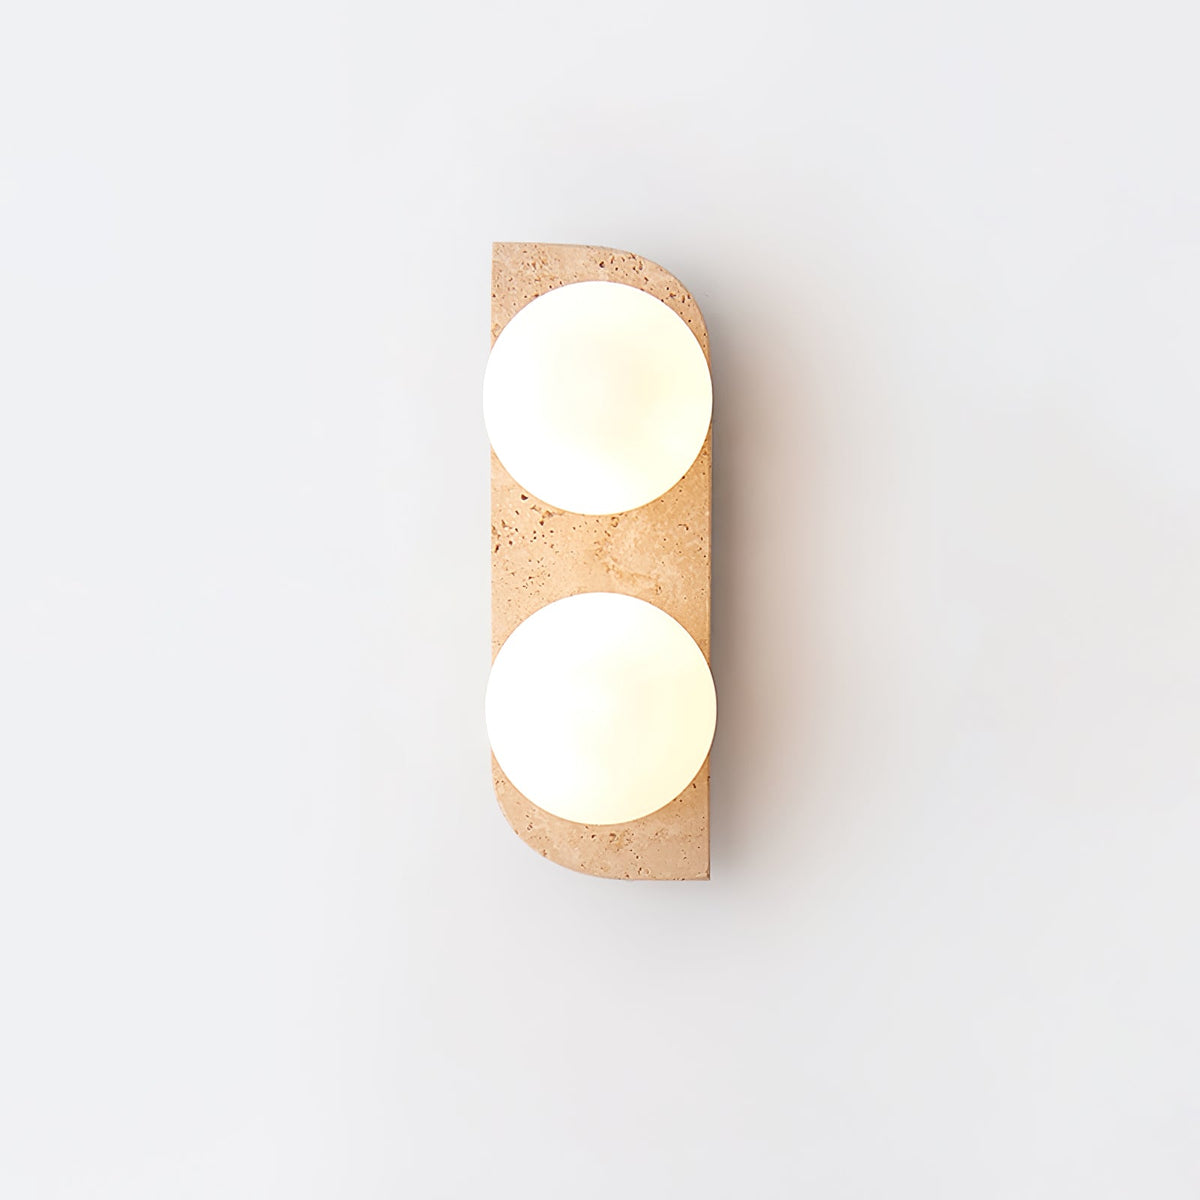
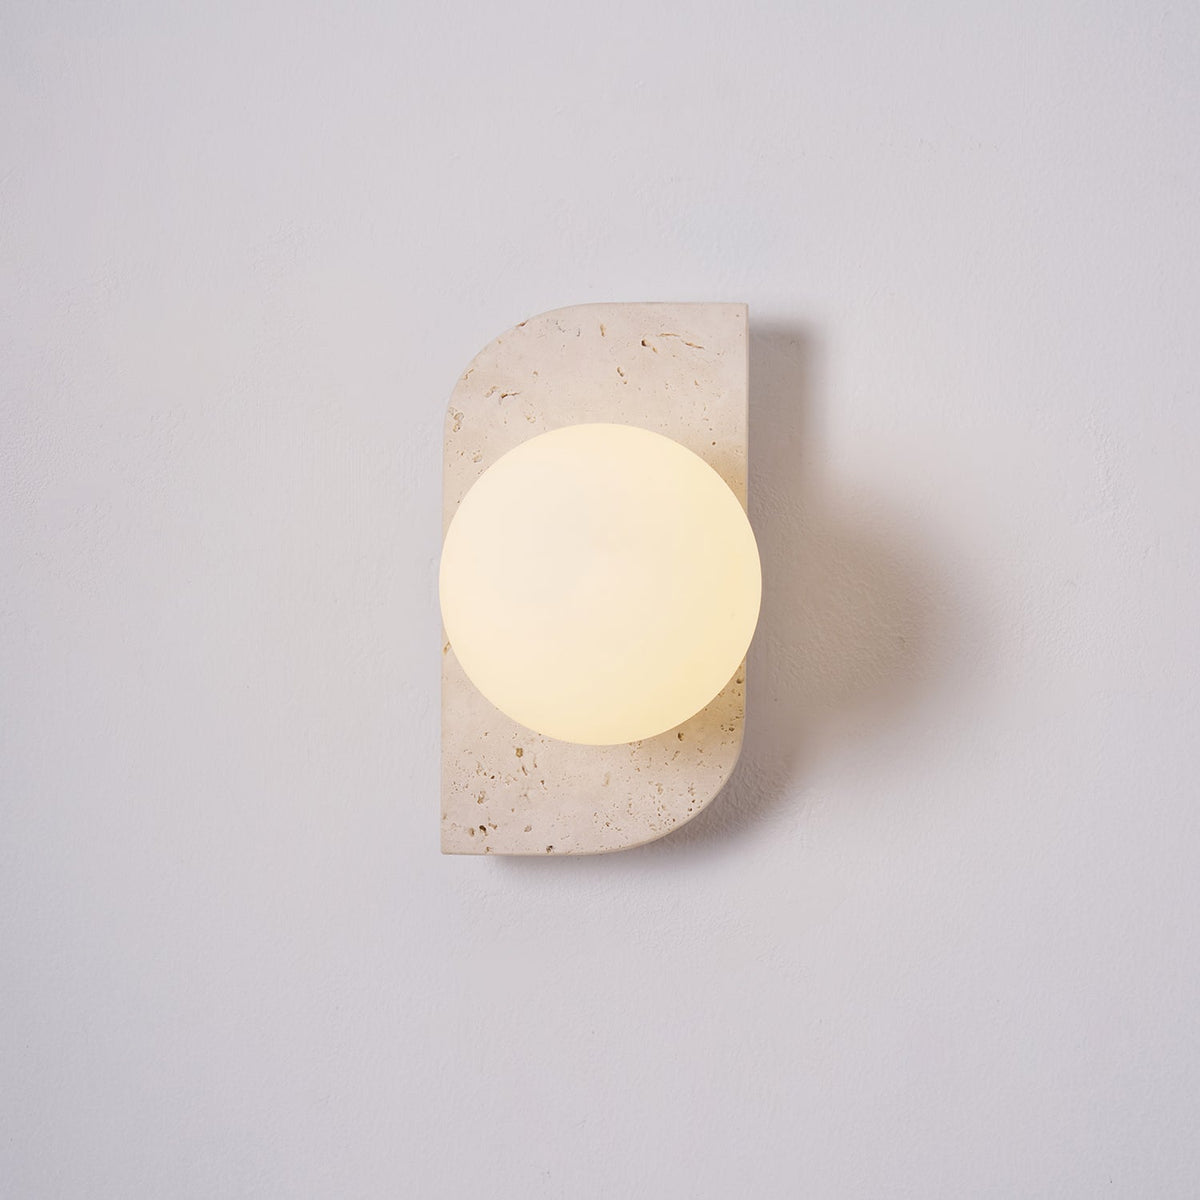
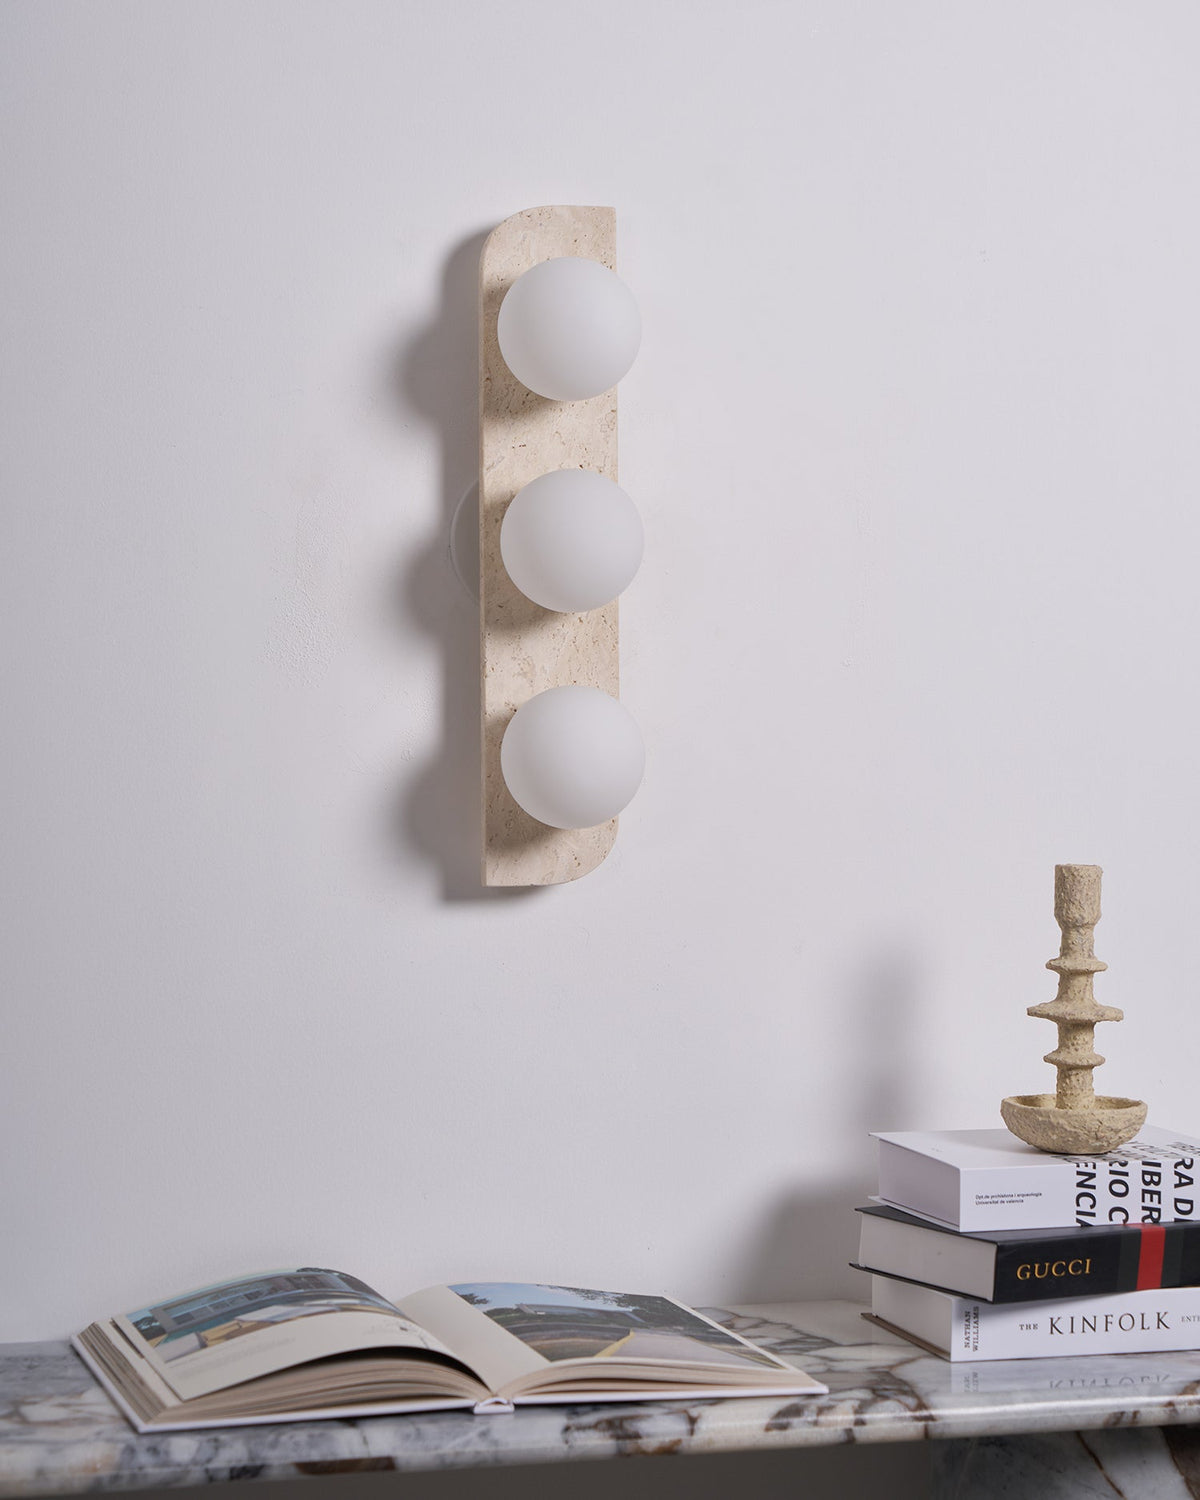
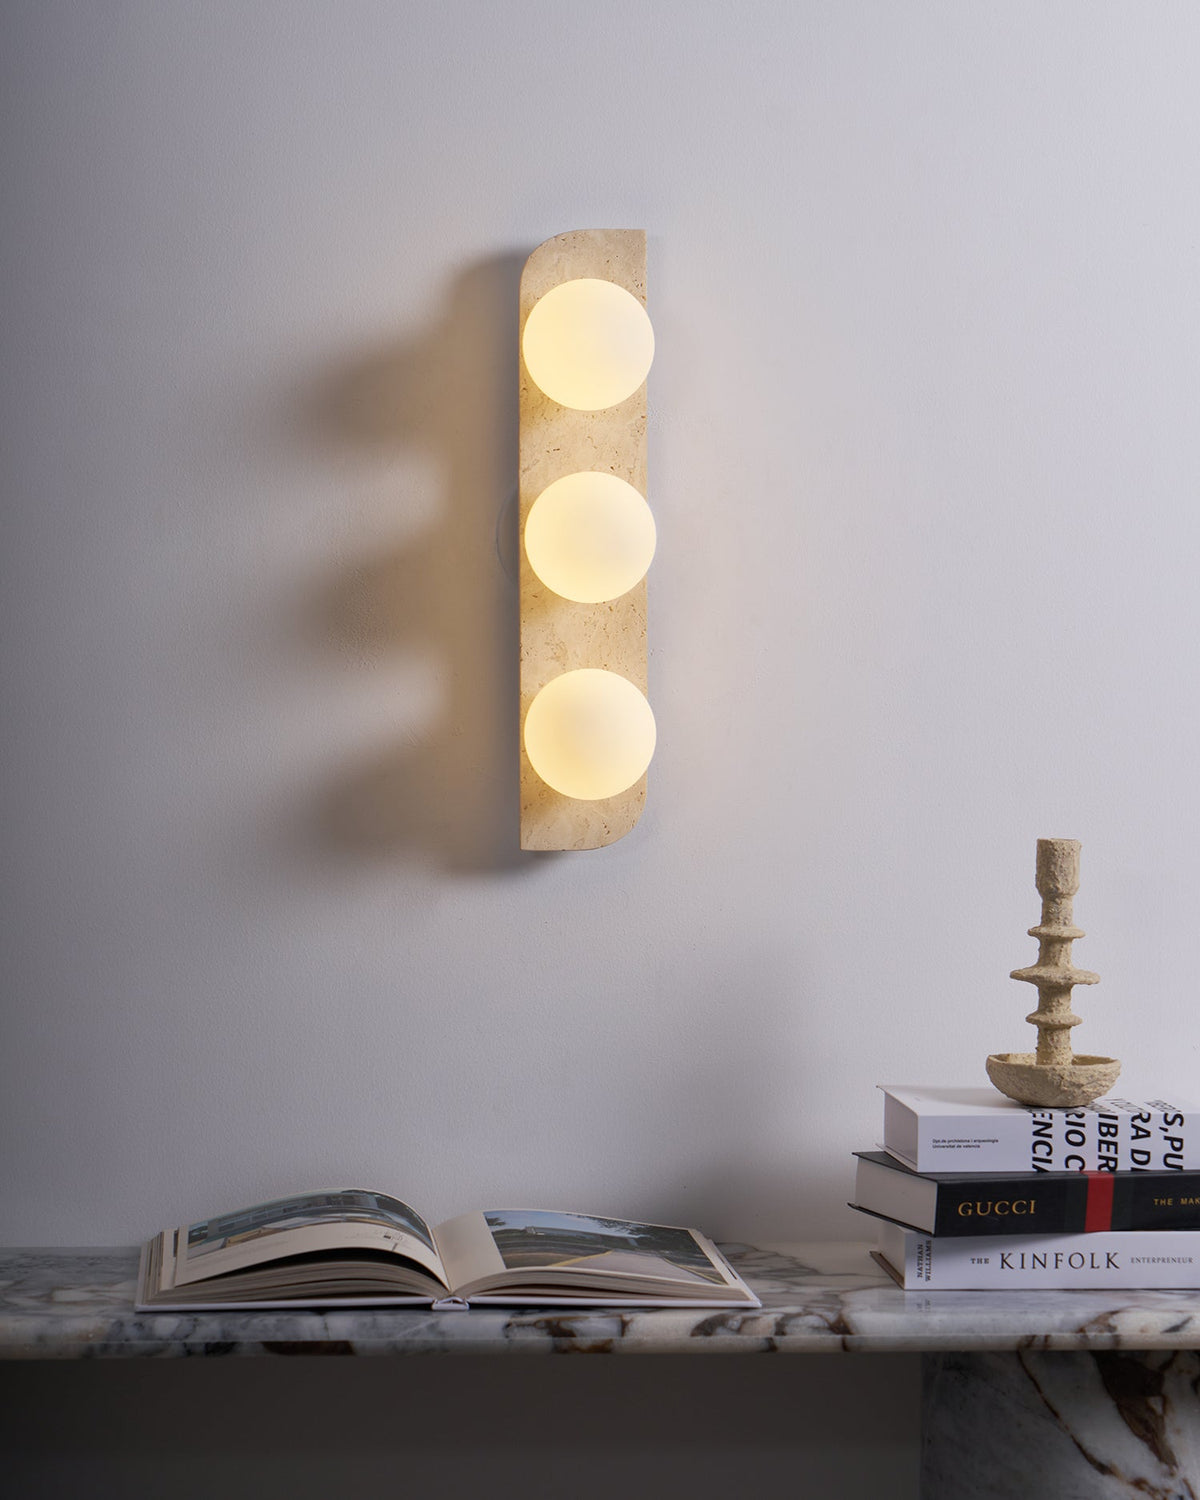
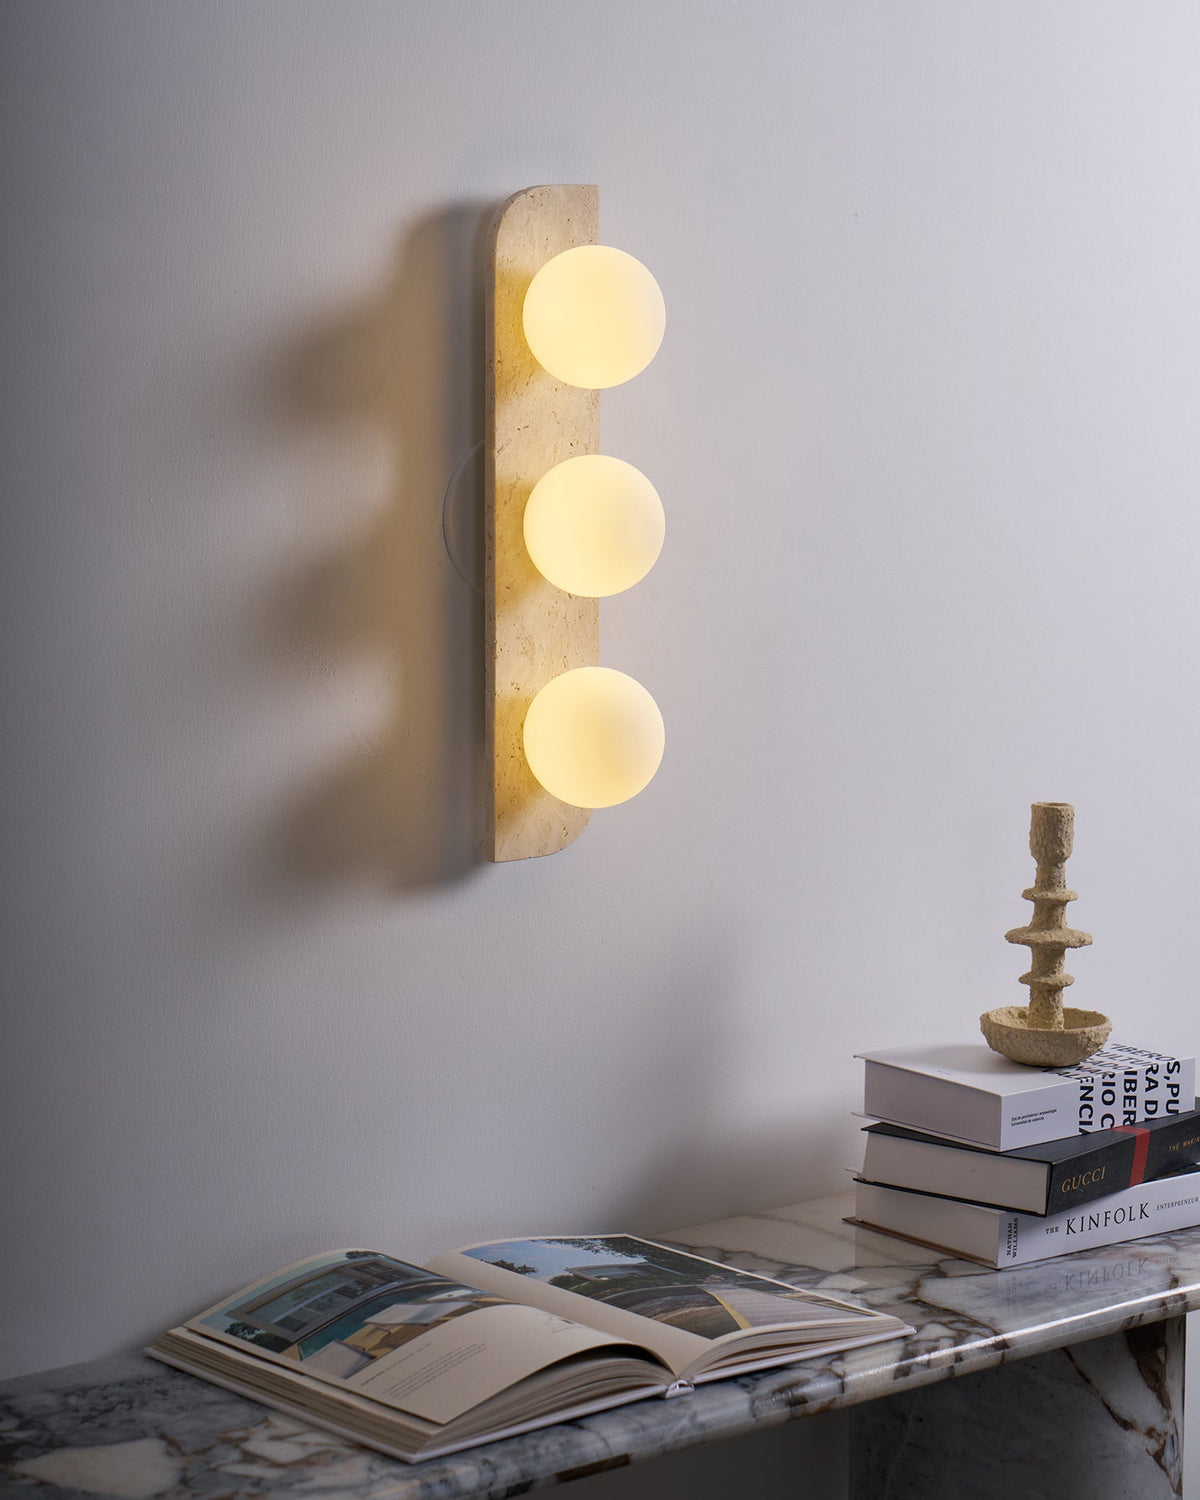
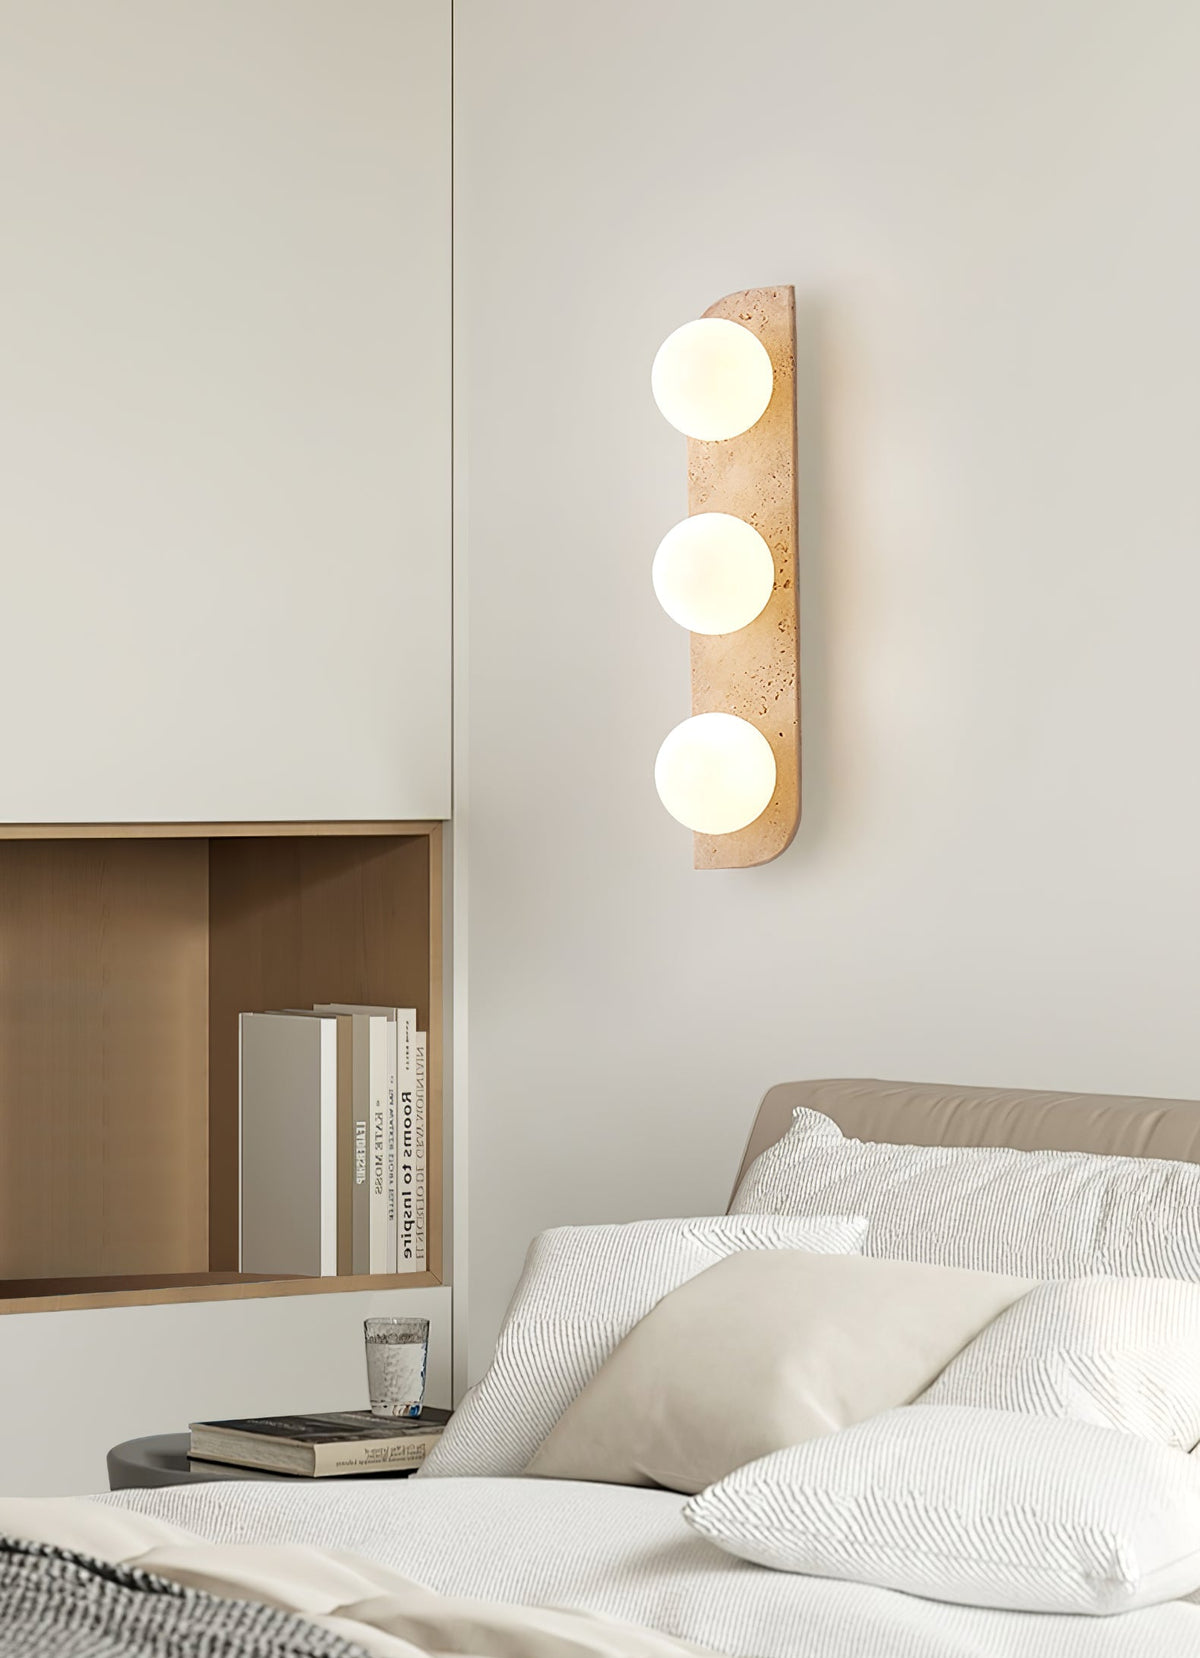
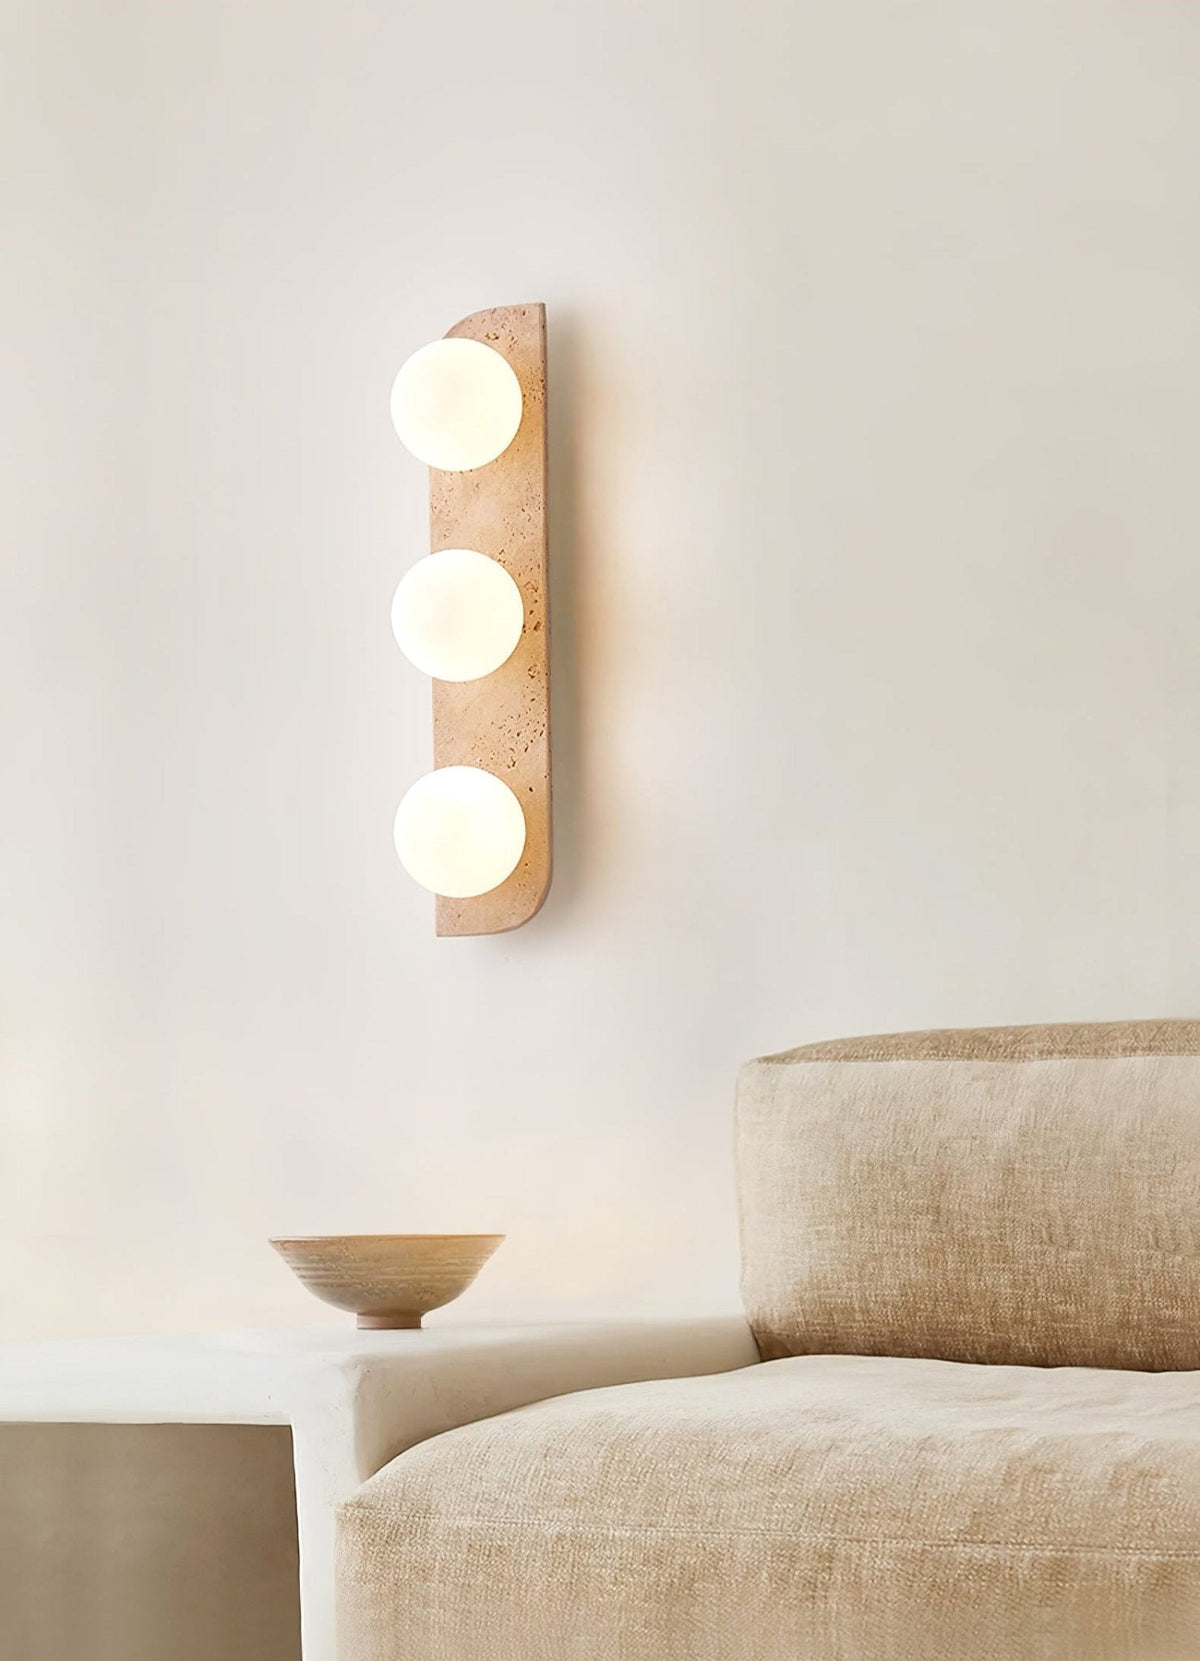
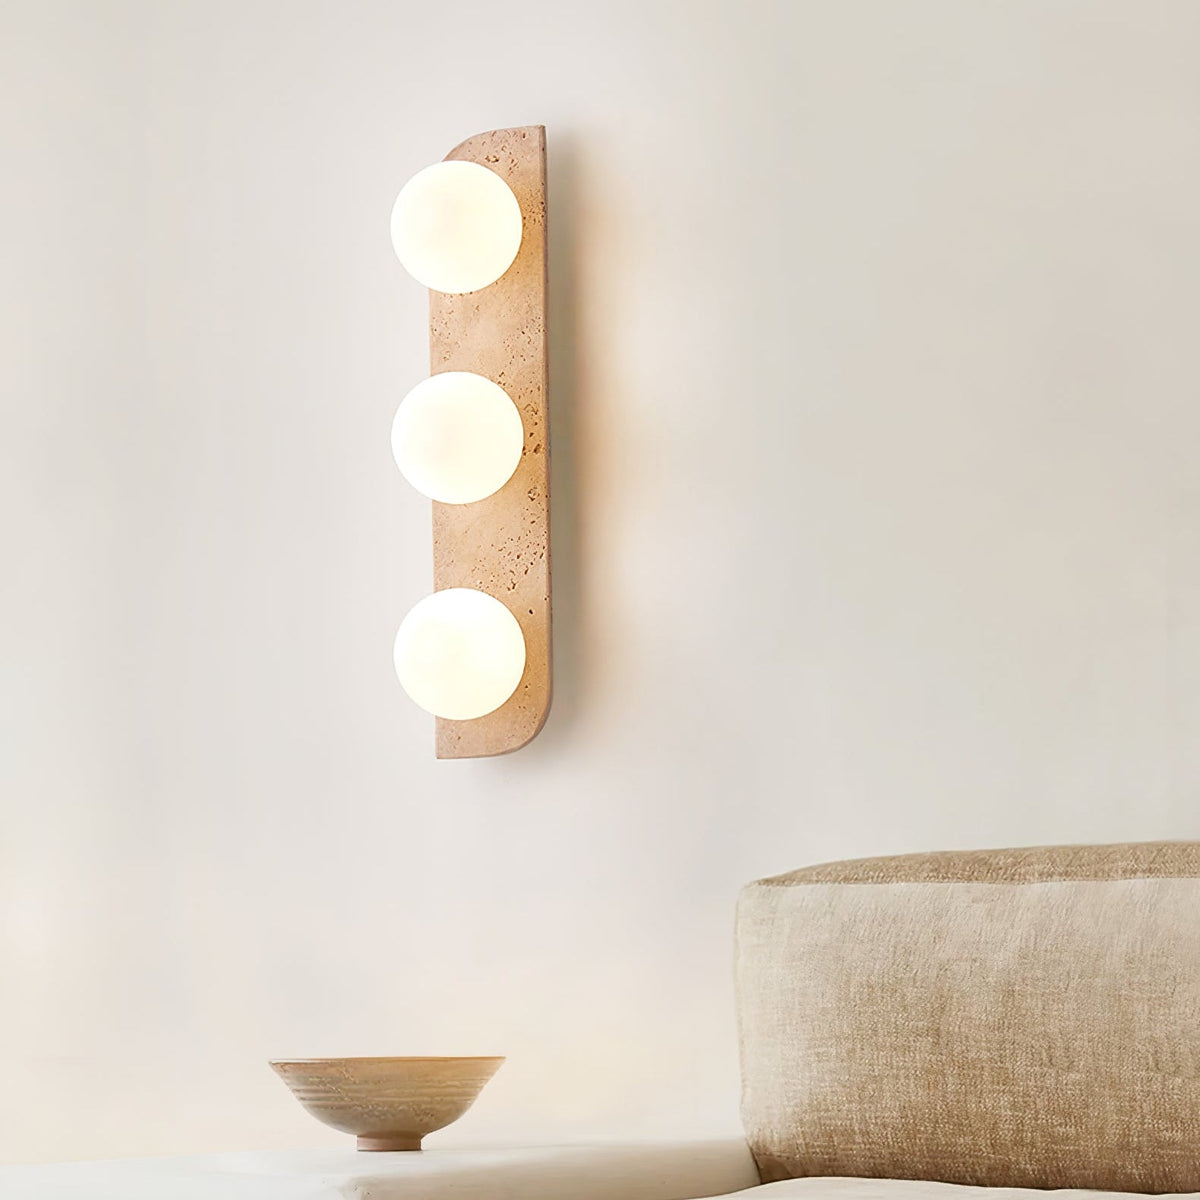
• Tall Clérachic wall light with three lit globes close to the camera, a sofa and a small bowl at the bottom of the frame.
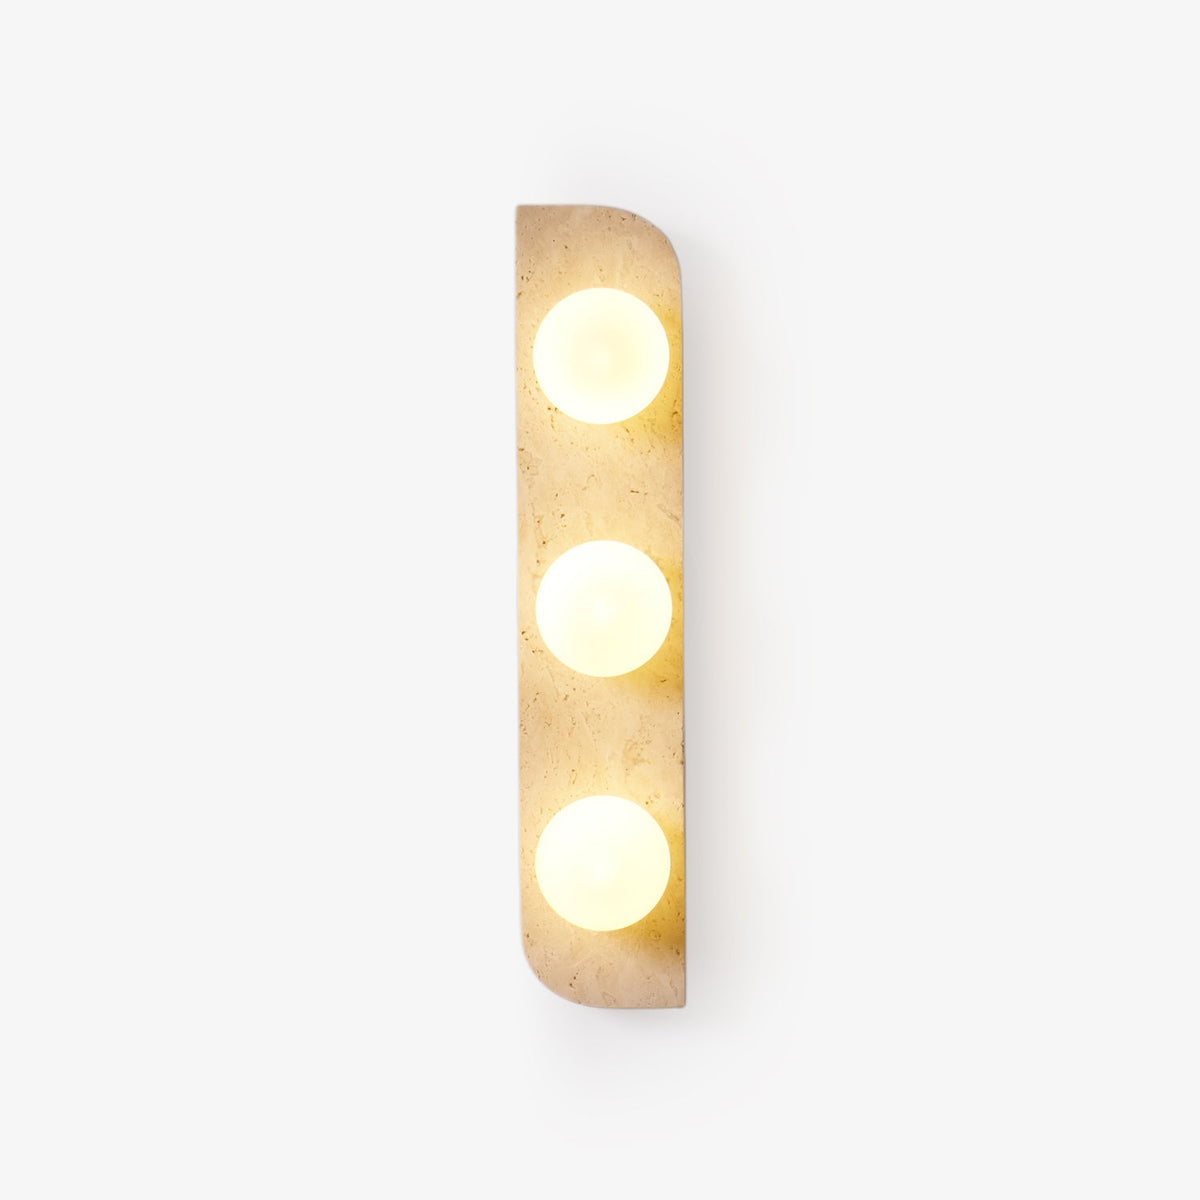
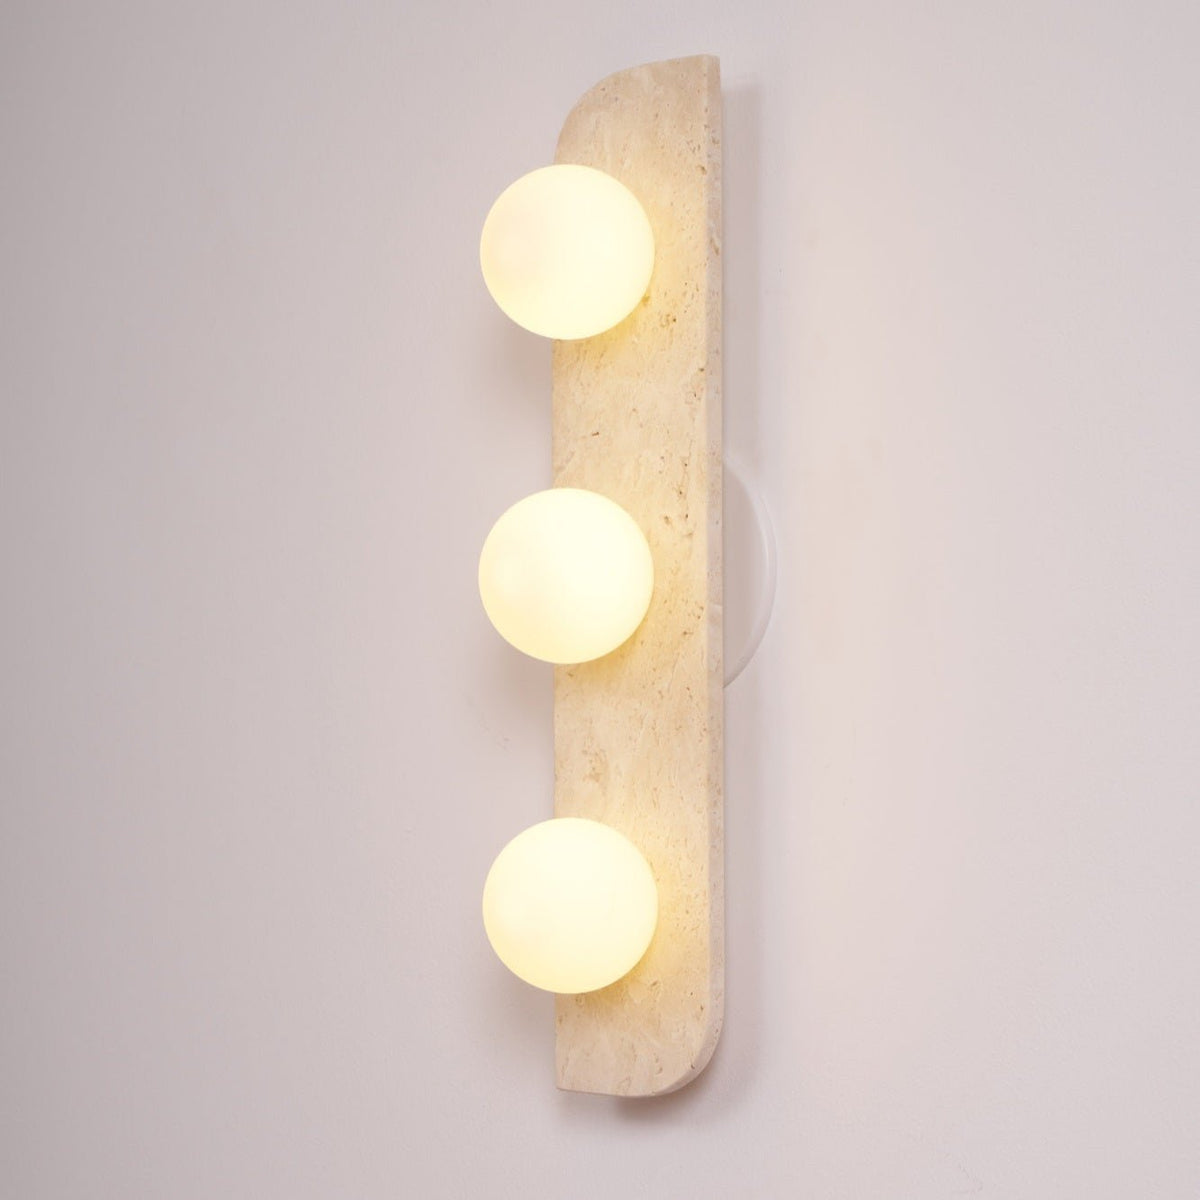
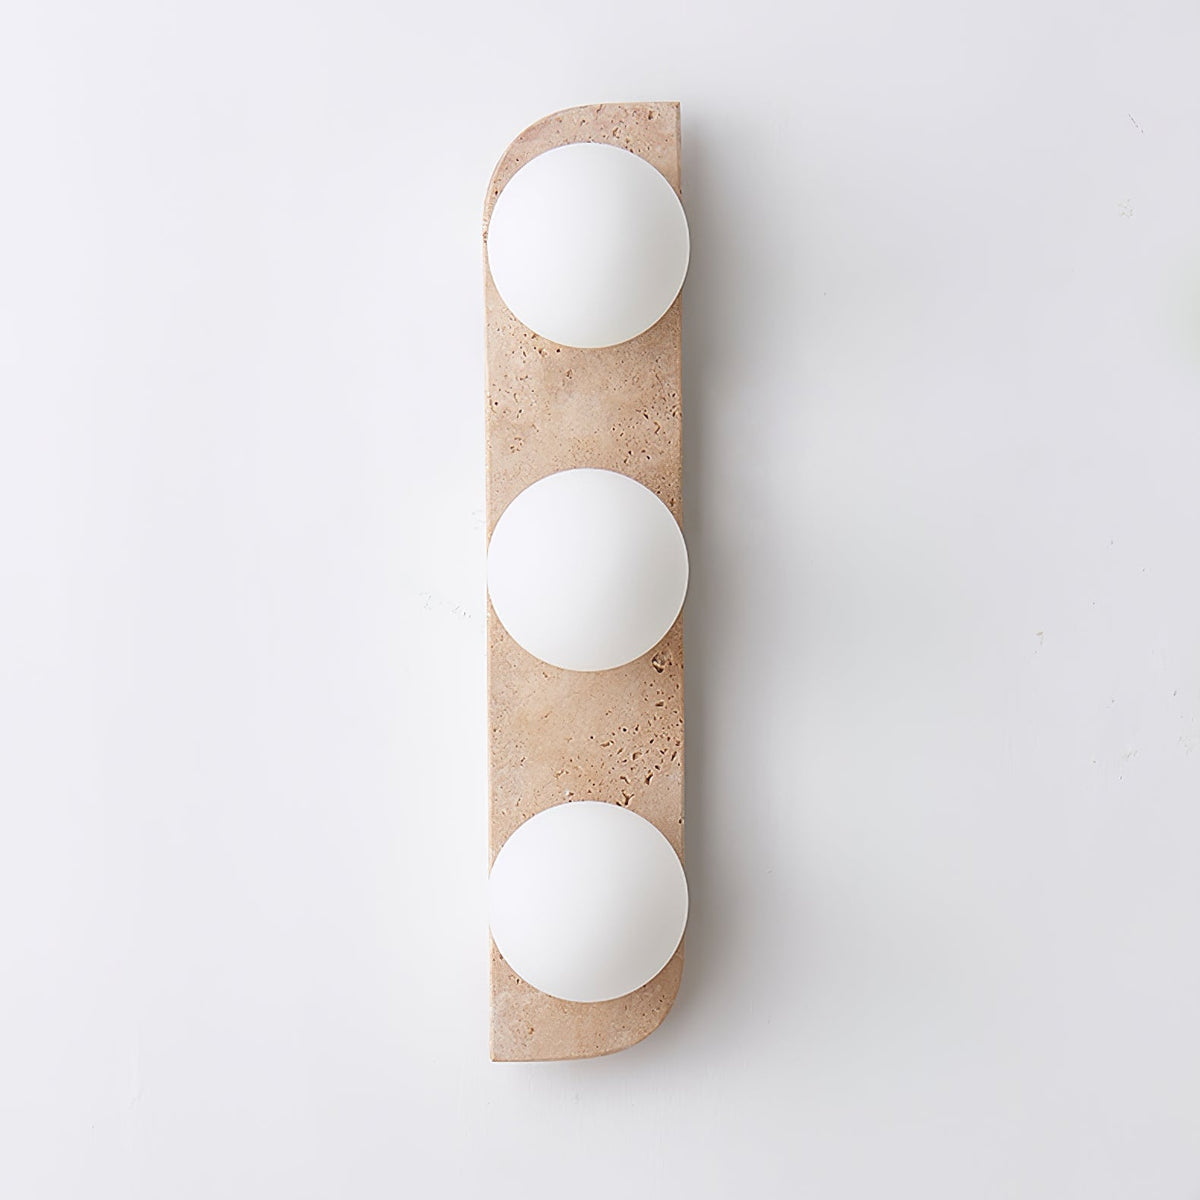
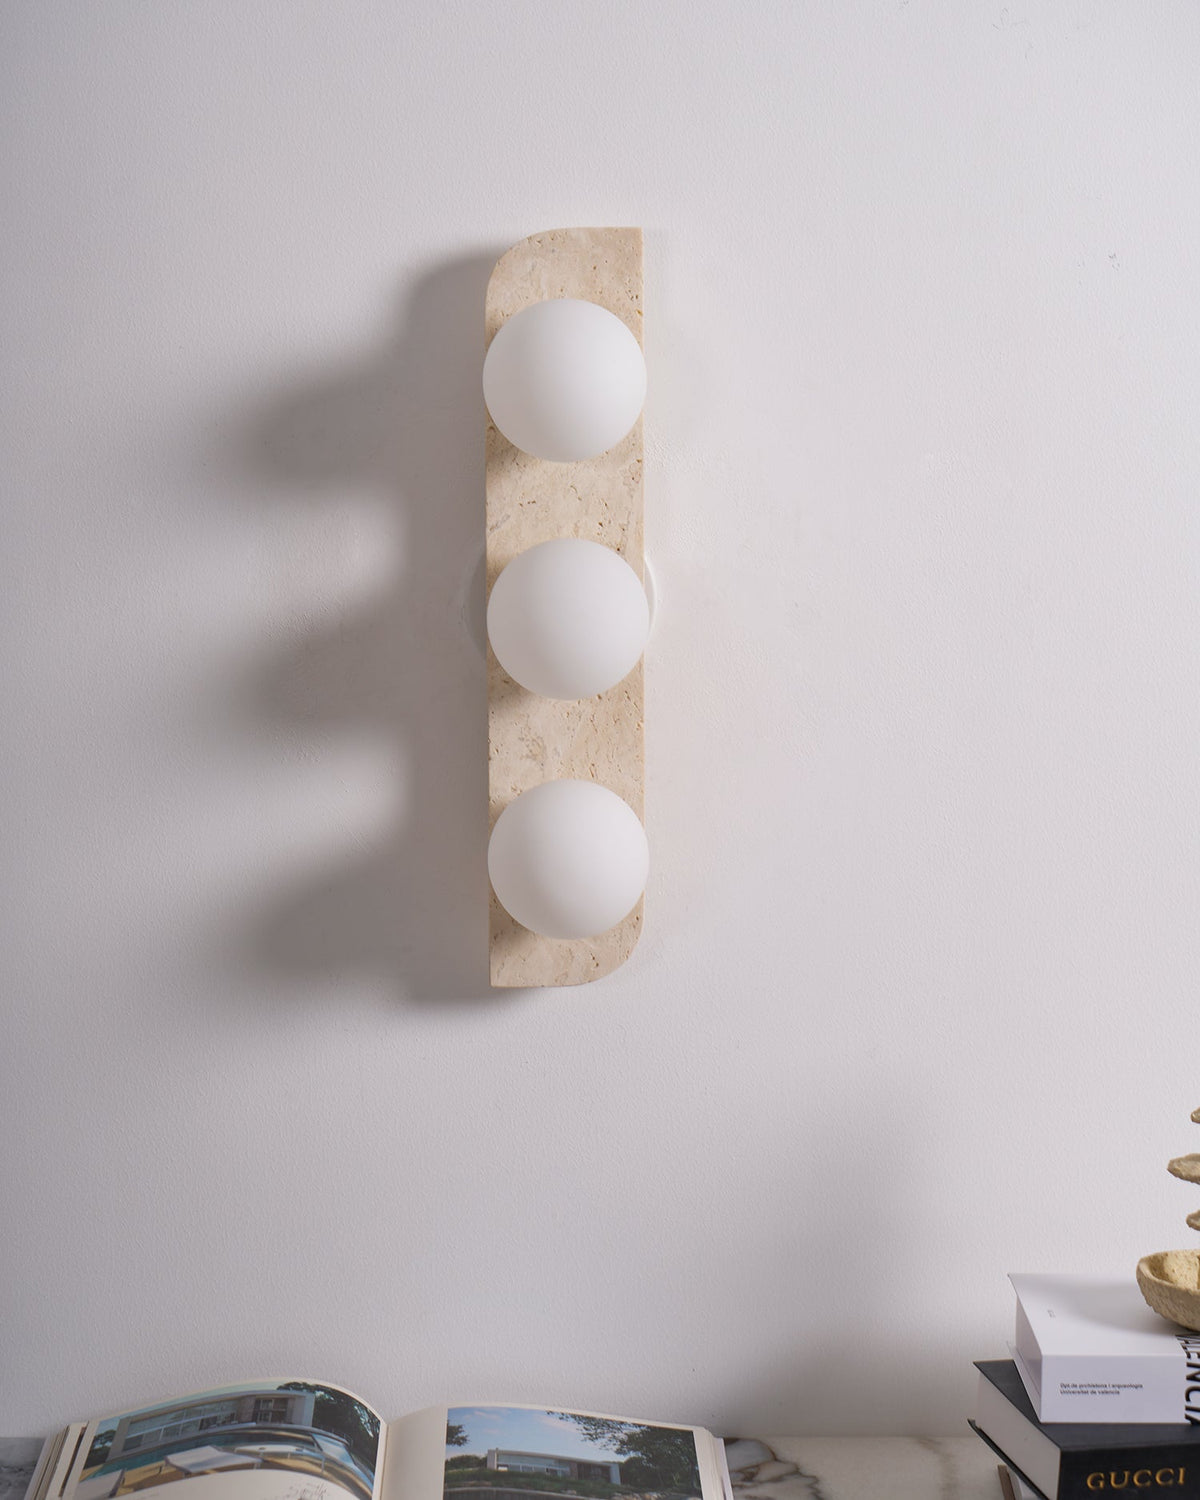
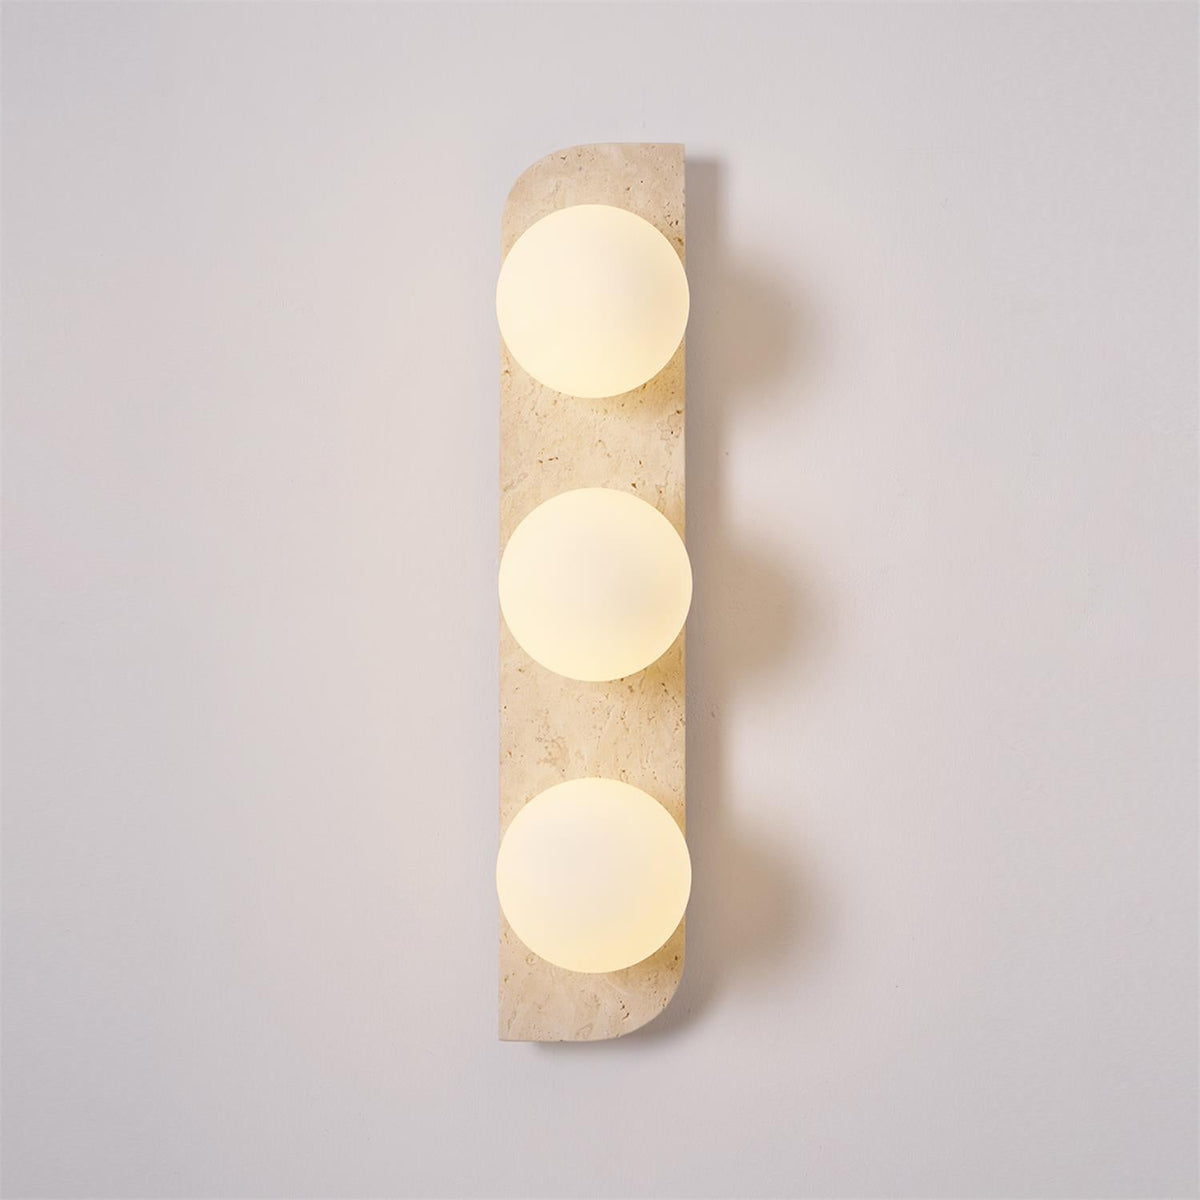
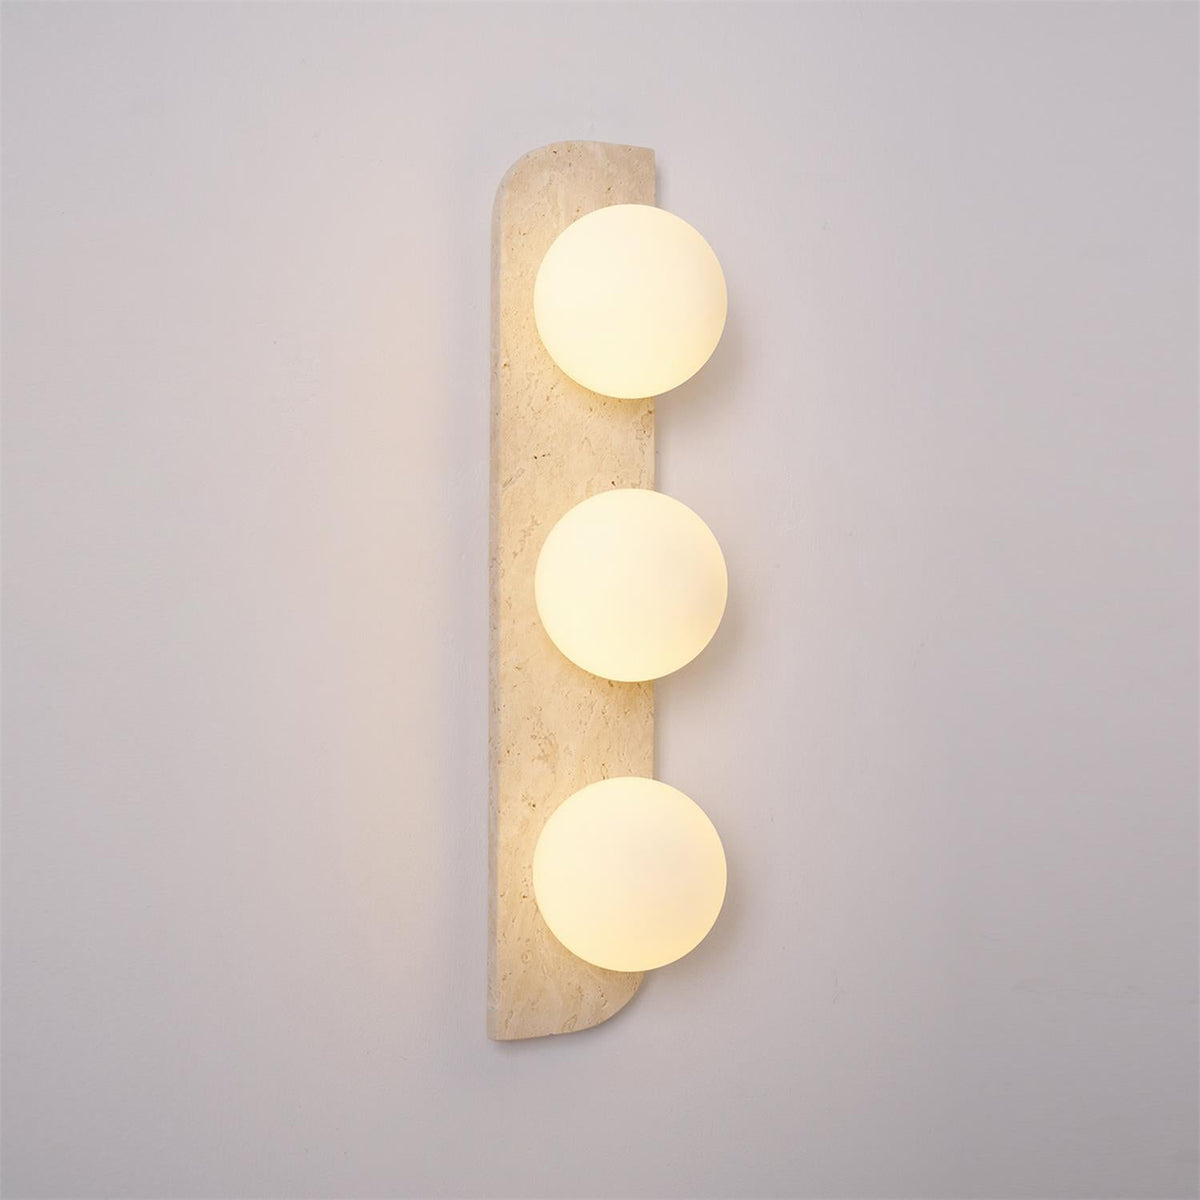
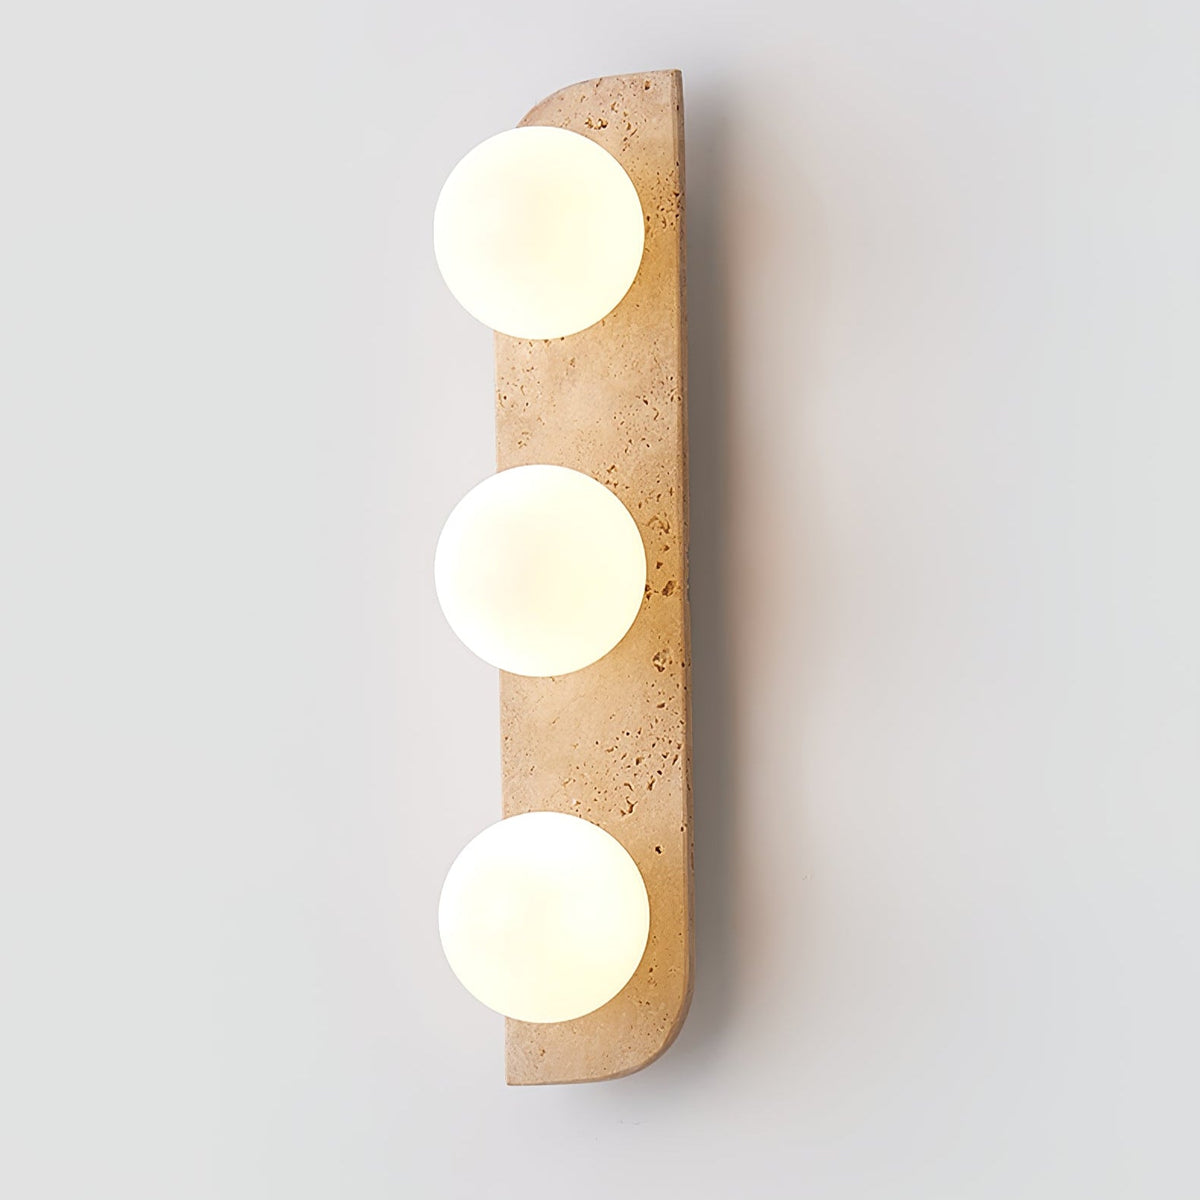
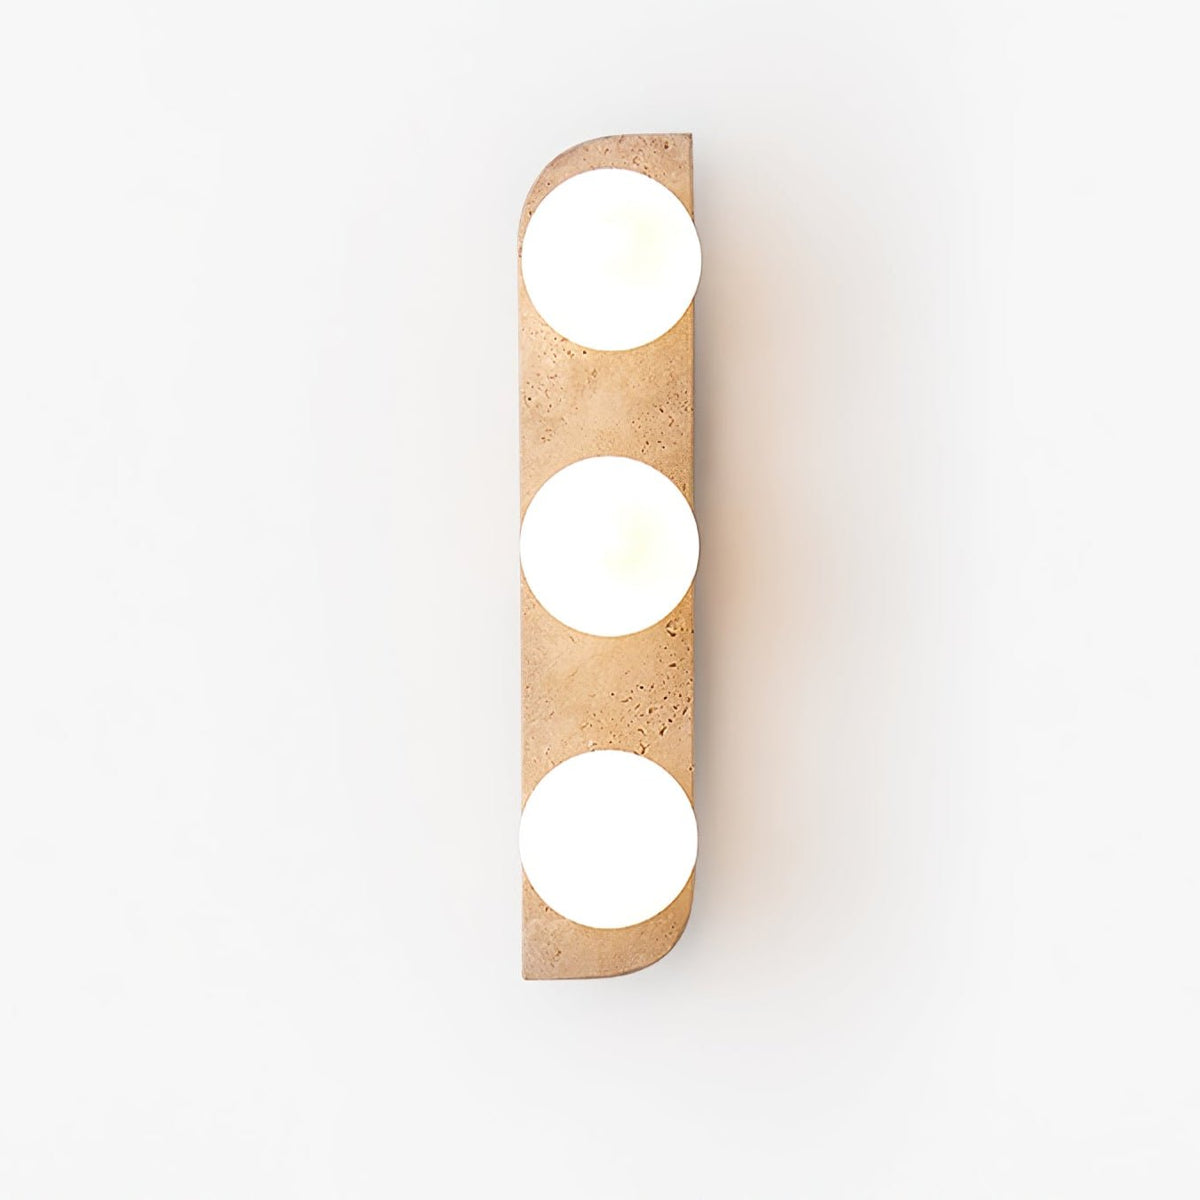
  • Three-globe Clérachic travertine wall light on a plain white backdrop, with all three opal globes lit against the pale stone bar.
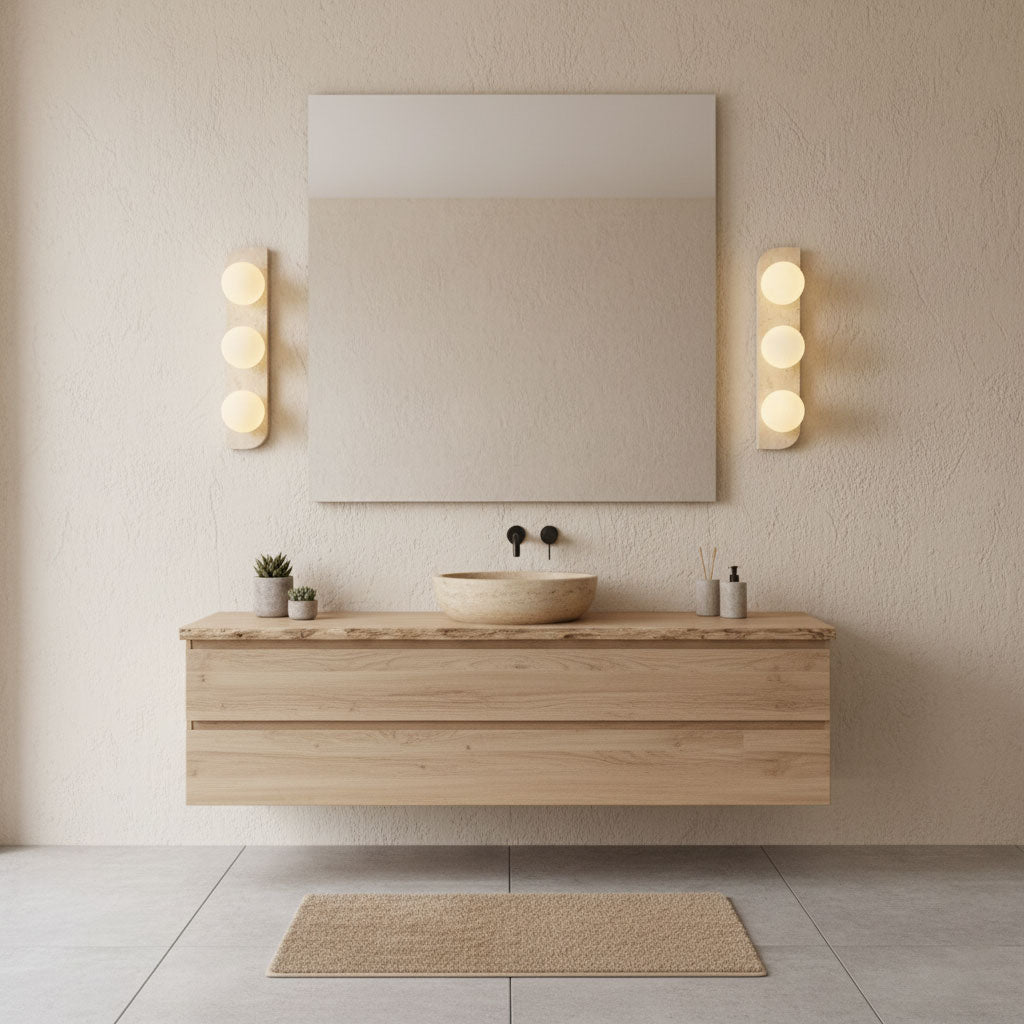
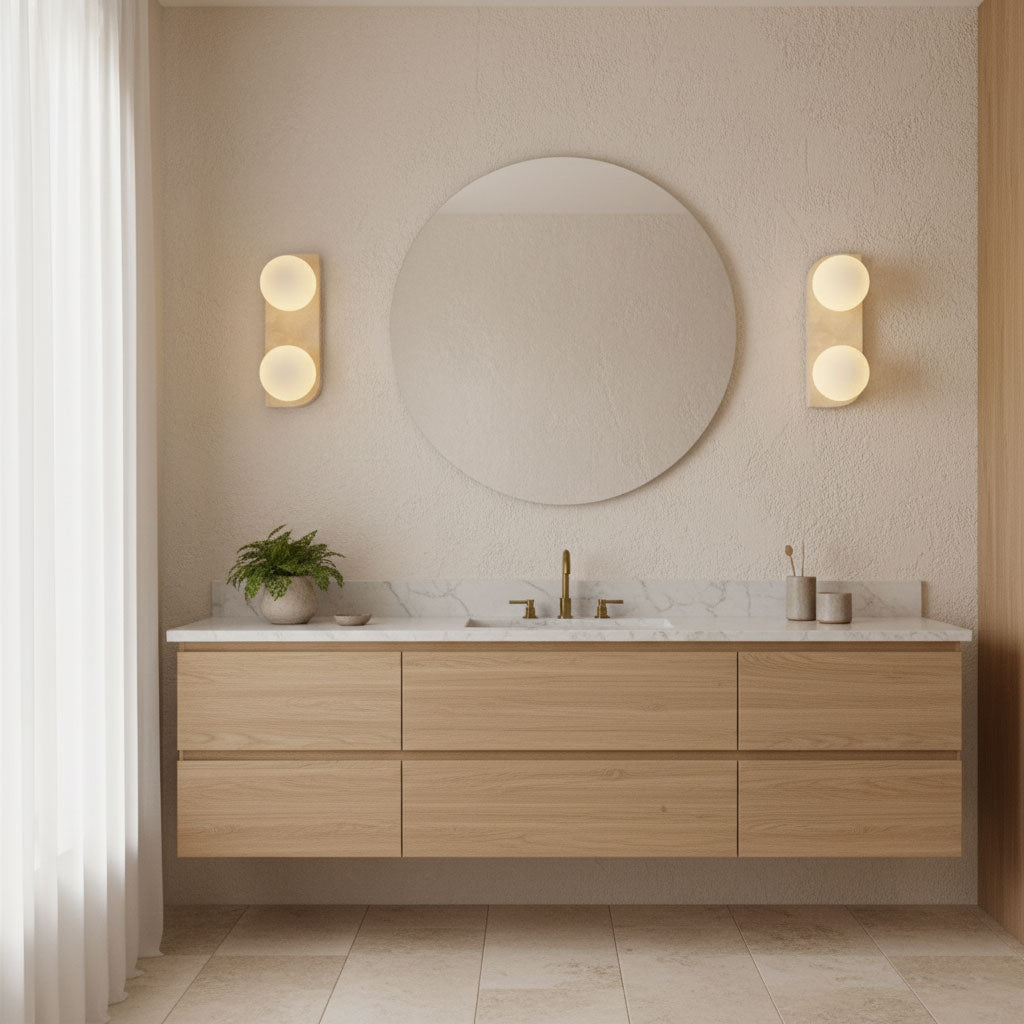
  • A pair of Clérachic wall lights flanking a square mirror above a floating oak vanity, with a stone basin and a woven mat below.
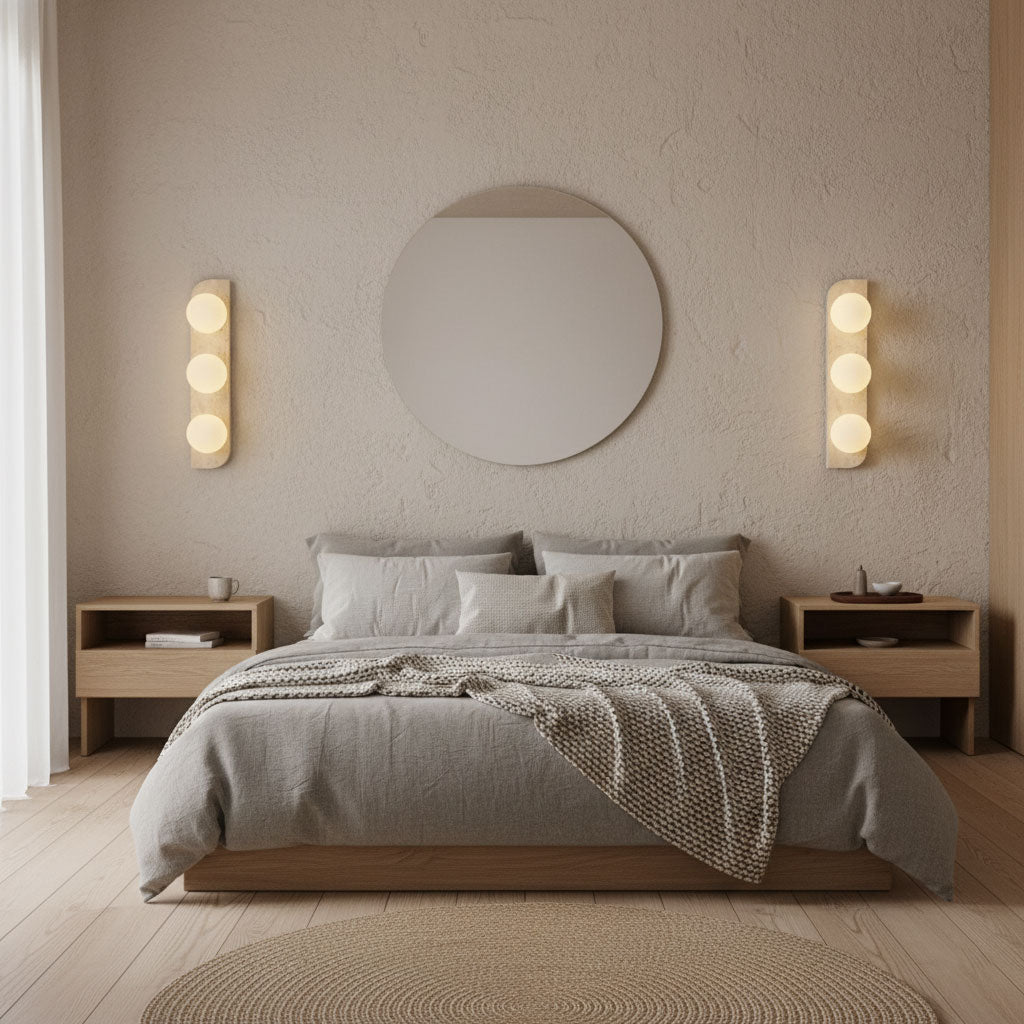
  • Two Clérachic travertine wall lights either side of a round mirror above a bed dressed in grey linen, on a textured beige wall.
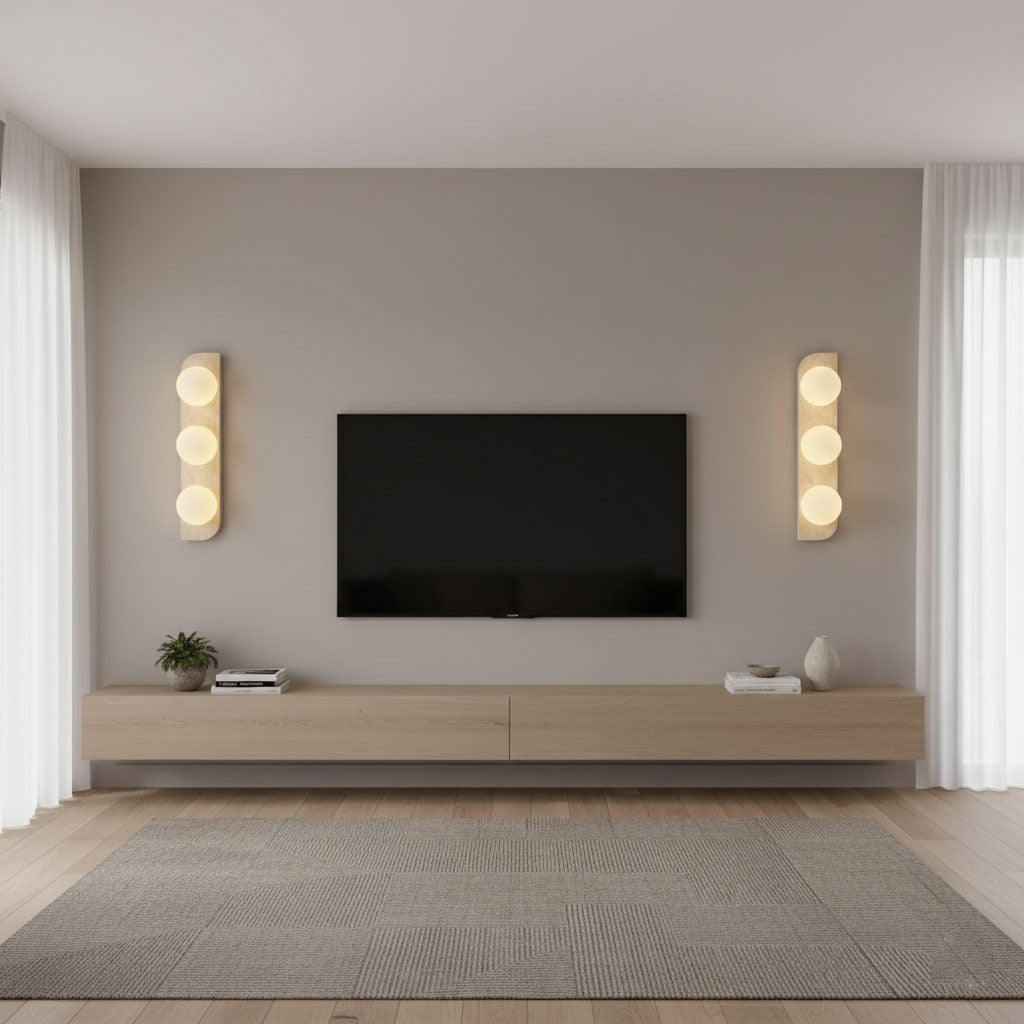
  • A matching pair of Clérachic wall lights glowing either side of a wall-mounted television in a calm grey living room.
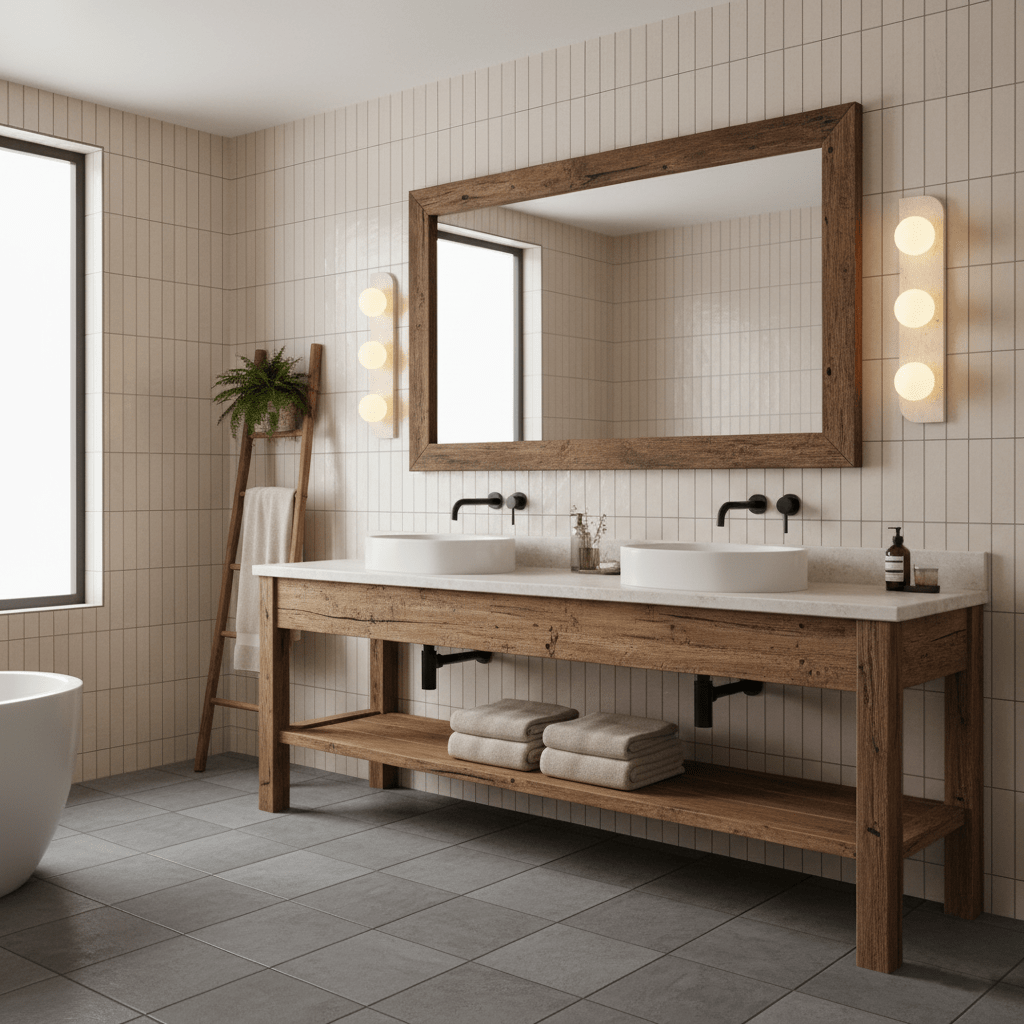
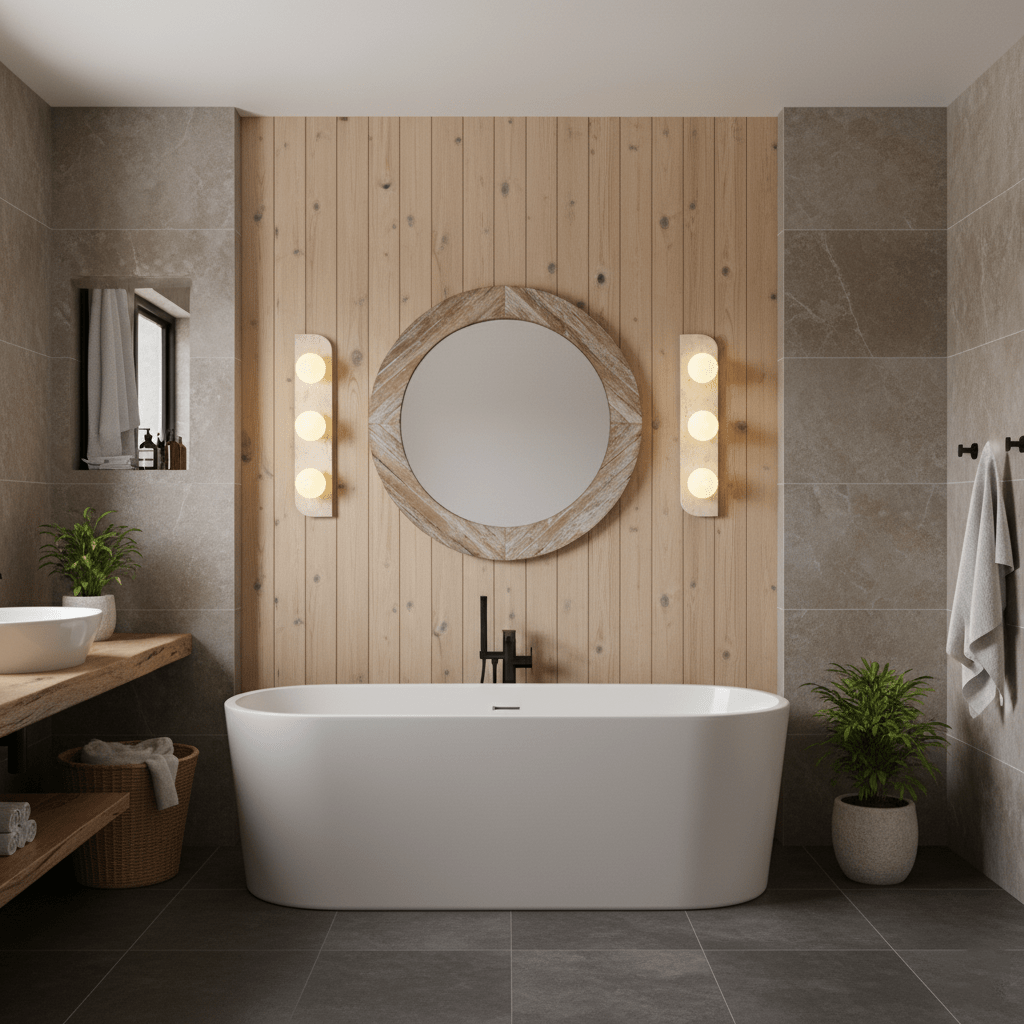
  • Clérachic wall lights beside a rustic wood-framed mirror over a double basin, set against a pale tiled bathroom wall.
  • Two-globe Clérachic wall lights either side of a round mirror above a pale oak vanity with a marble top and brass tap.
  • A pair of Clérachic wall lights framing a round mirror on a wood-panelled wall, above a freestanding white bath.
  • Lit three-globe Clérachic wall light on a cream wall above a soft sofa, with a shallow ceramic bowl on the table below.
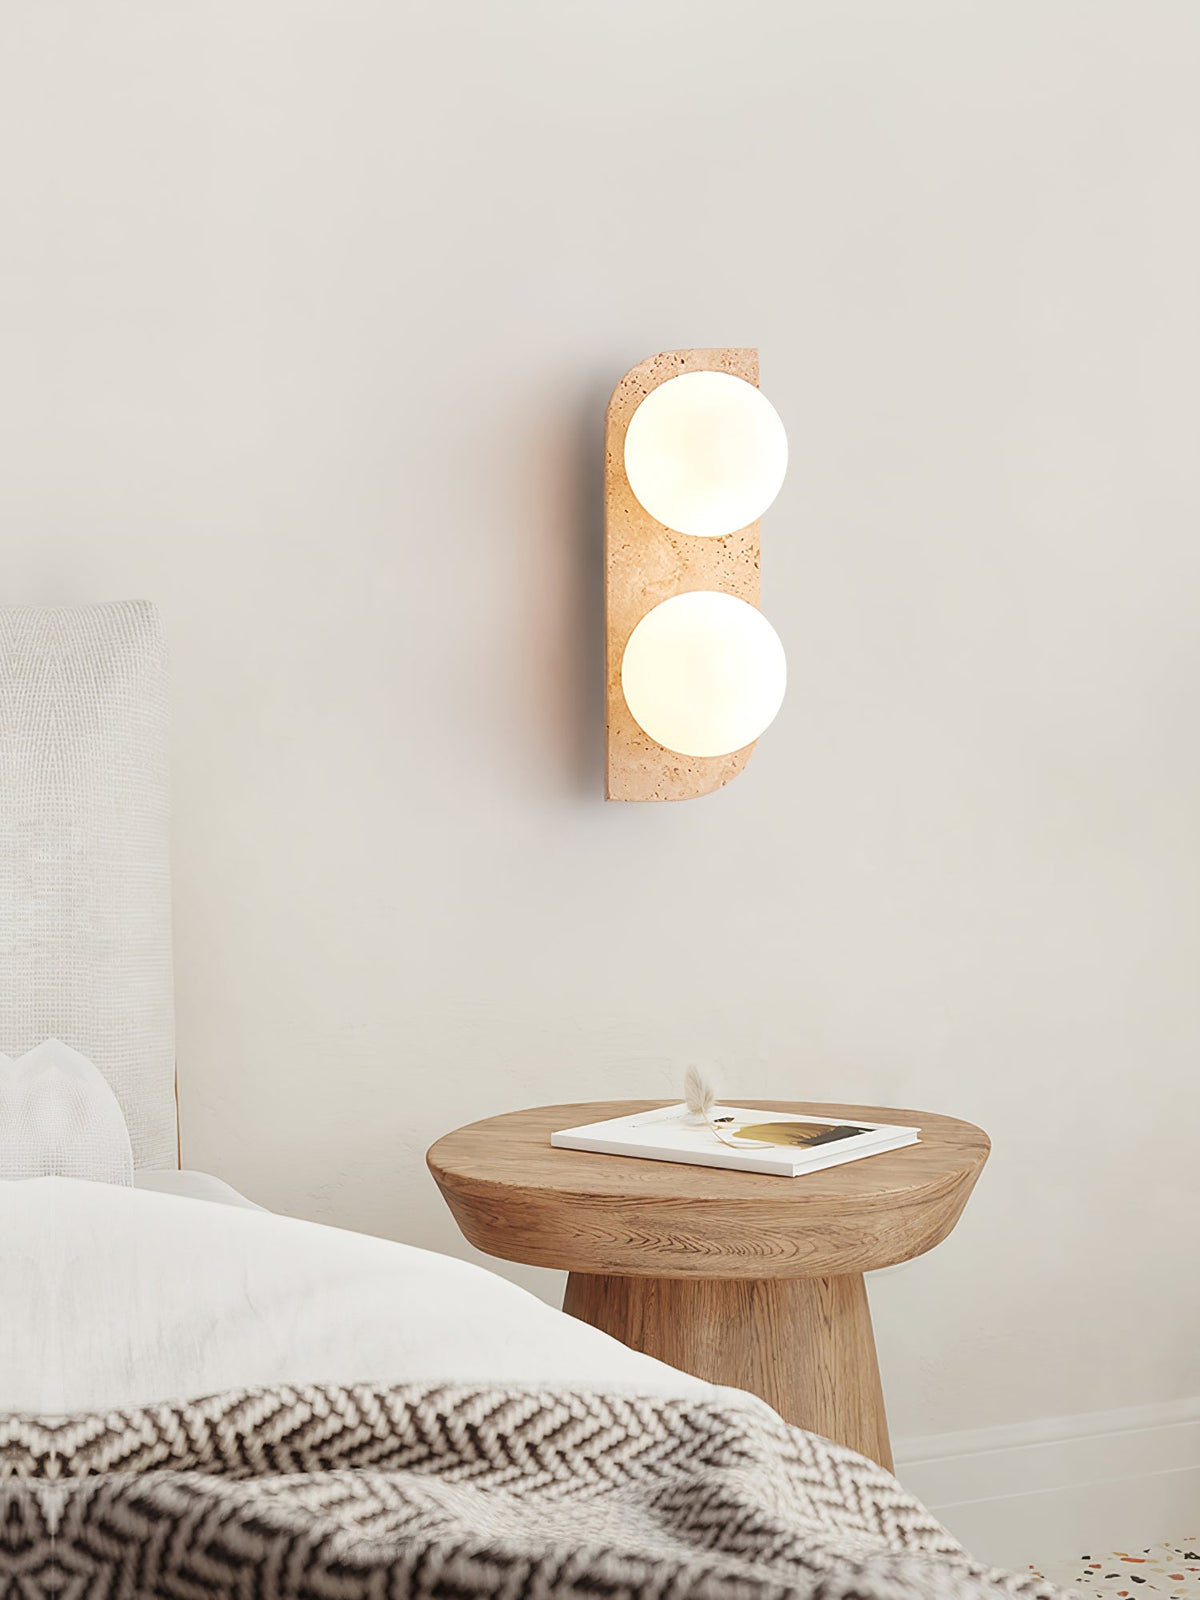
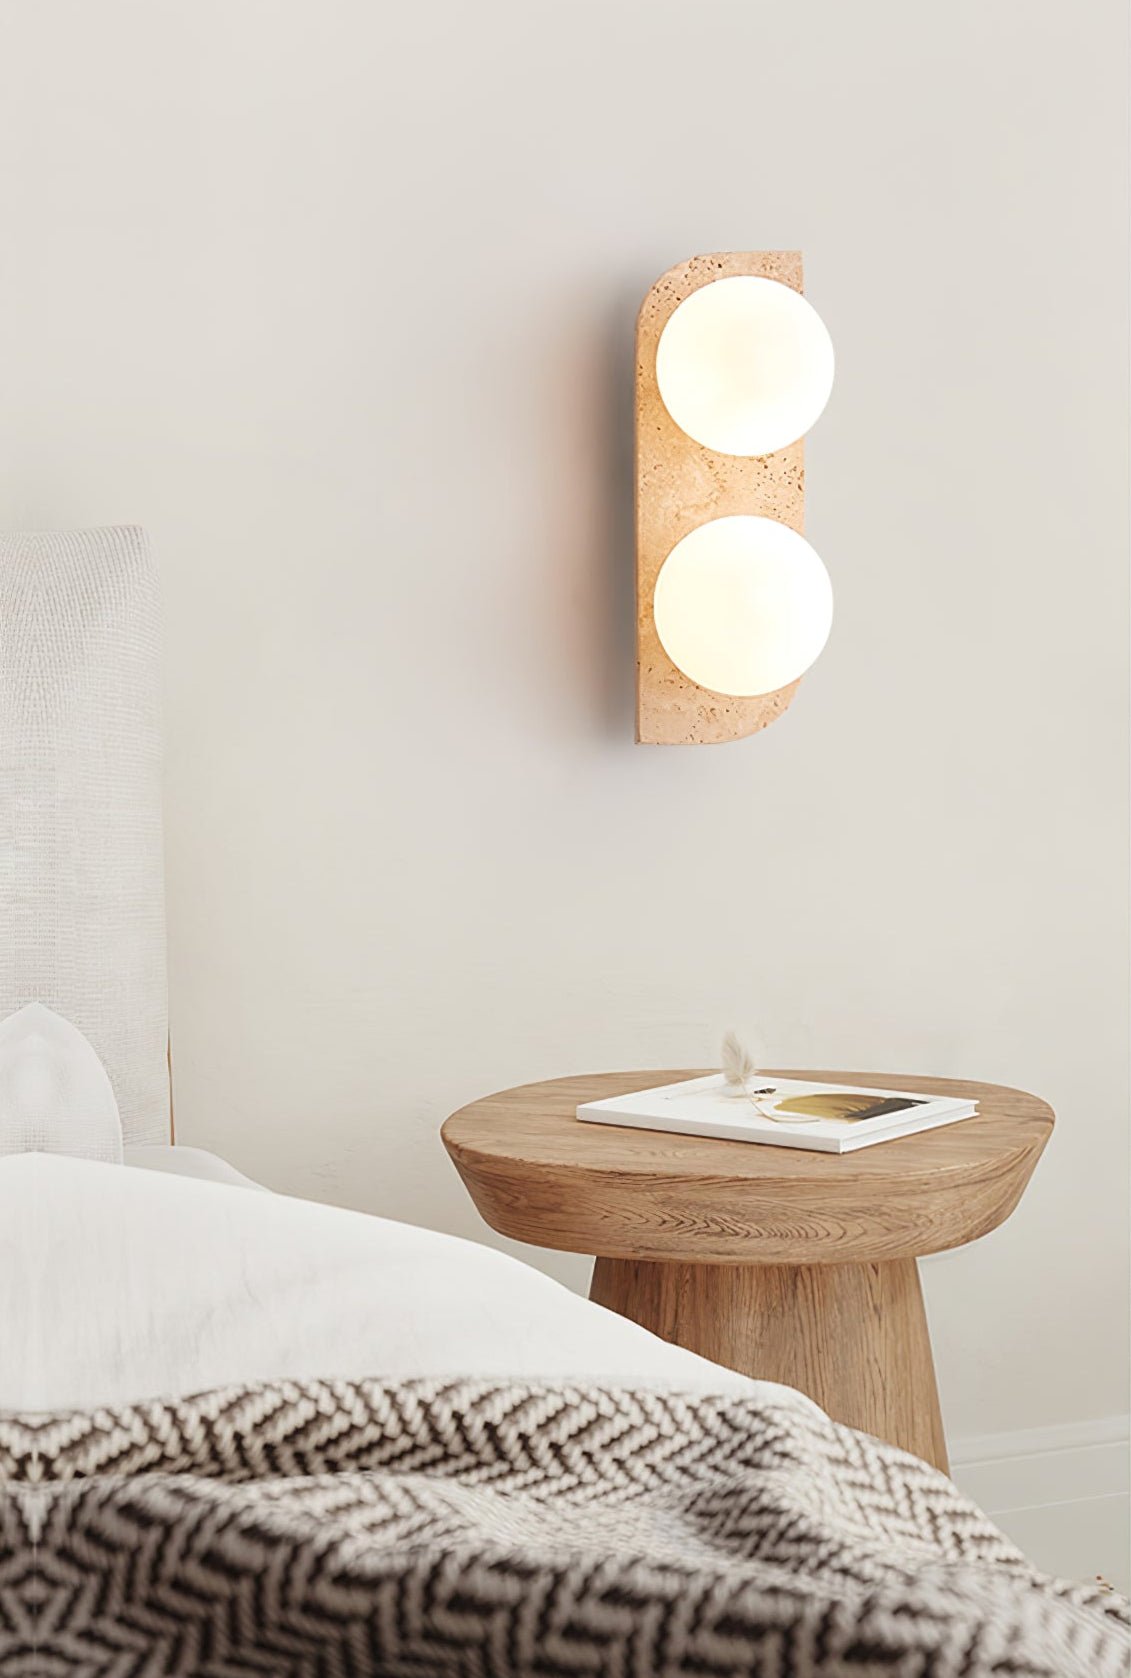
  • Two-globe Clérachic wall light above a round wooden side table and a bed with a woven blanket, glowing softly.
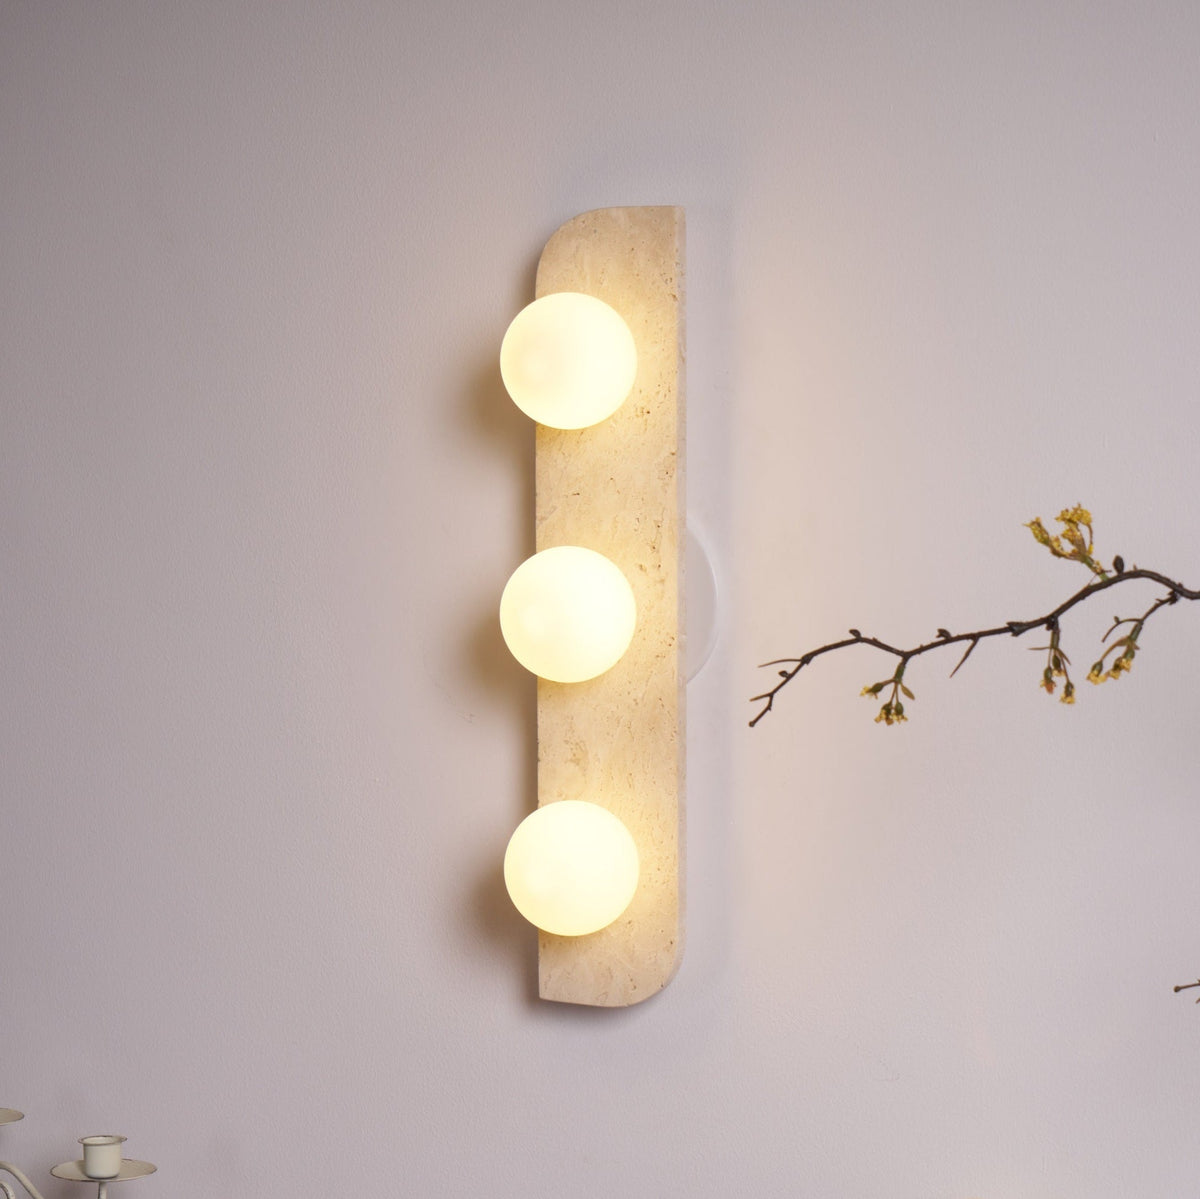
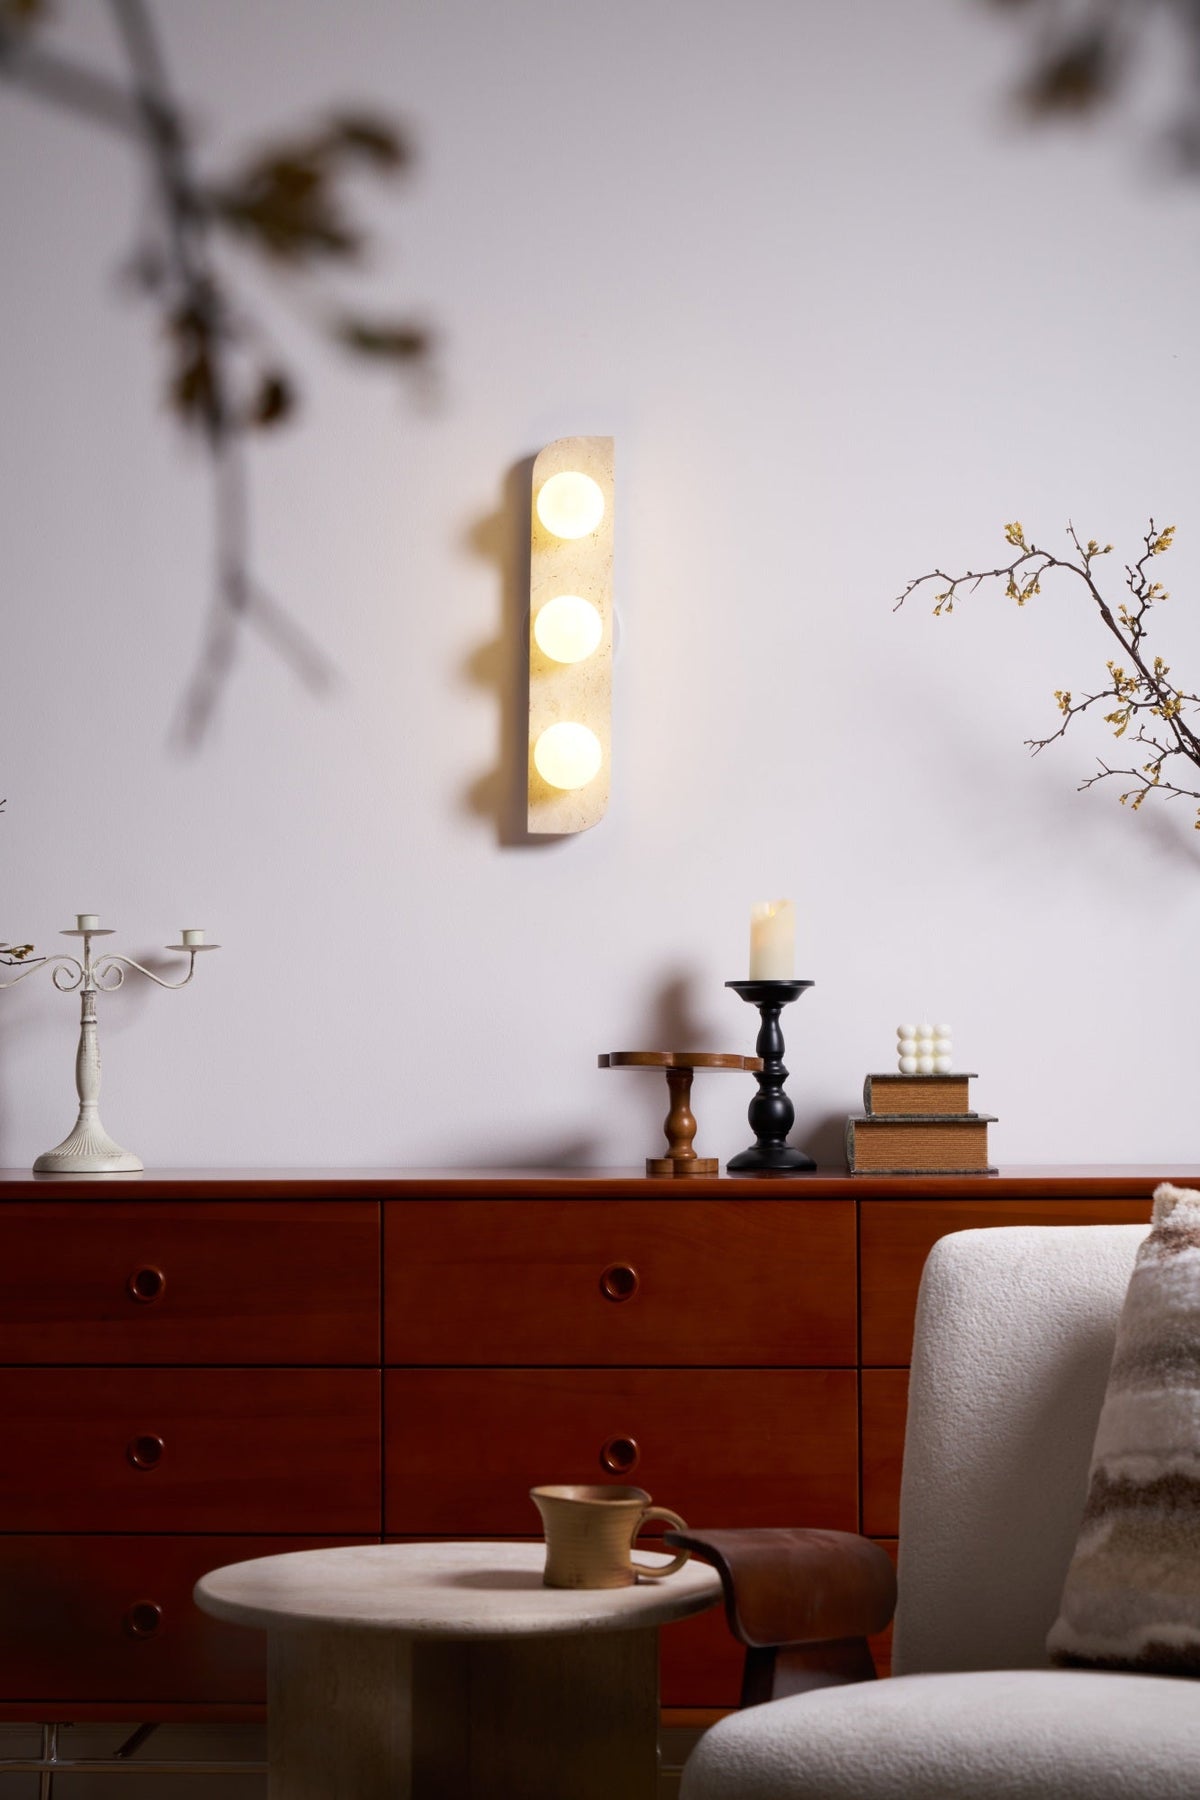
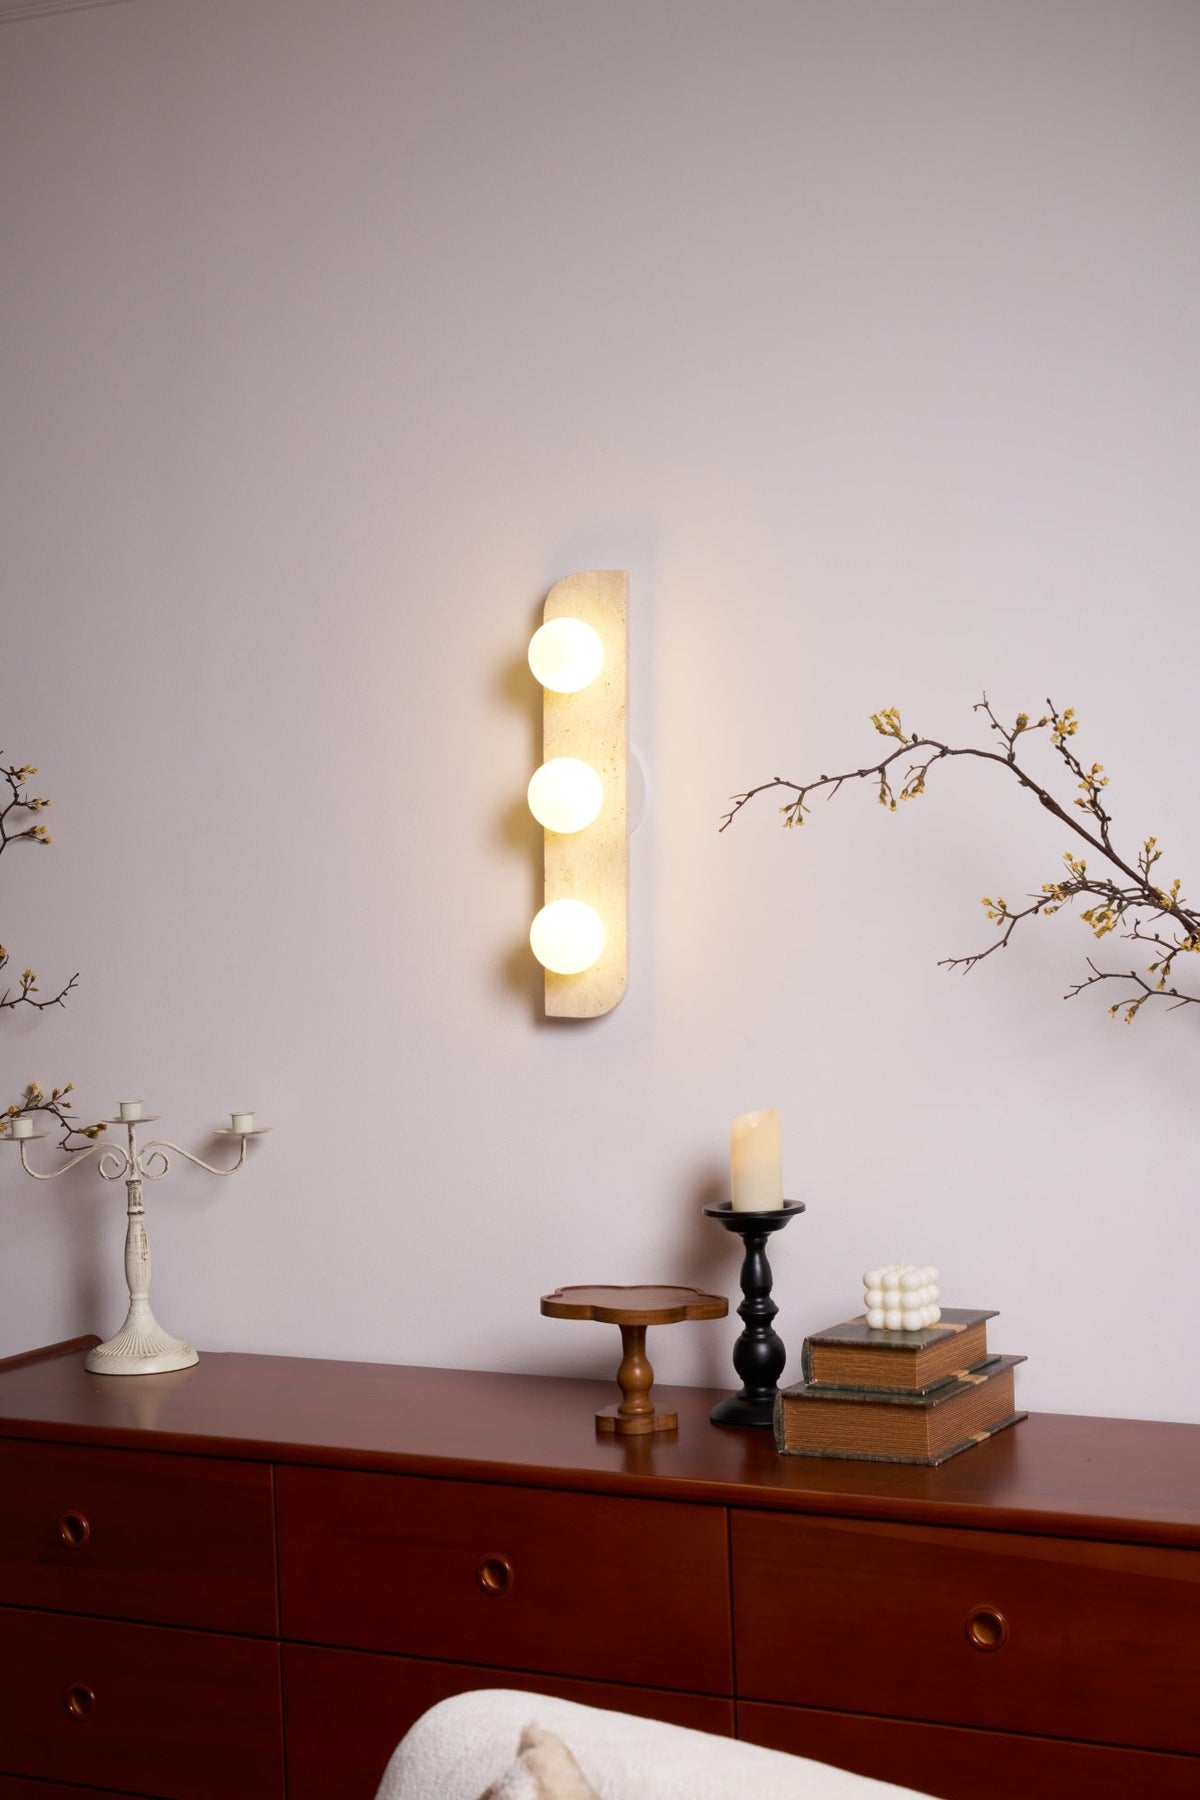
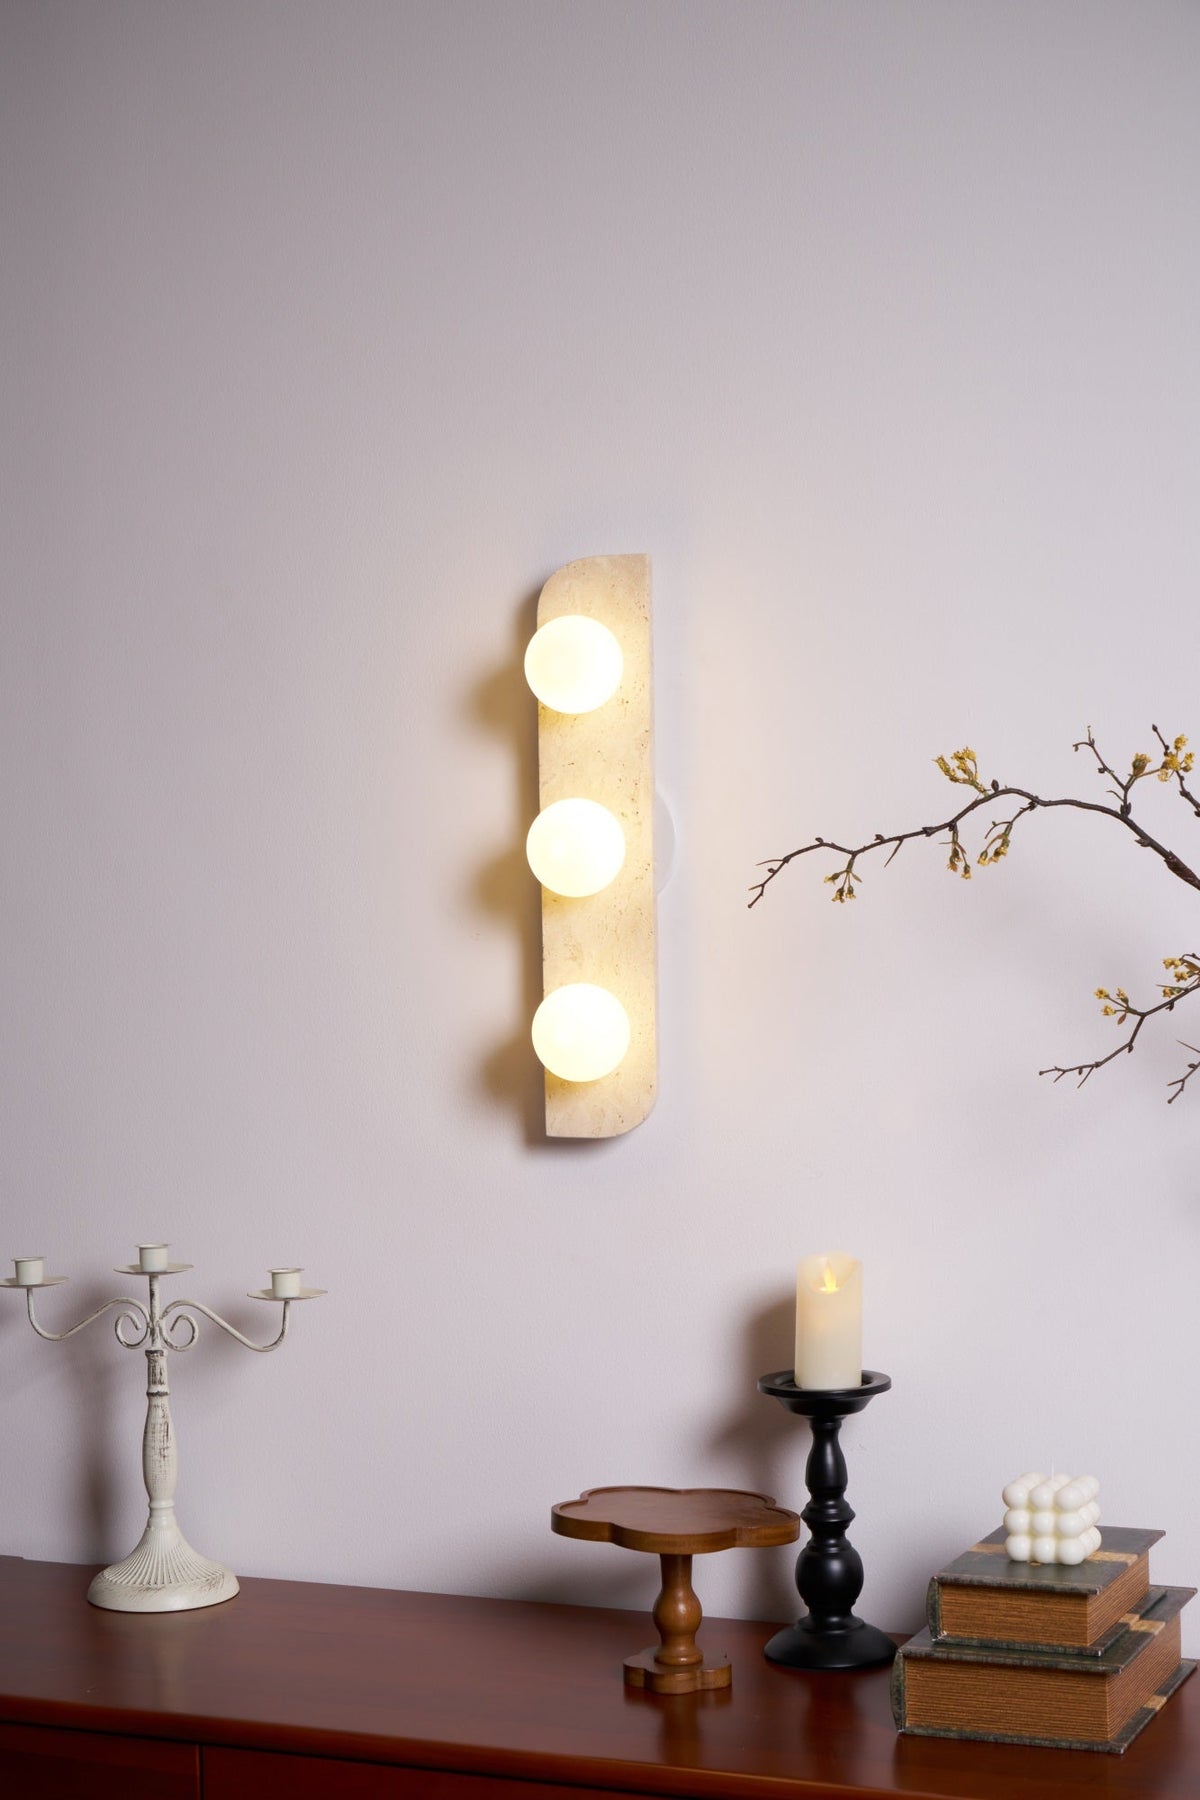
  • This Clérachic wall light lit on a dusky lilac wall, with candlesticks and a pale branch at the edges of the frame.
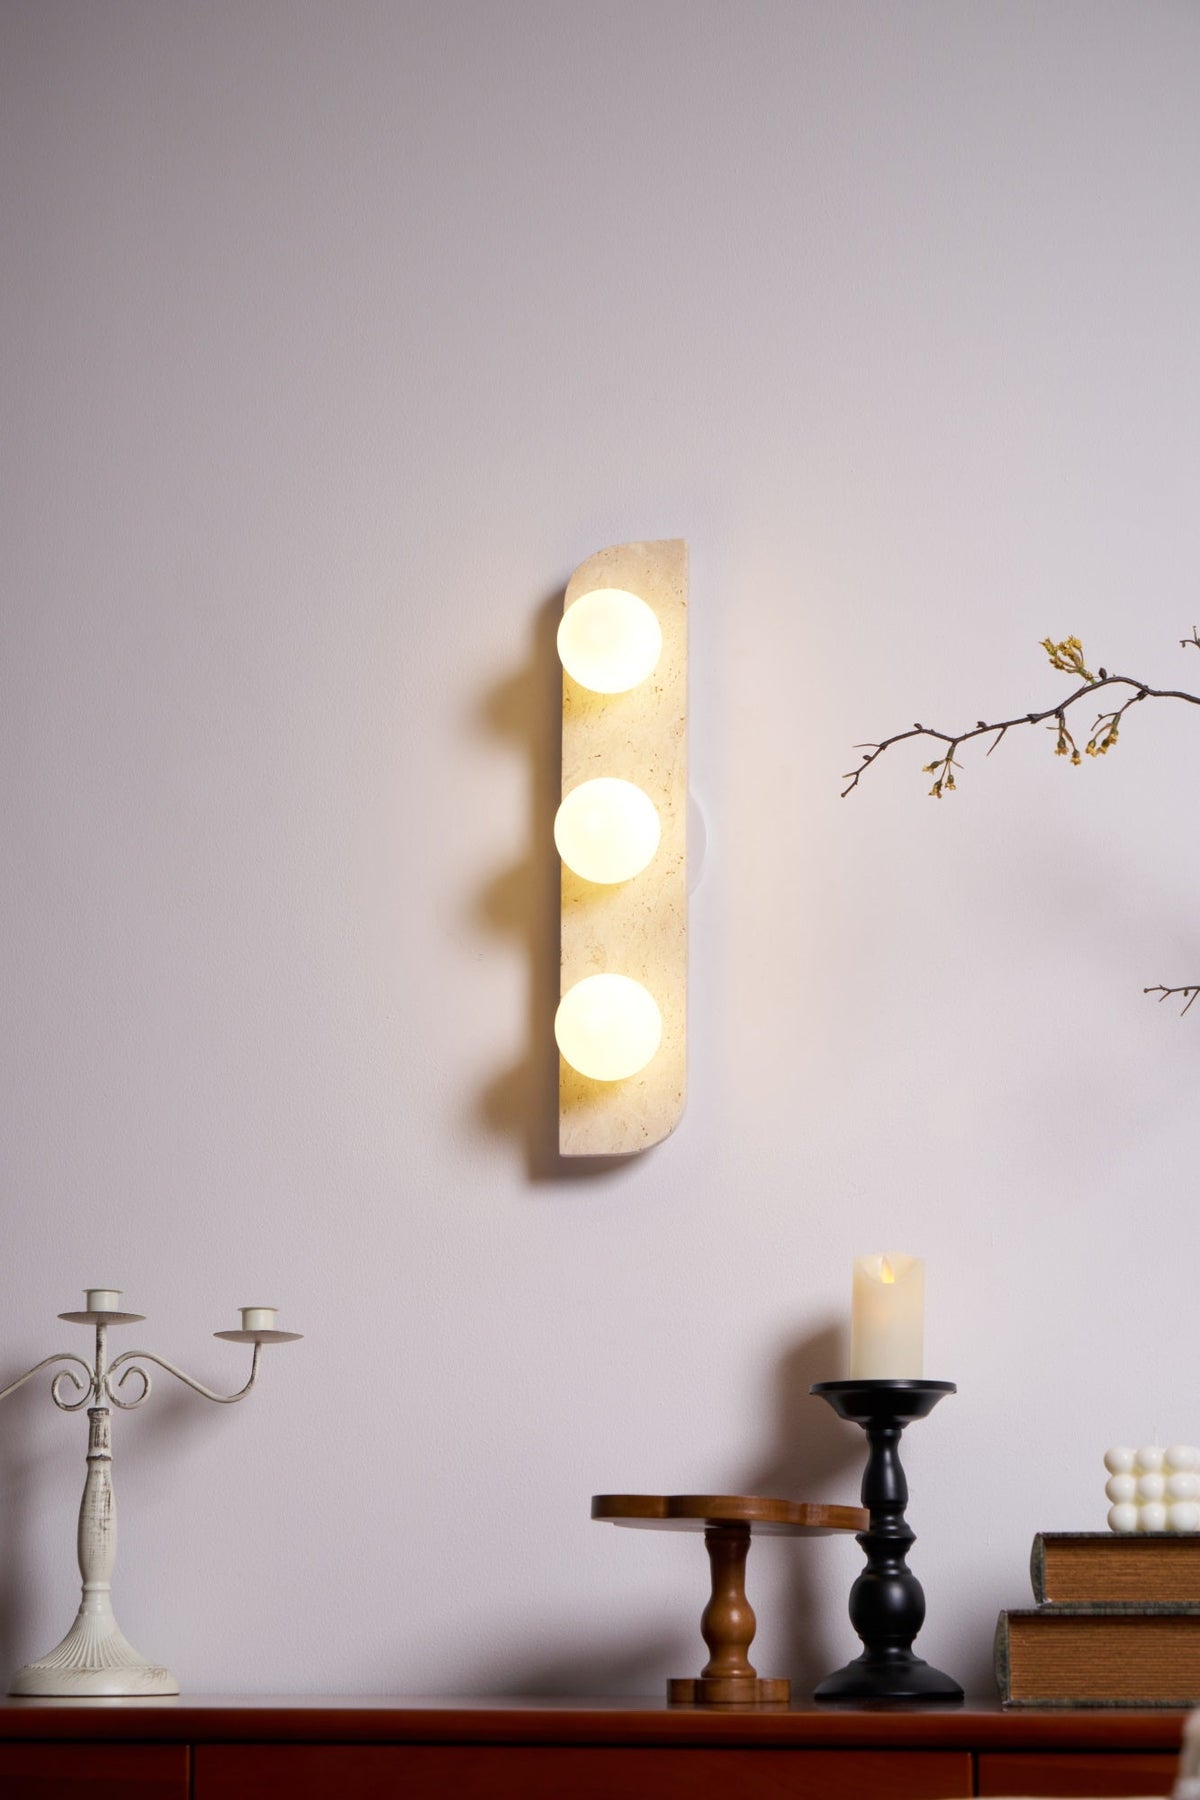
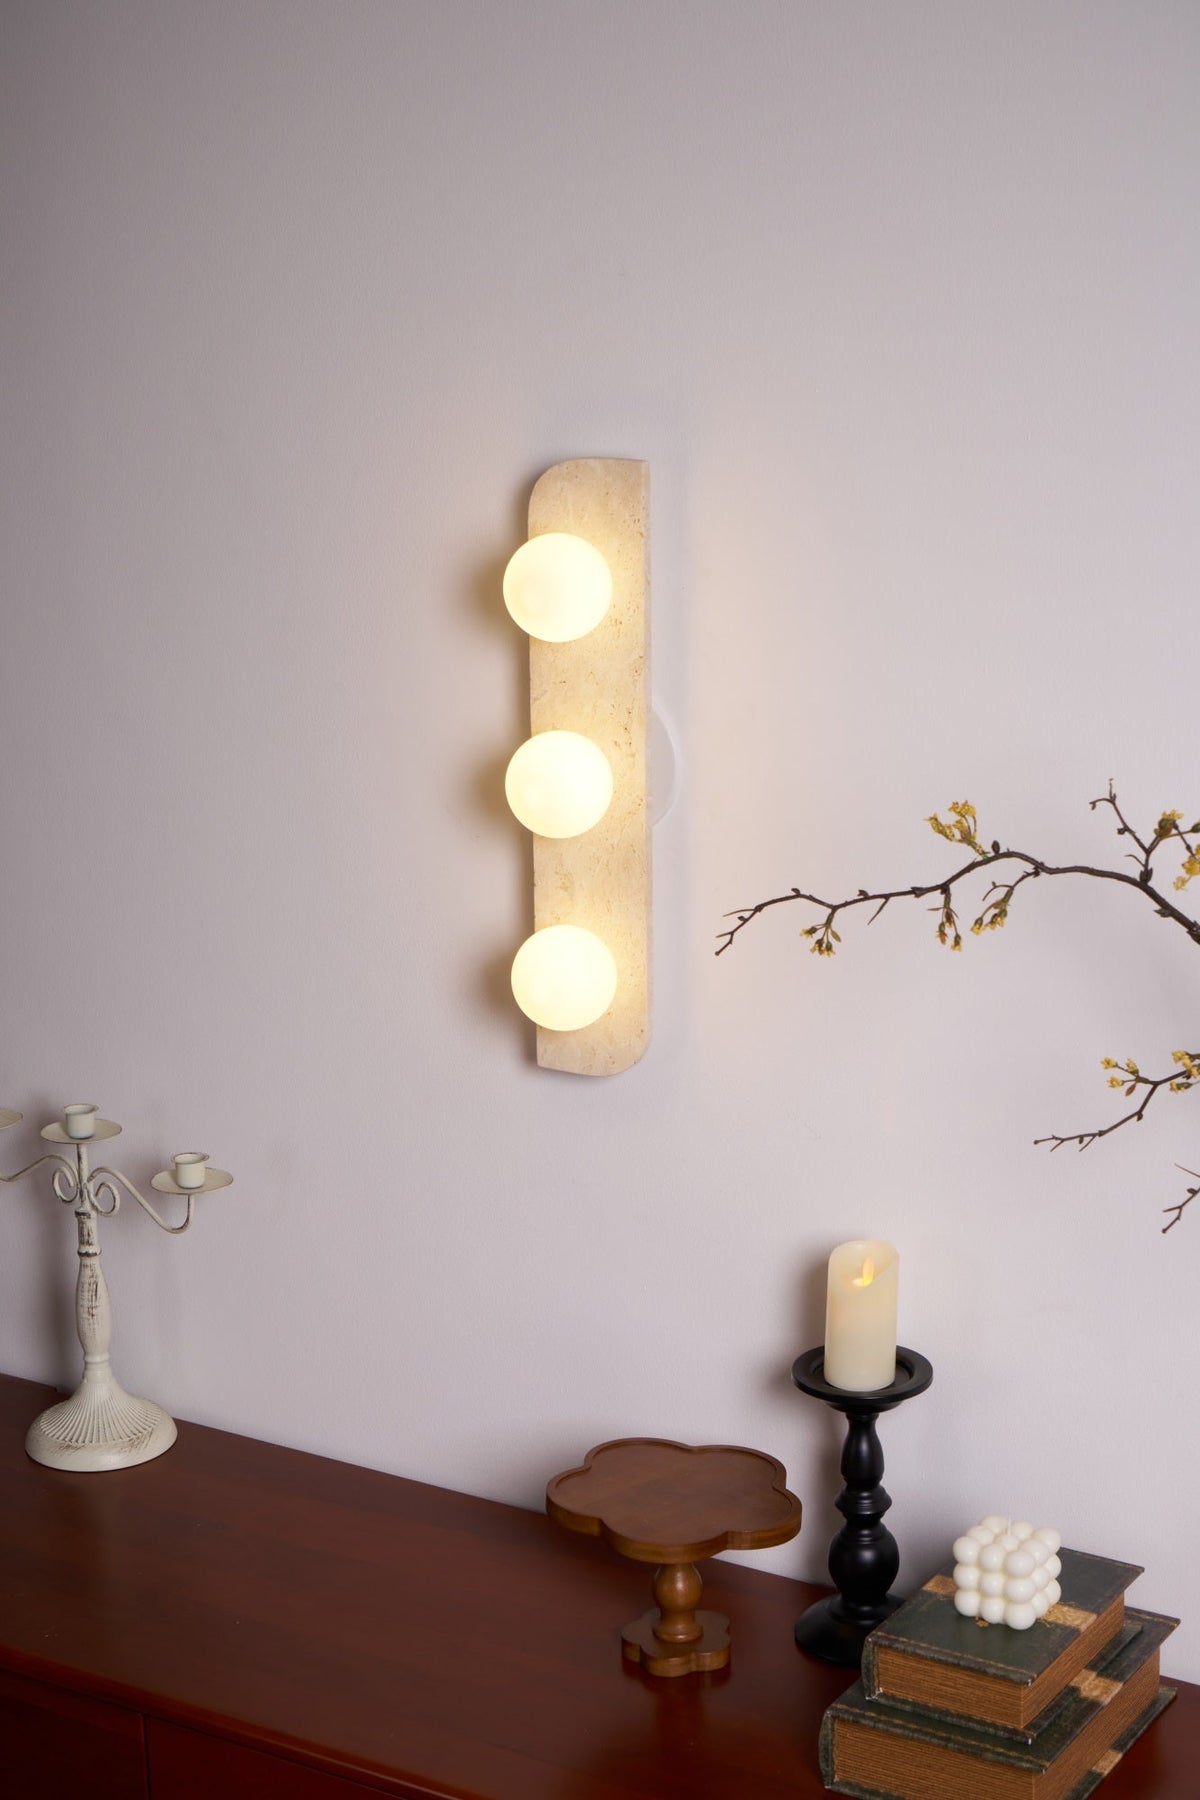
  • Close view of the three lit globes on this Clérachic wall light, with a flowering branch crossing the dusky wall beside it.
  • Lit Clérachic wall light on a white wall above a bed with plump white pillows, beside a shelf niche holding books.
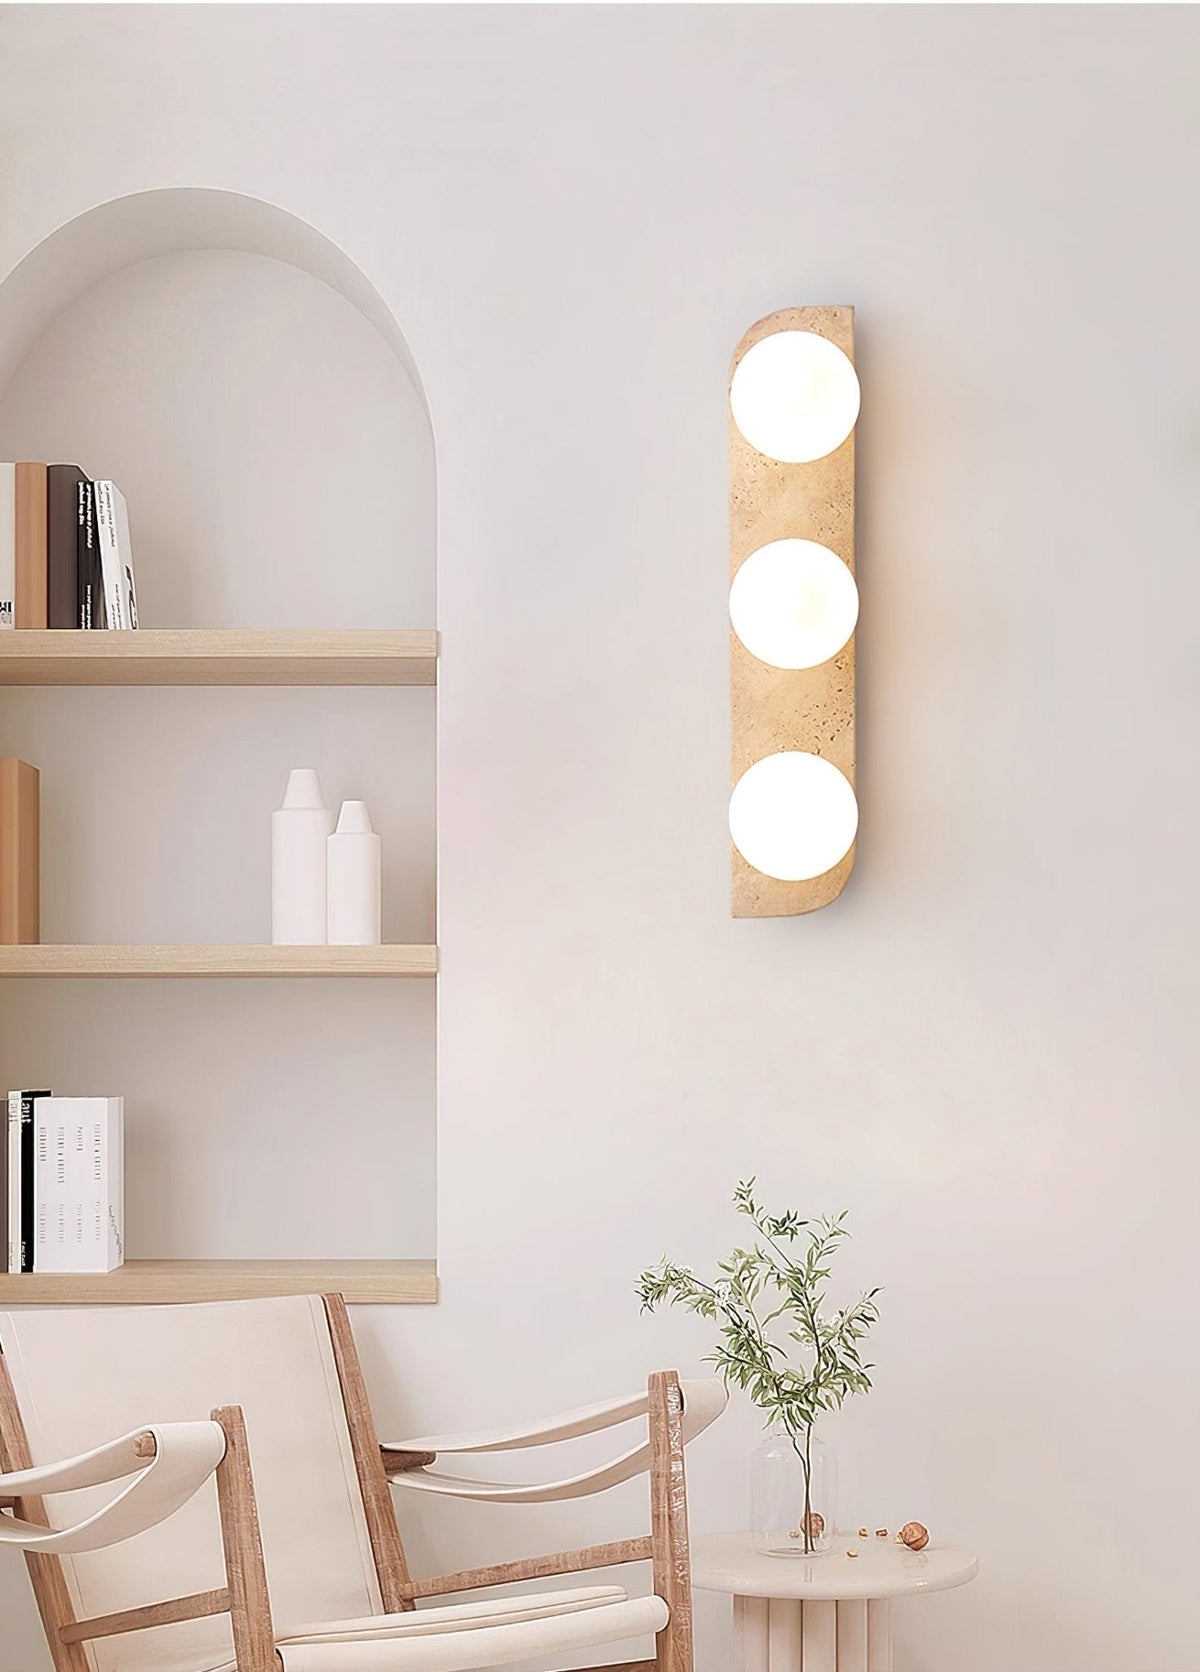
  • A Clérachic three-globe wall light beside an arched shelf niche, with an olive branch in a small vase at the foot of the wall.
  • Two-globe Clérachic wall light glowing above a round wooden side table, with a herringbone throw across the bed.
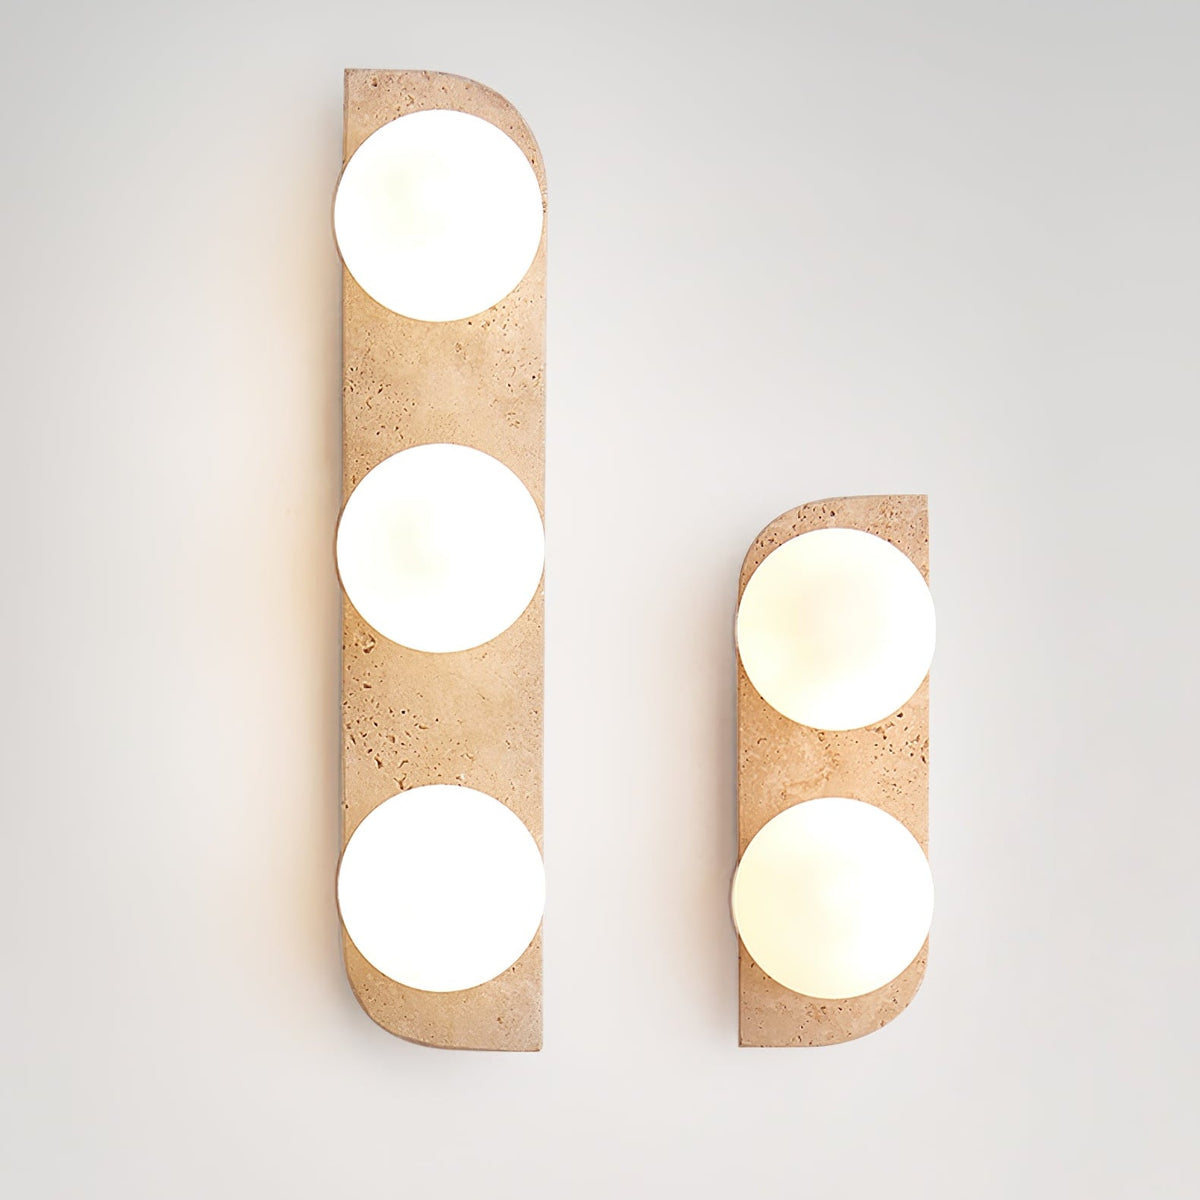
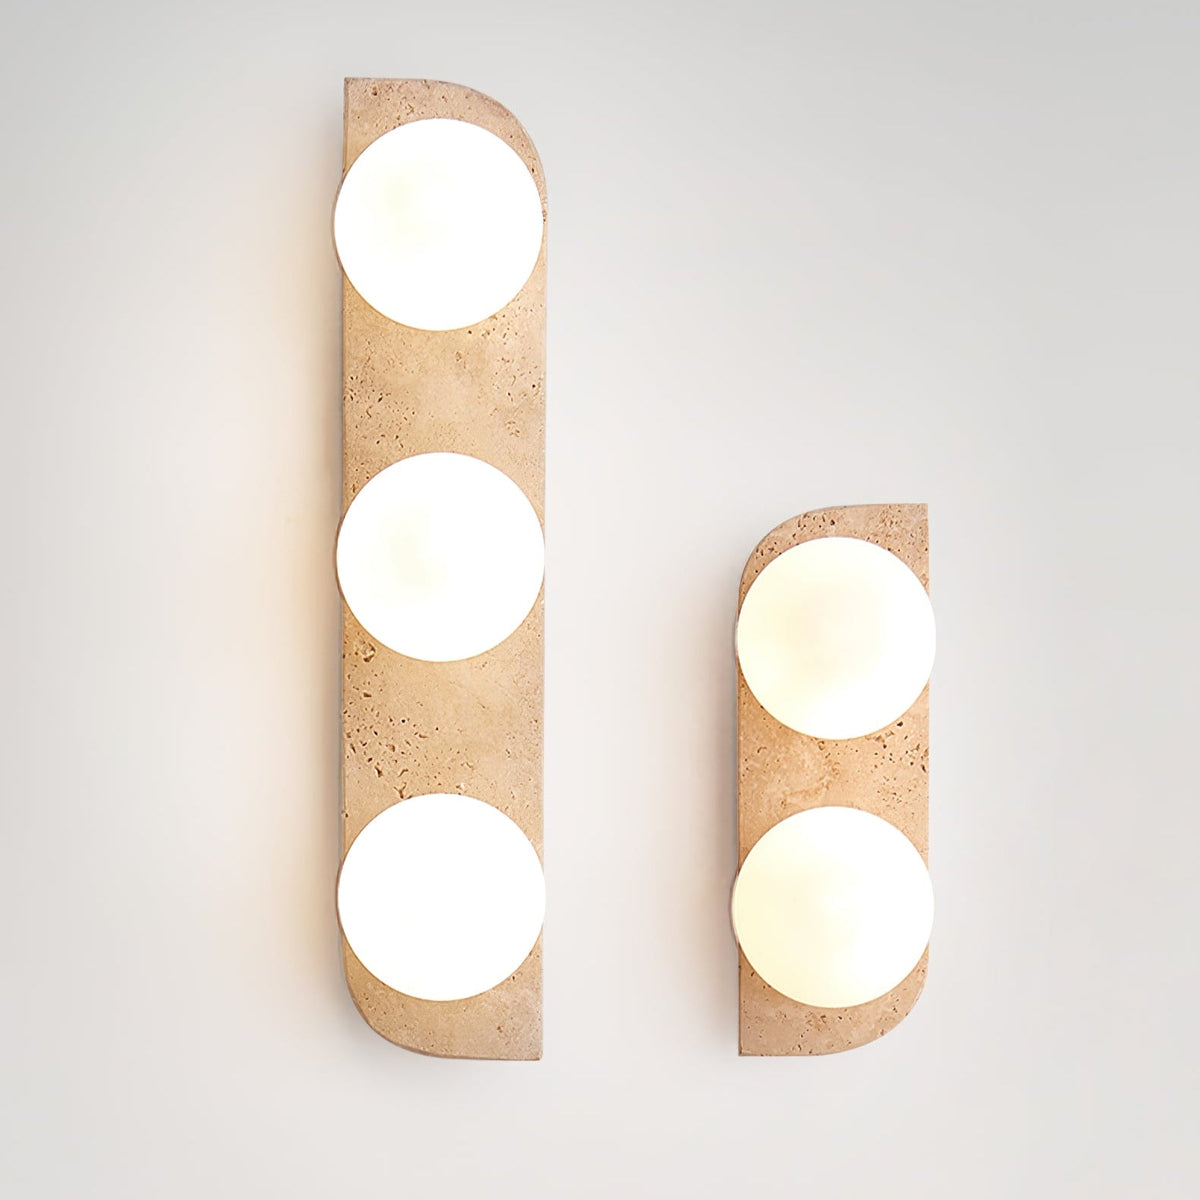
  • Two lengths of this Clérachic wall light side by side, one with three globes and one with two, all lit against a pale wall.
  • Small in the frame, this Clérachic wall light glows above a dark red sideboard with candlesticks and a lace-edged plate.
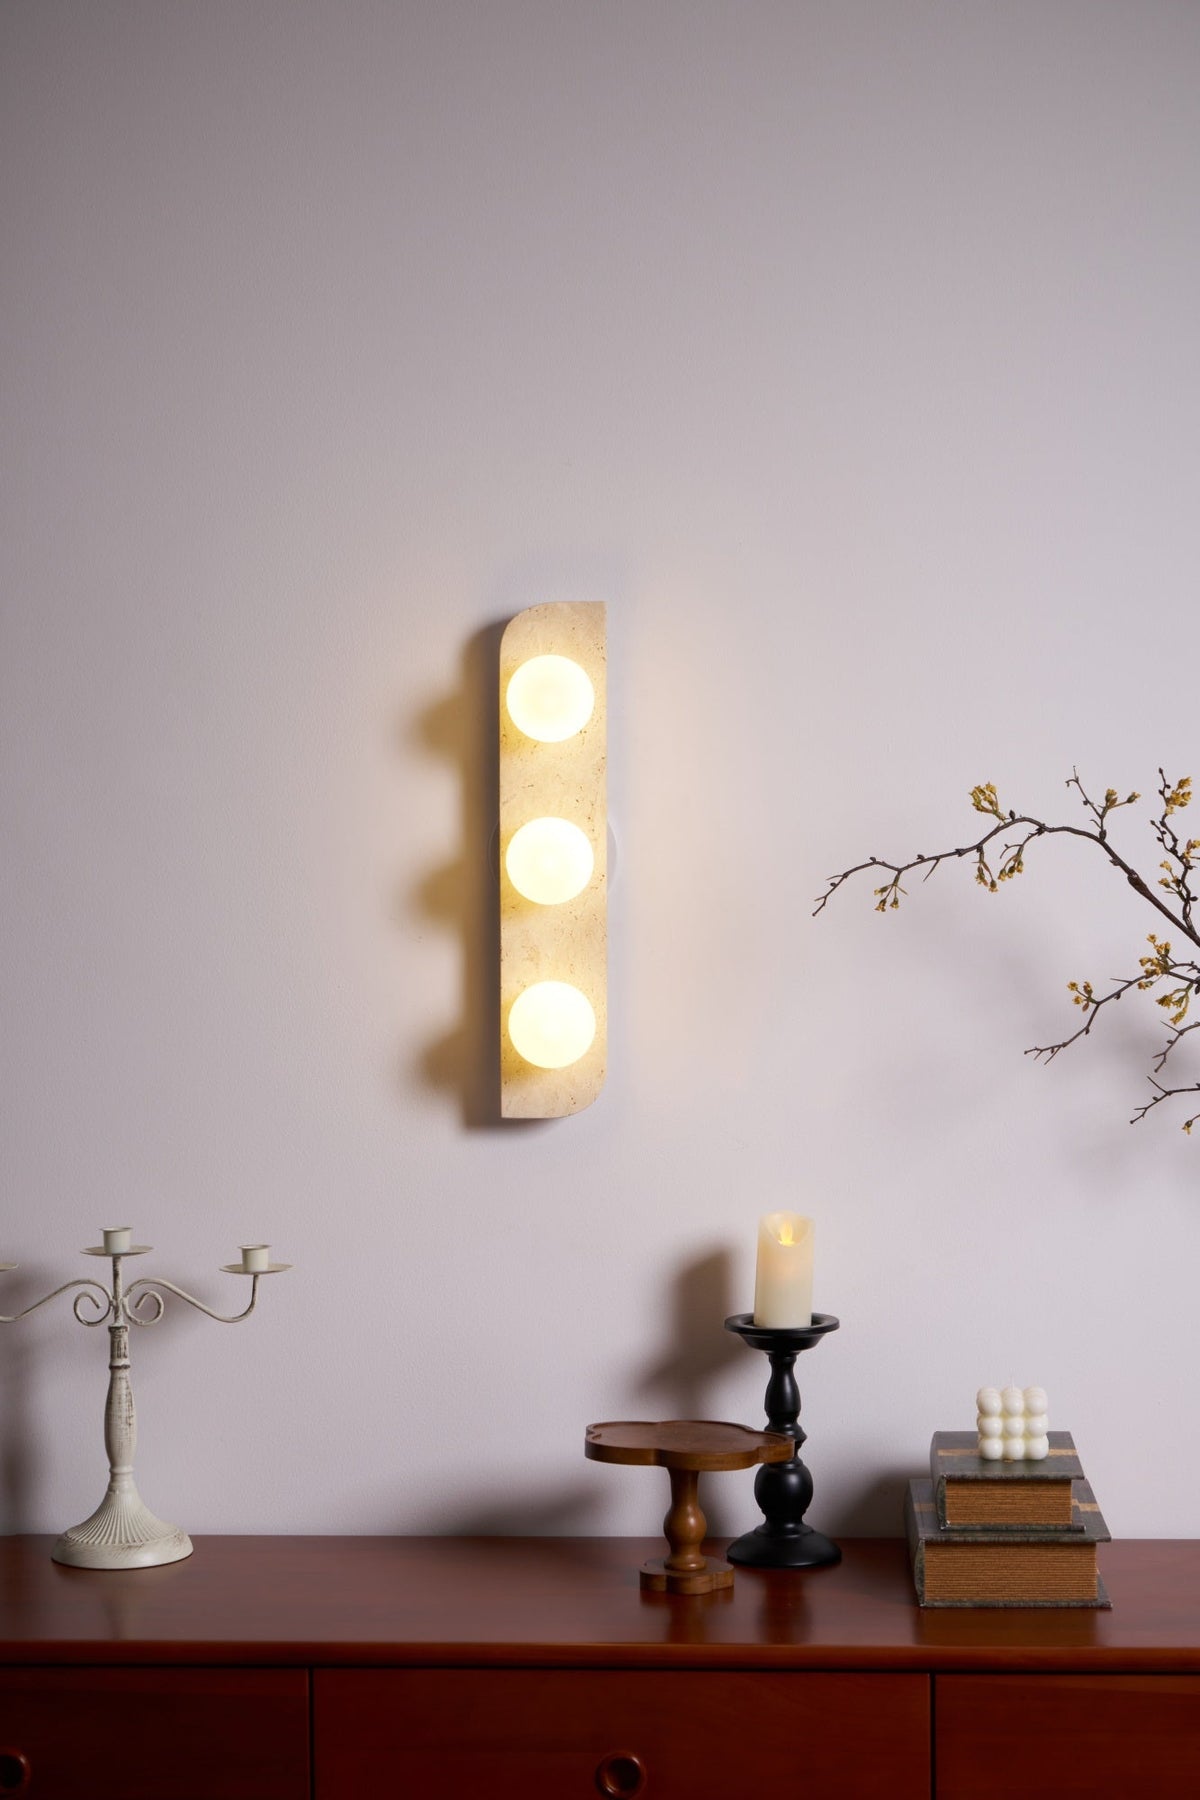
  • Lit Clérachic wall light on a lilac wall above a red-brown sideboard, with a candlestick and a pale branch beside it.
  • Clérachic wall light with three lit globes on a cream wall, a sofa corner and a small bowl visible below.
  • Three-globe Clérachic wall light lit in warm tones, with a bare branch across the lilac wall in the foreground.
  • Clérachic wall light lit above a dark sideboard, a candlestick and a cluster of old books set to its right.
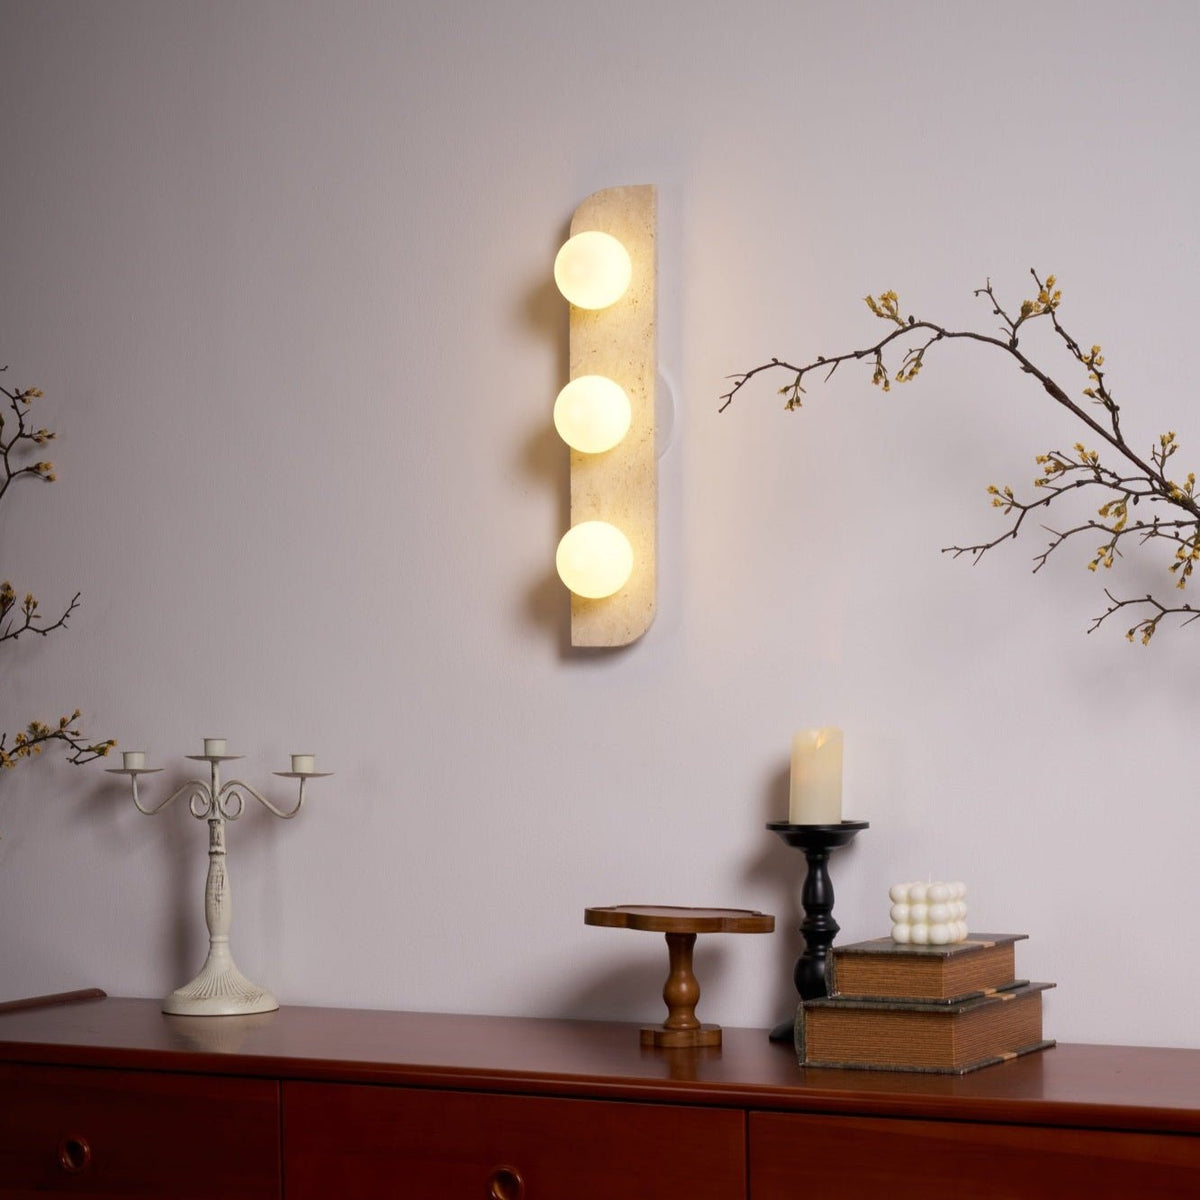
  • Warm-lit Clérachic wall light on a lilac wall, a candlestick and a small stack of books on the sideboard beneath.
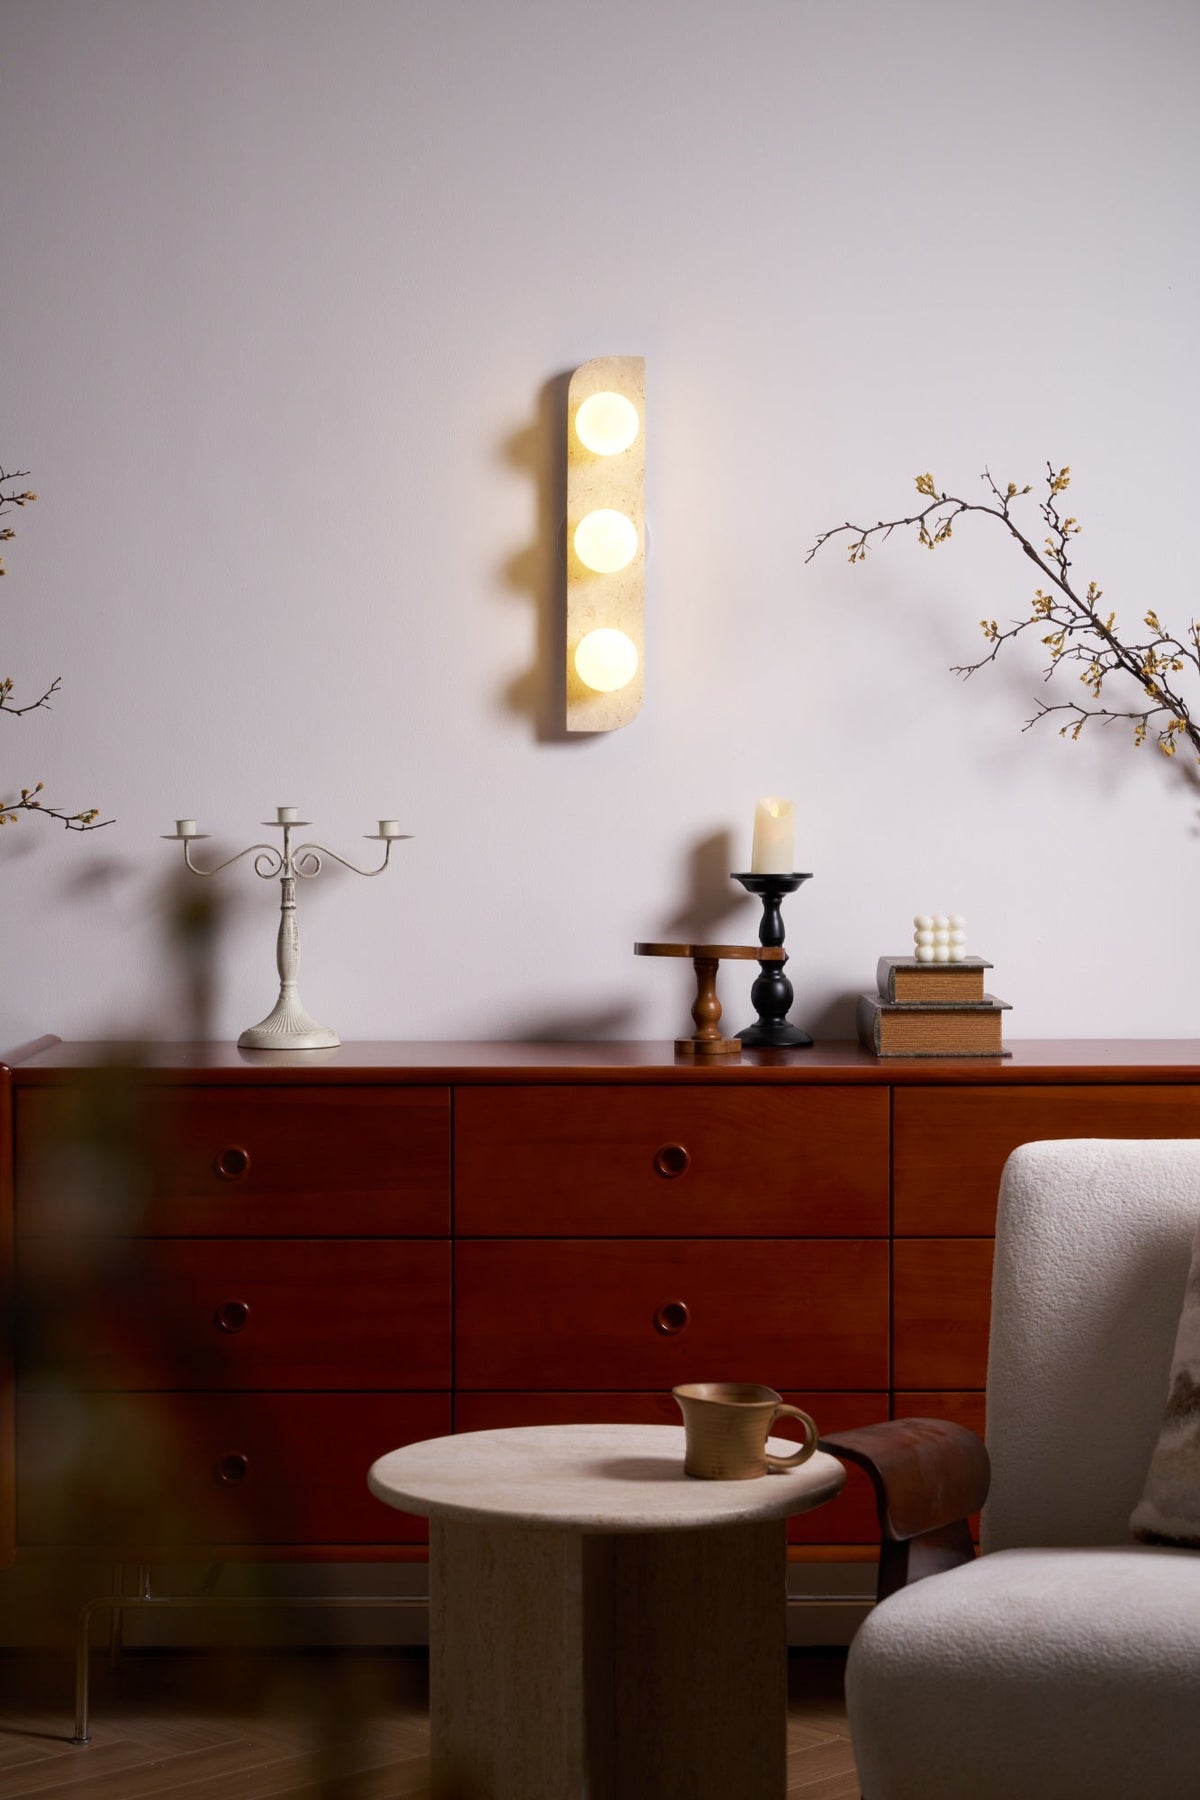
  • Wider view of this Clérachic wall light lit above a sideboard, with an armchair and a round stone table on the right.
  • The three globes of this Clérachic wall light glowing above a sideboard, with a candlestick and a stack of books nearby.
  • Clérachic wall light with all globes lit, mounted high on a lilac wall above a candlestick and a small book stack.
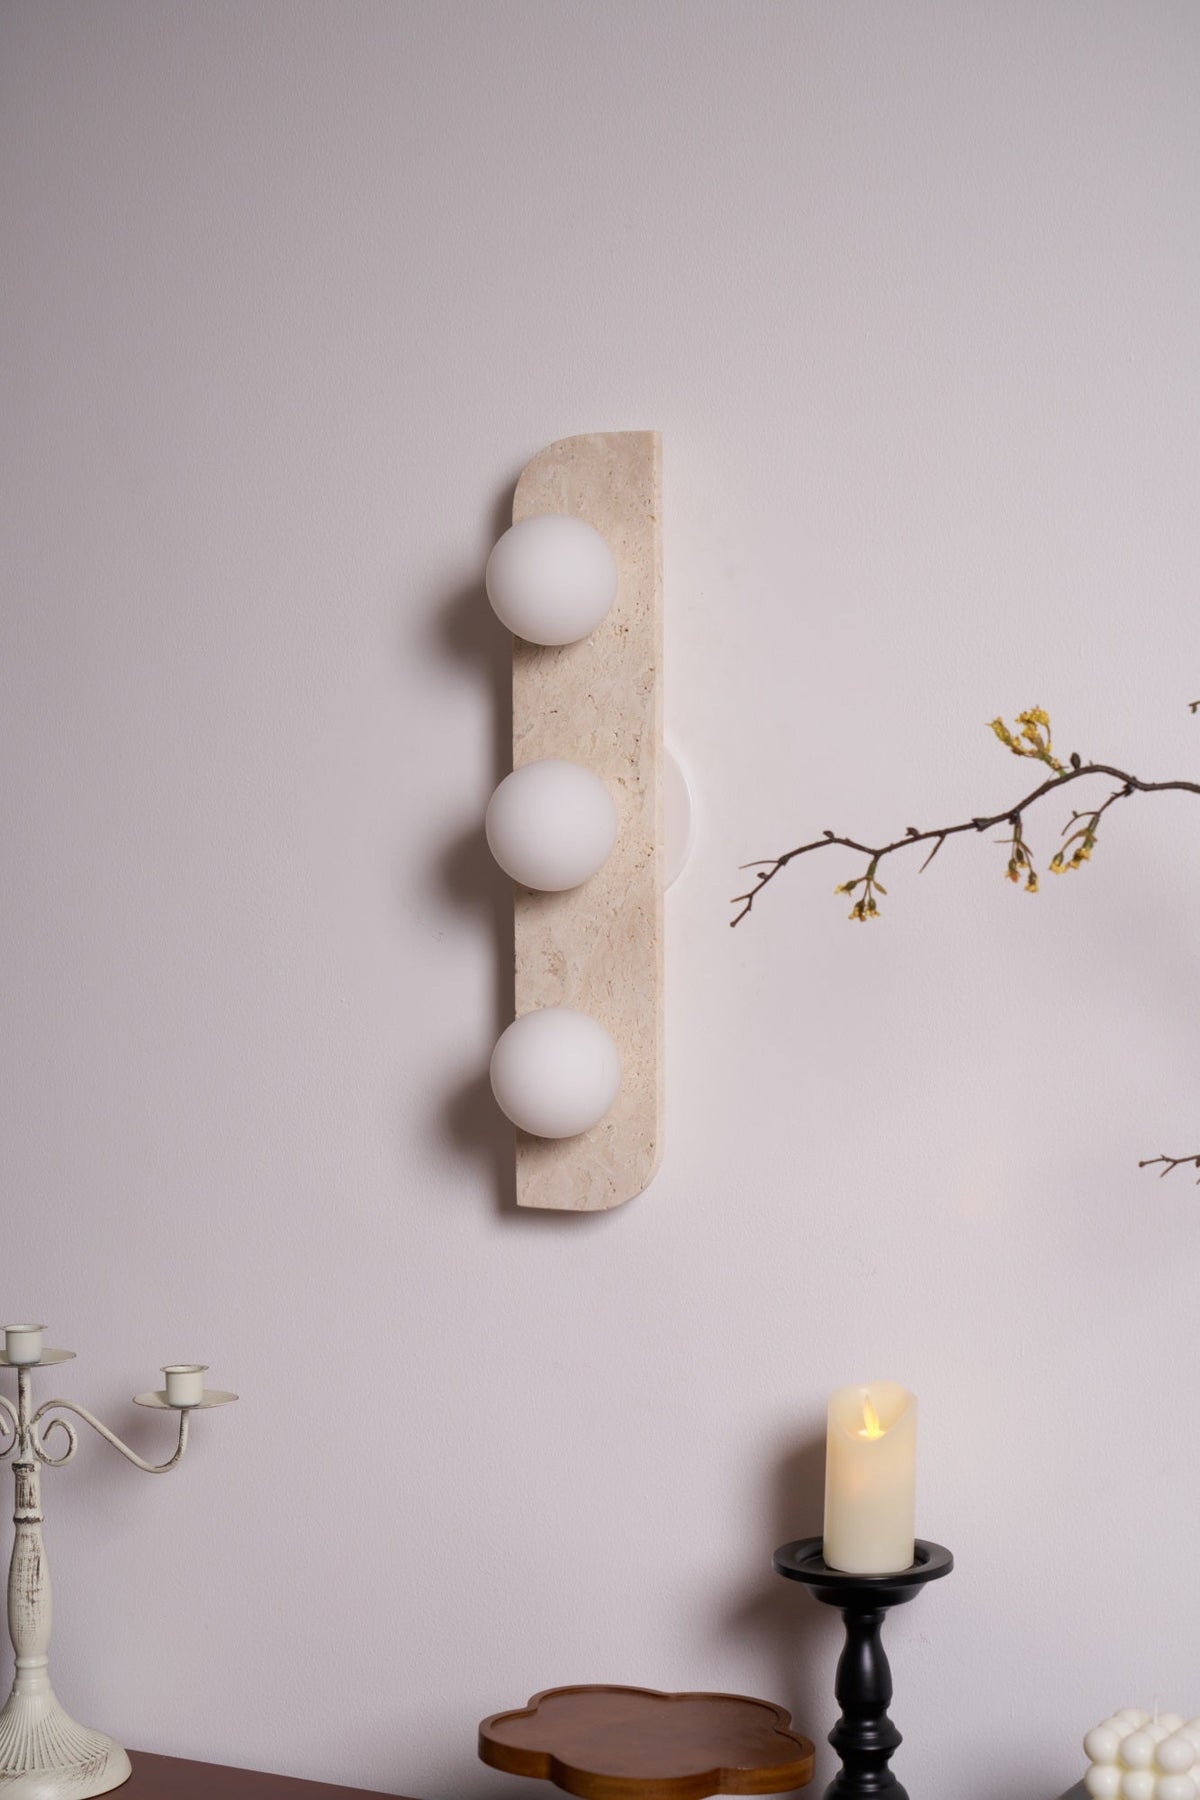
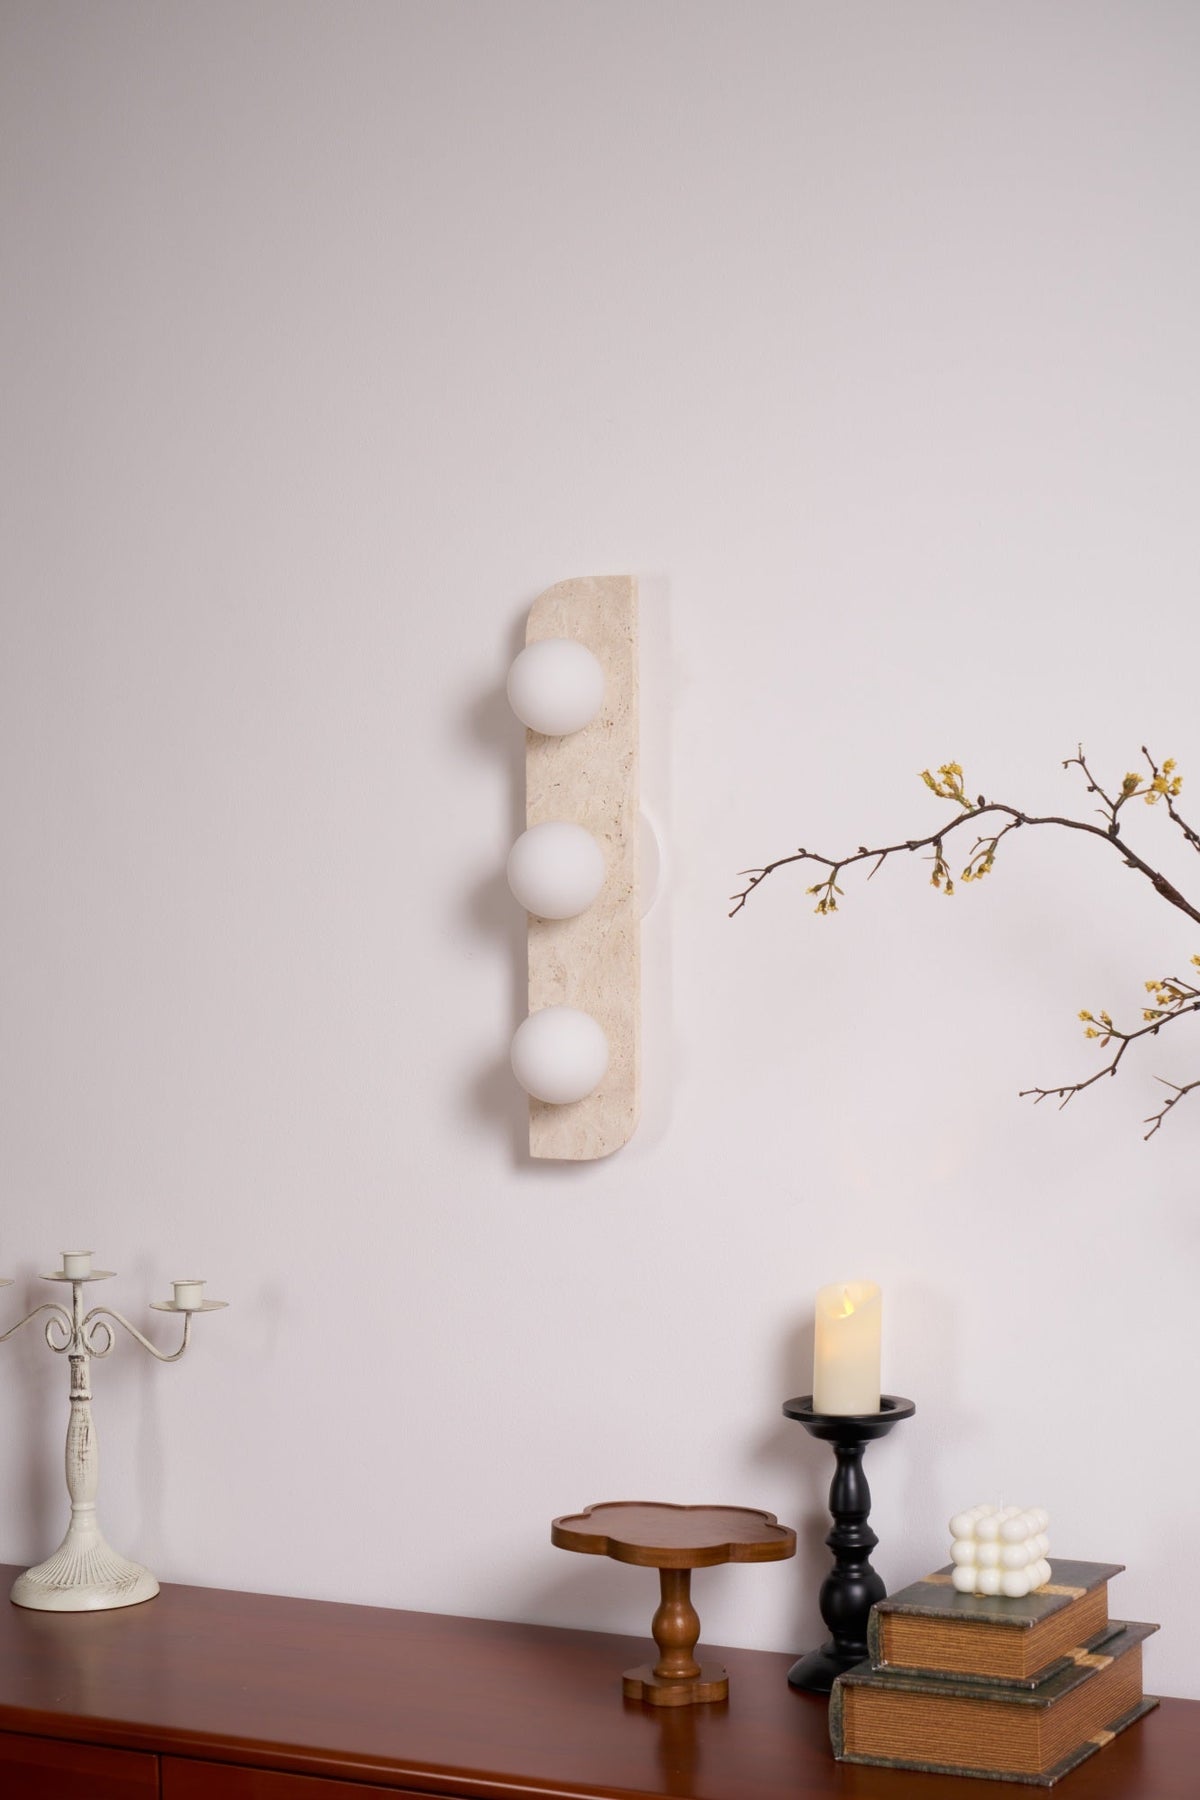
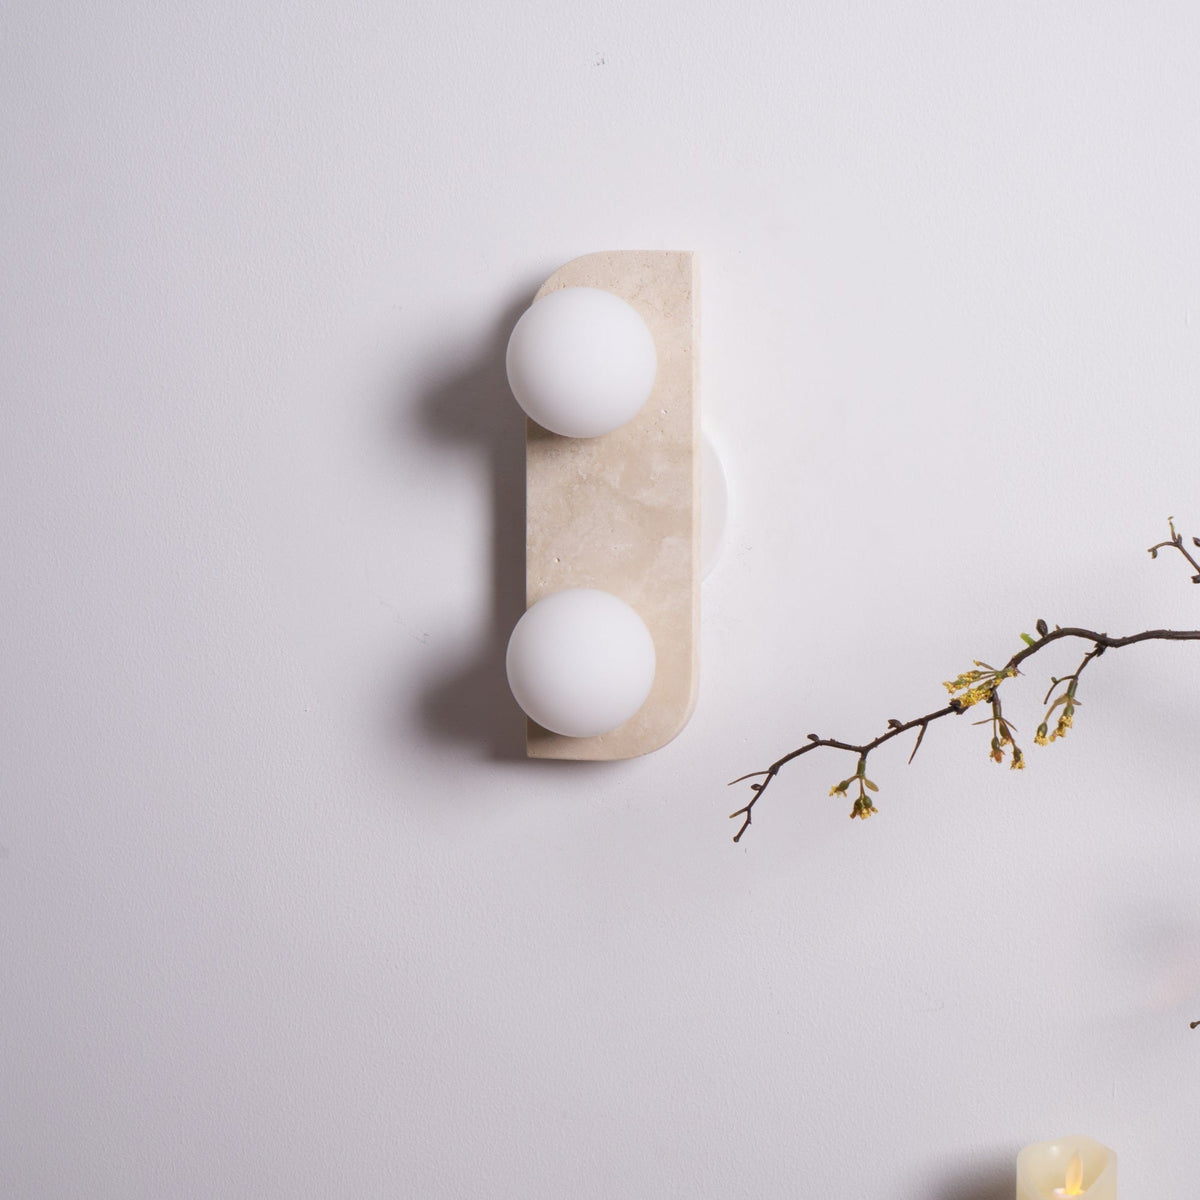
  • Unlit Clérachic wall light showing three frosted white globes on a pale travertine bar, with a candle below.
  • The Clérachic wall light switched off, its white globes and pale stone plate visible beside a branch and a candlestick.
  • Unlit Clérachic wall light above a sideboard, an armchair and a low round table giving the setting its scale.
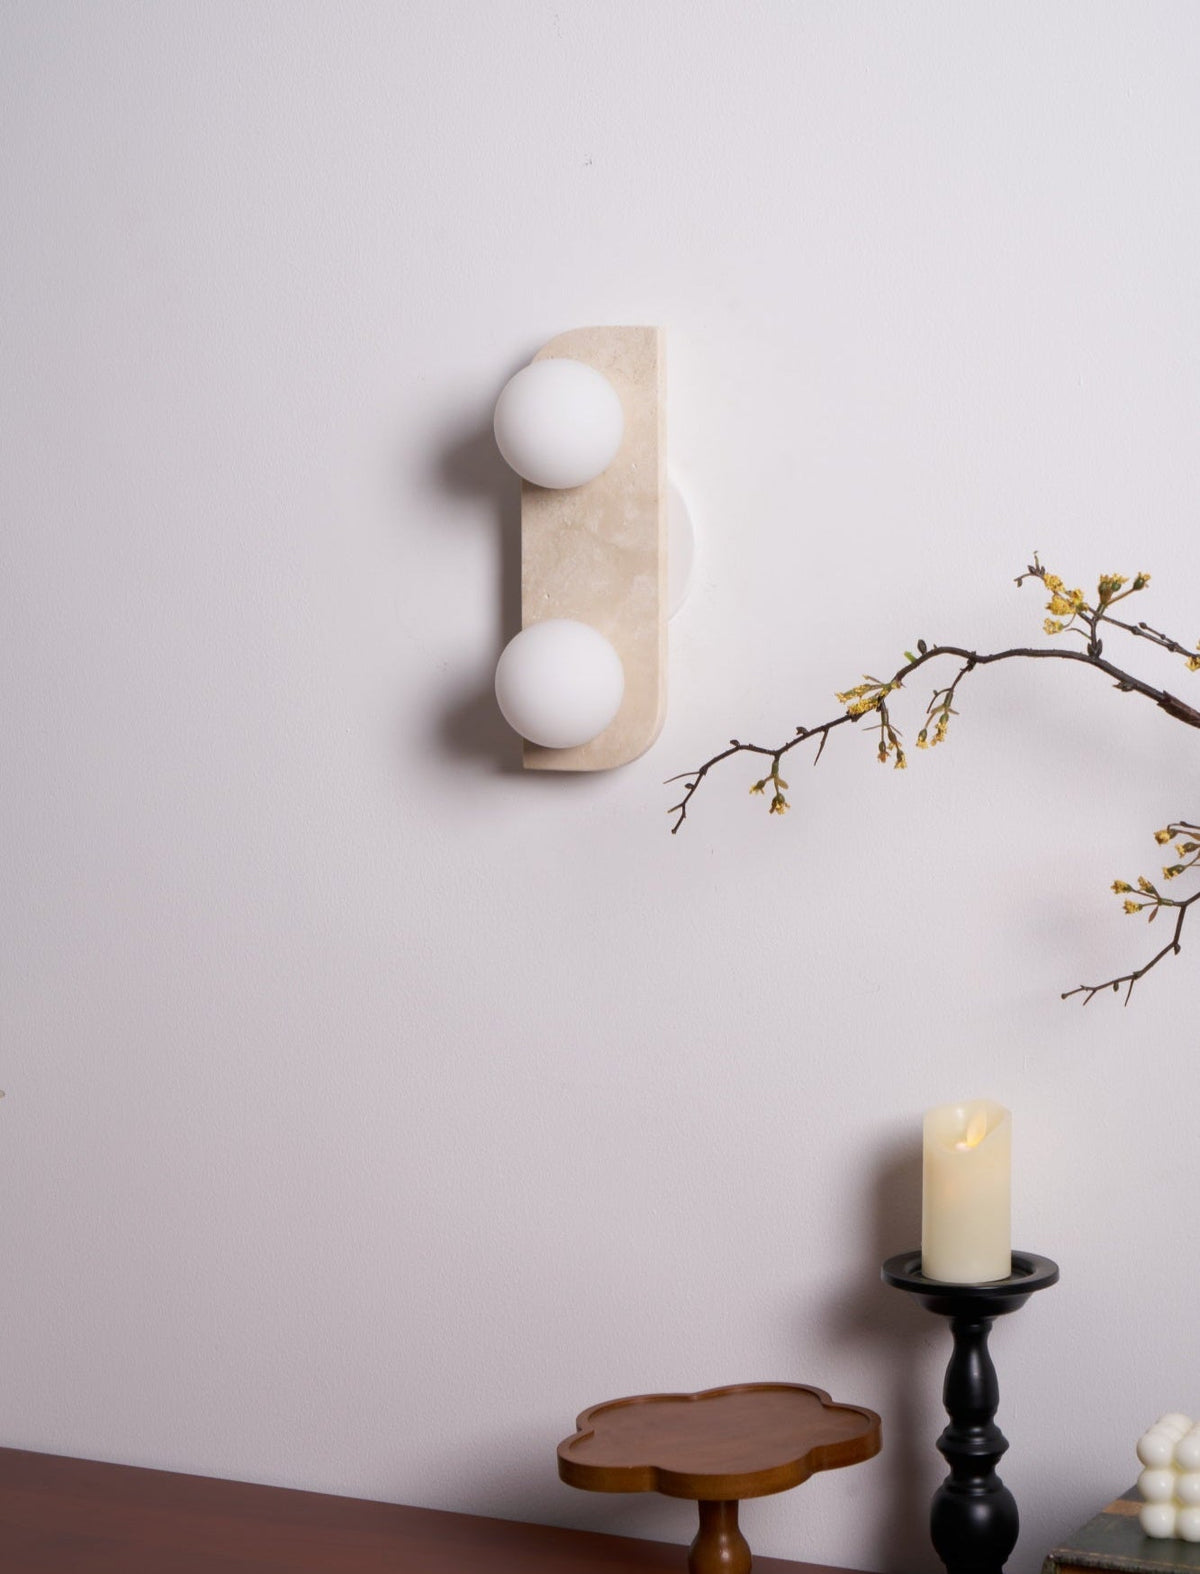
  • Two-globe Clérachic wall light switched off, its frosted white globes close to the camera, with a candle and tray below.
  • Unlit three-globe Clérachic wall light on a lilac wall, with a candelabra and sideboard accessories at the bottom of the frame.
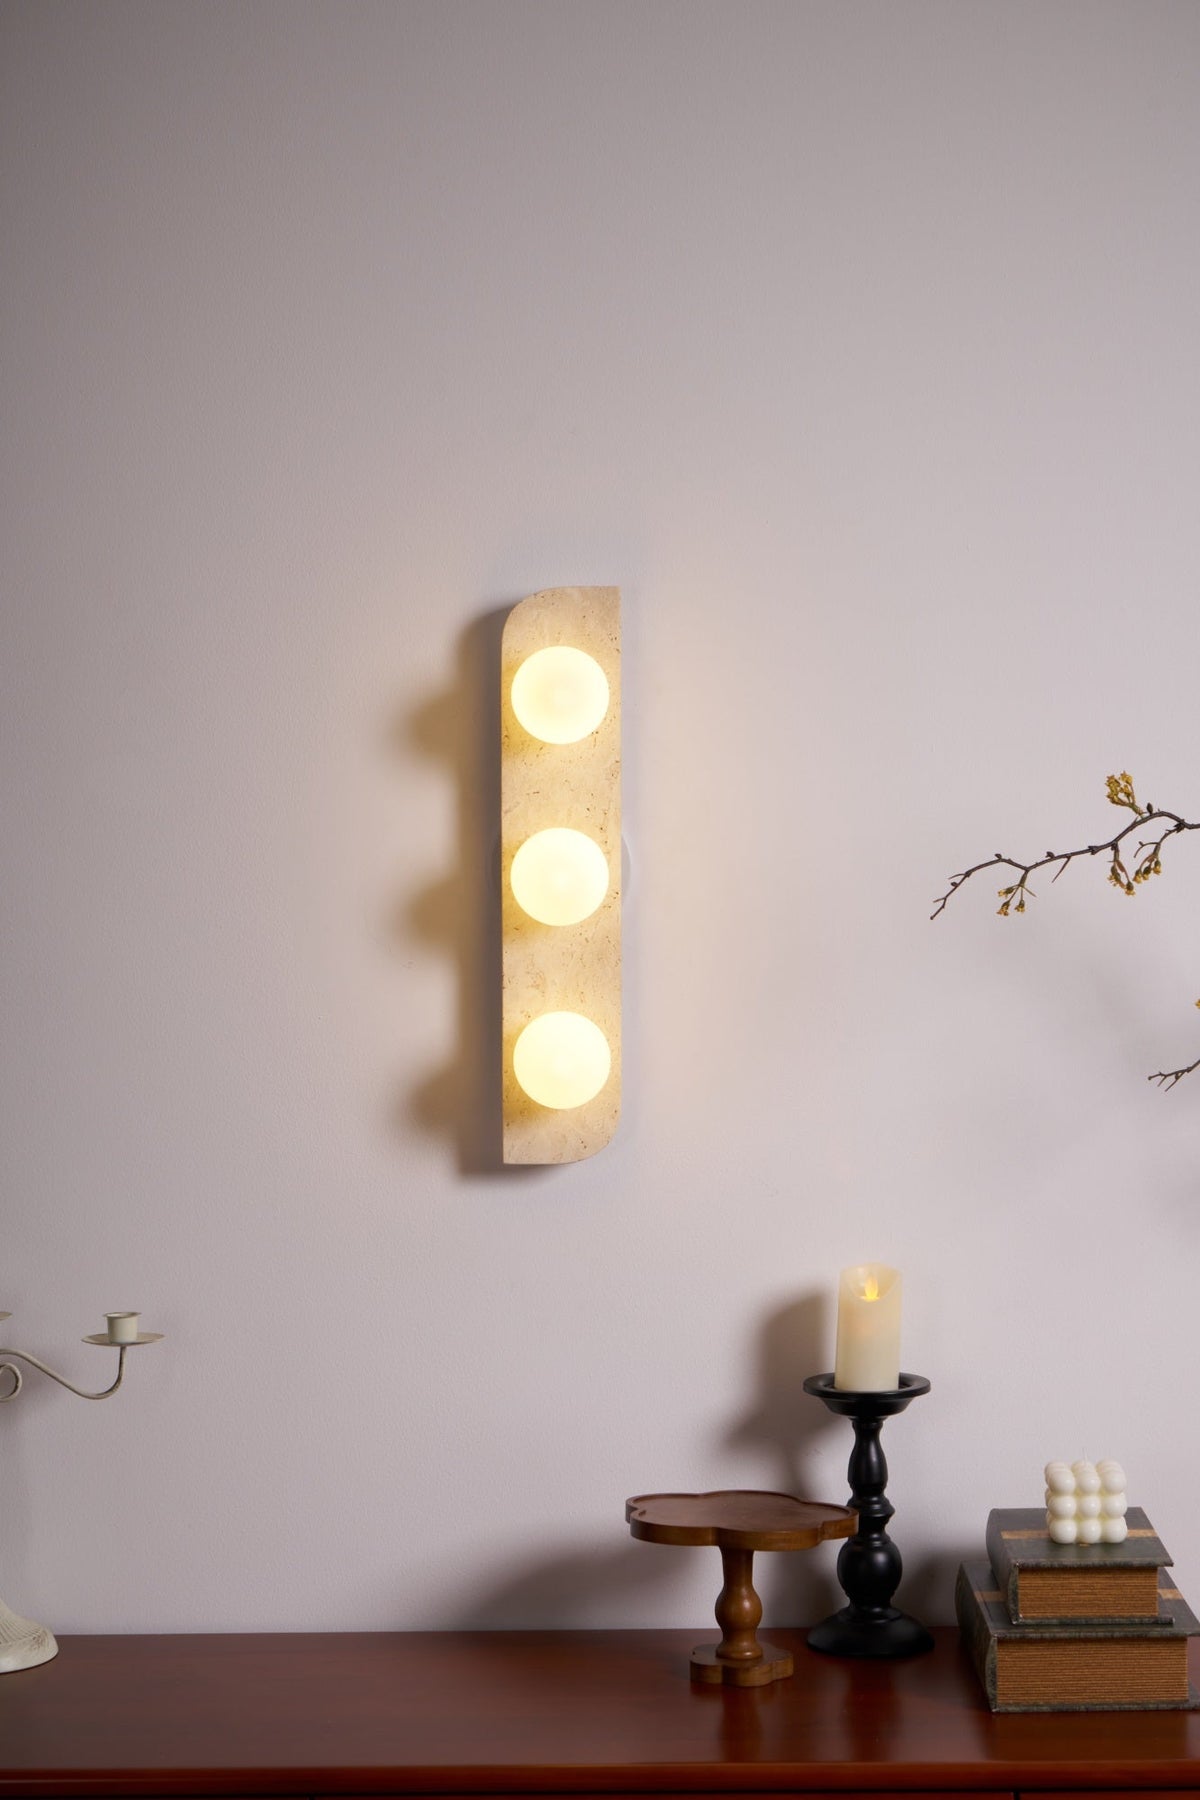
  • Lit Clérachic wall light on a lilac wall, its three globes glowing above a candlestick and a stack of books.
  • This Clérachic wall light glowing above a sideboard in a wider view, with a candelabra to the left and a candle at the right.
  • Three warm globes lit on this Clérachic wall light, with a candlestick and a small cluster of books on the sideboard below.
  • Lit Clérachic wall light on the lilac wall, a branch with small yellow buds crossing in from the right.
  • Close view of the lower two globes of this Clérachic wall light, one lit and one unlit, on a pale travertine plate.
  • Two-globe Clérachic wall light unlit, with a flowering branch across the wall at the lower right.
  • Close view of the three lit globes on this Clérachic wall light, their warm glow spreading over the pale veined stone.
  • Three lit globes on this Clérachic wall light, with a soft warm halo on the plain wall around the travertine bar.
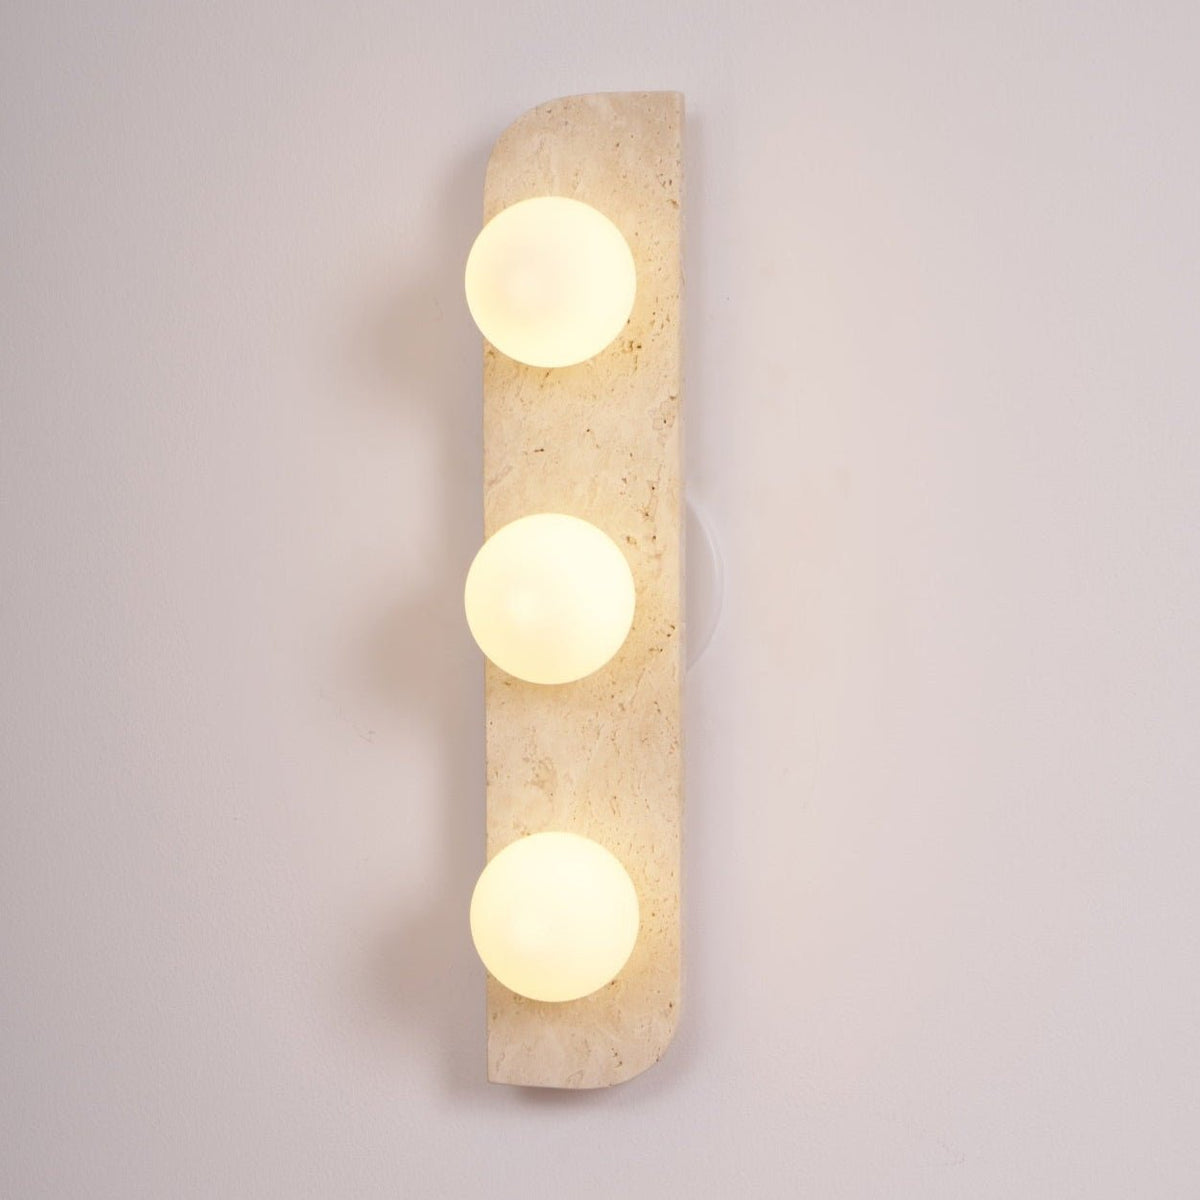
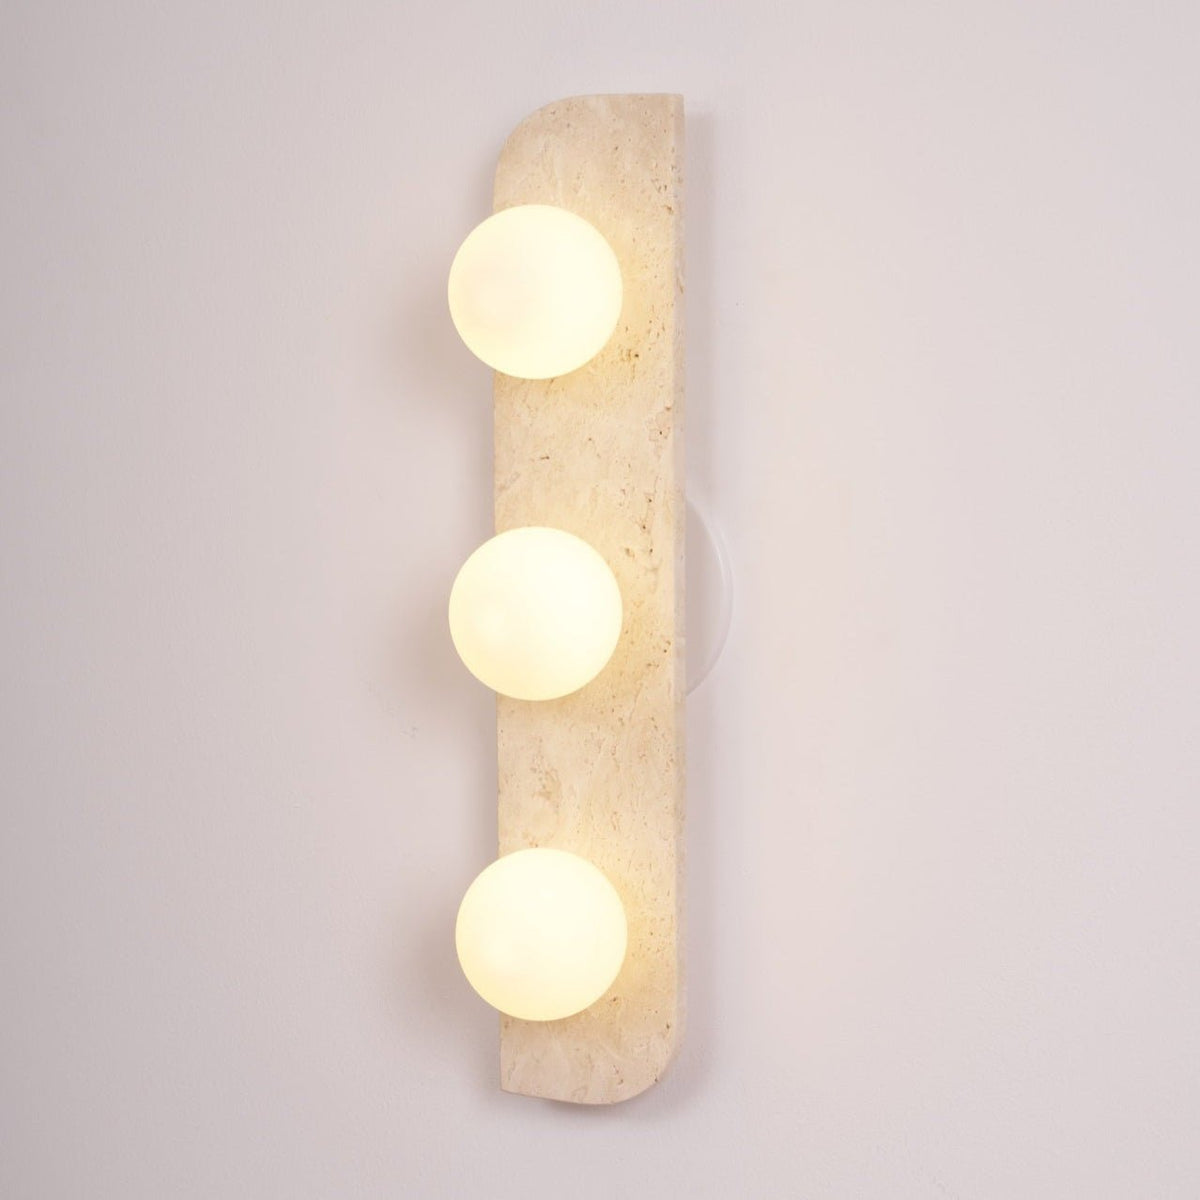
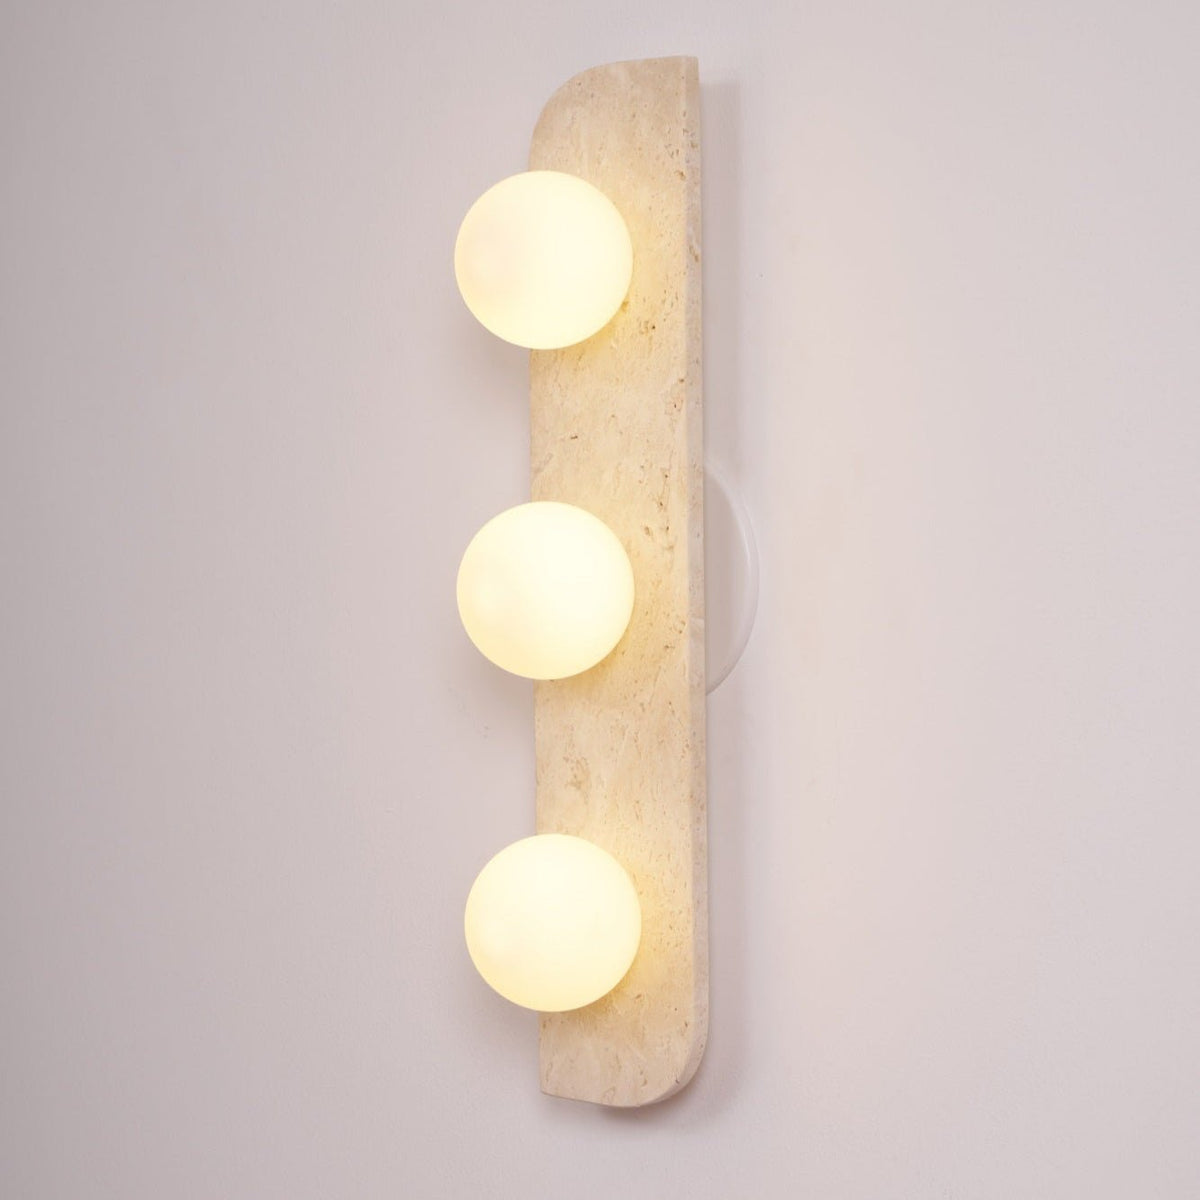
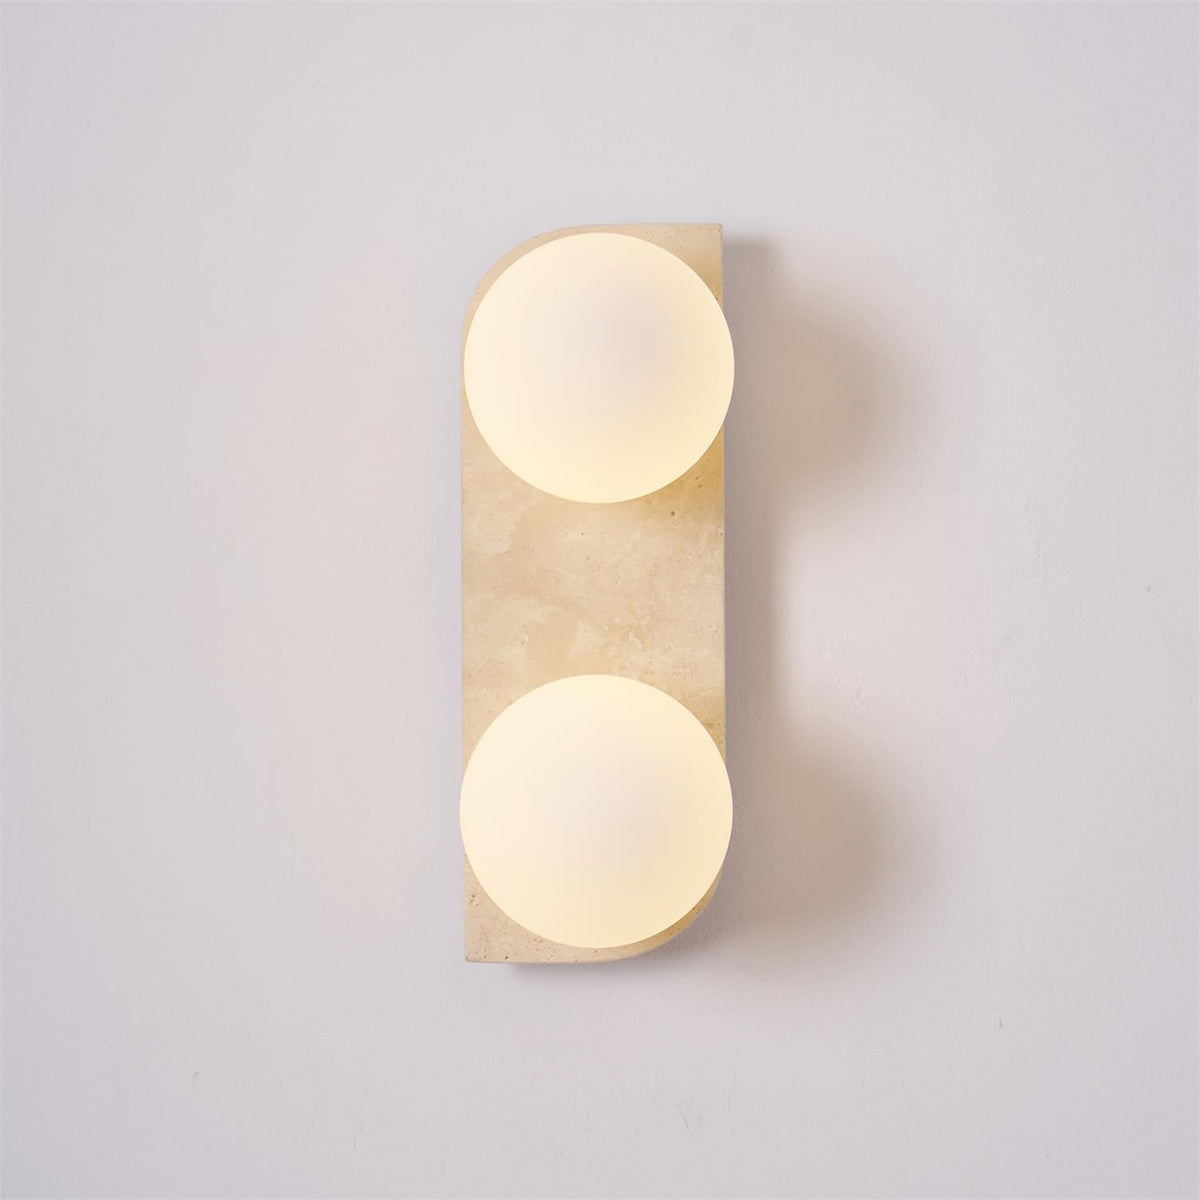
  • Warm-lit Clérachic wall light shown straight on, its three opal globes bright against the veined travertine.
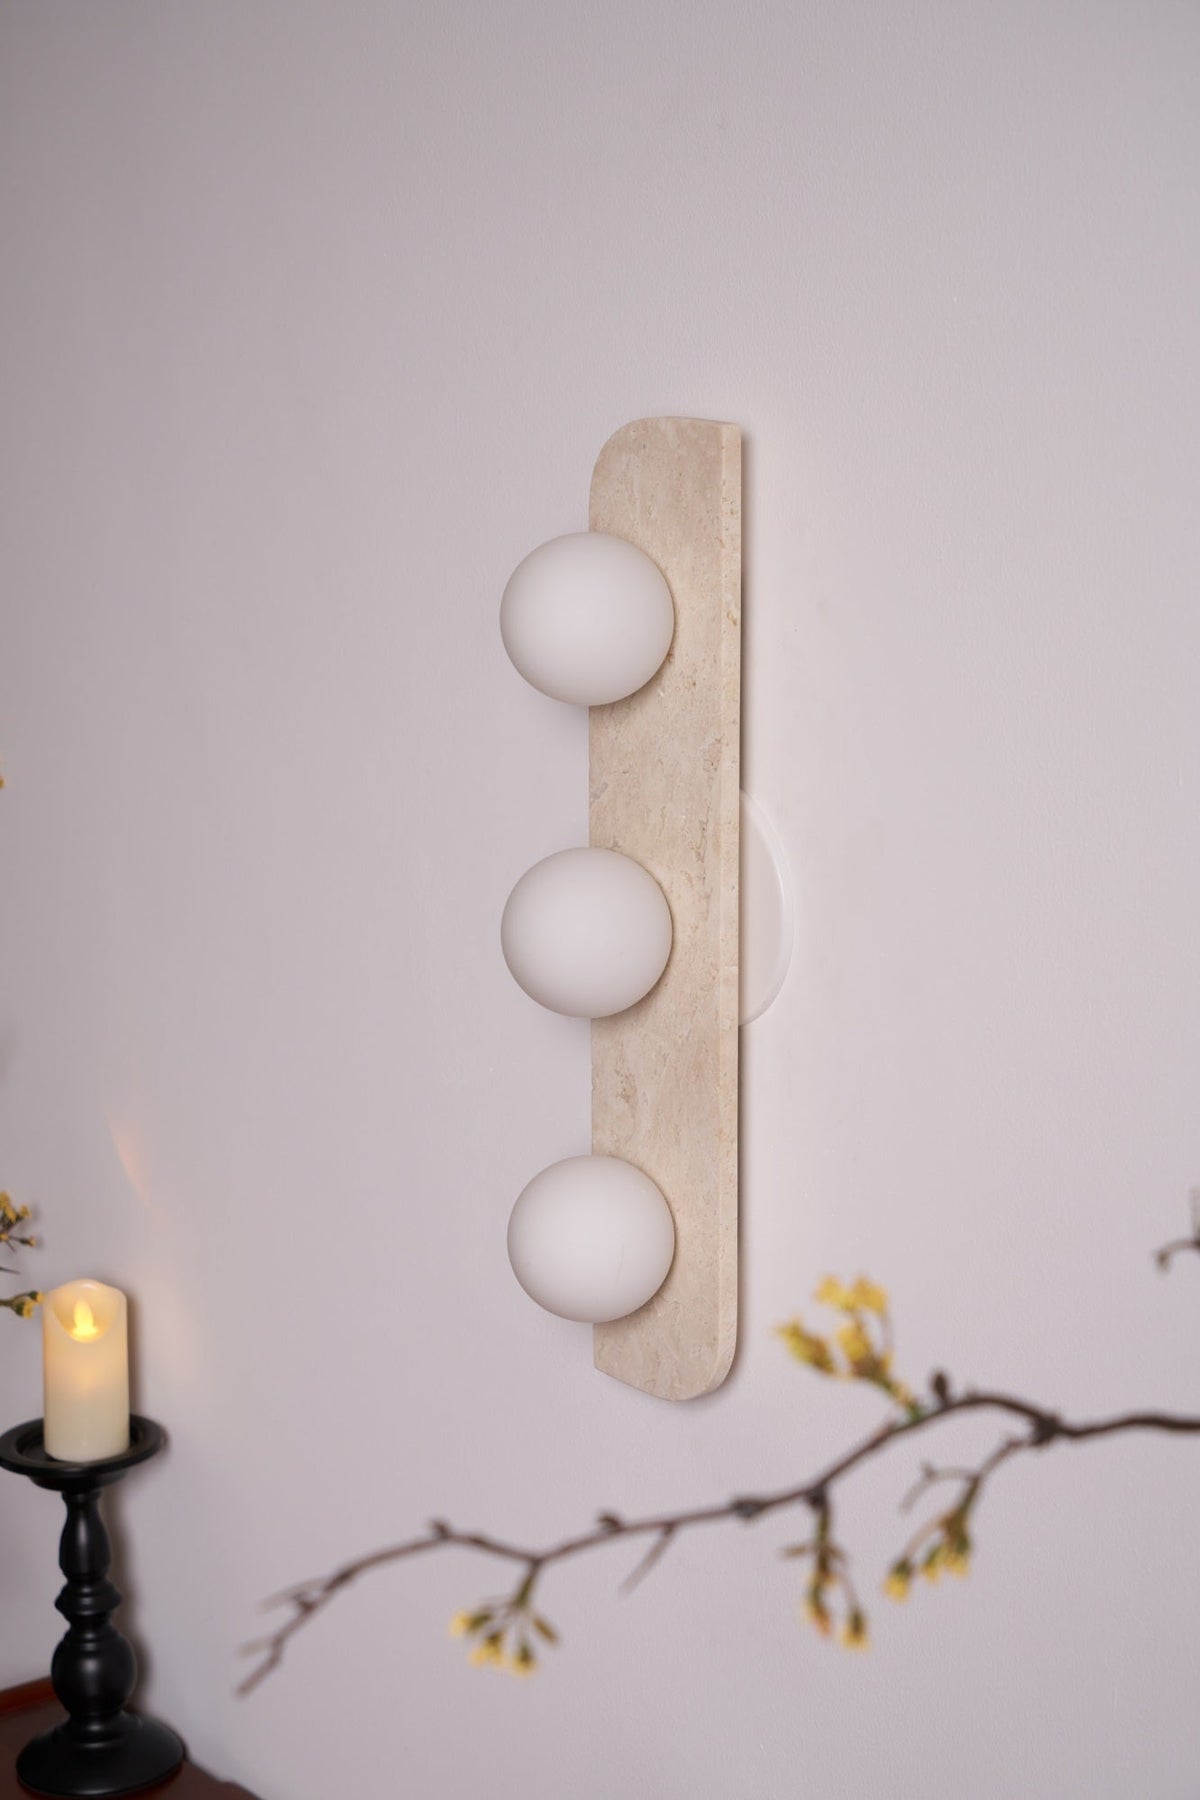
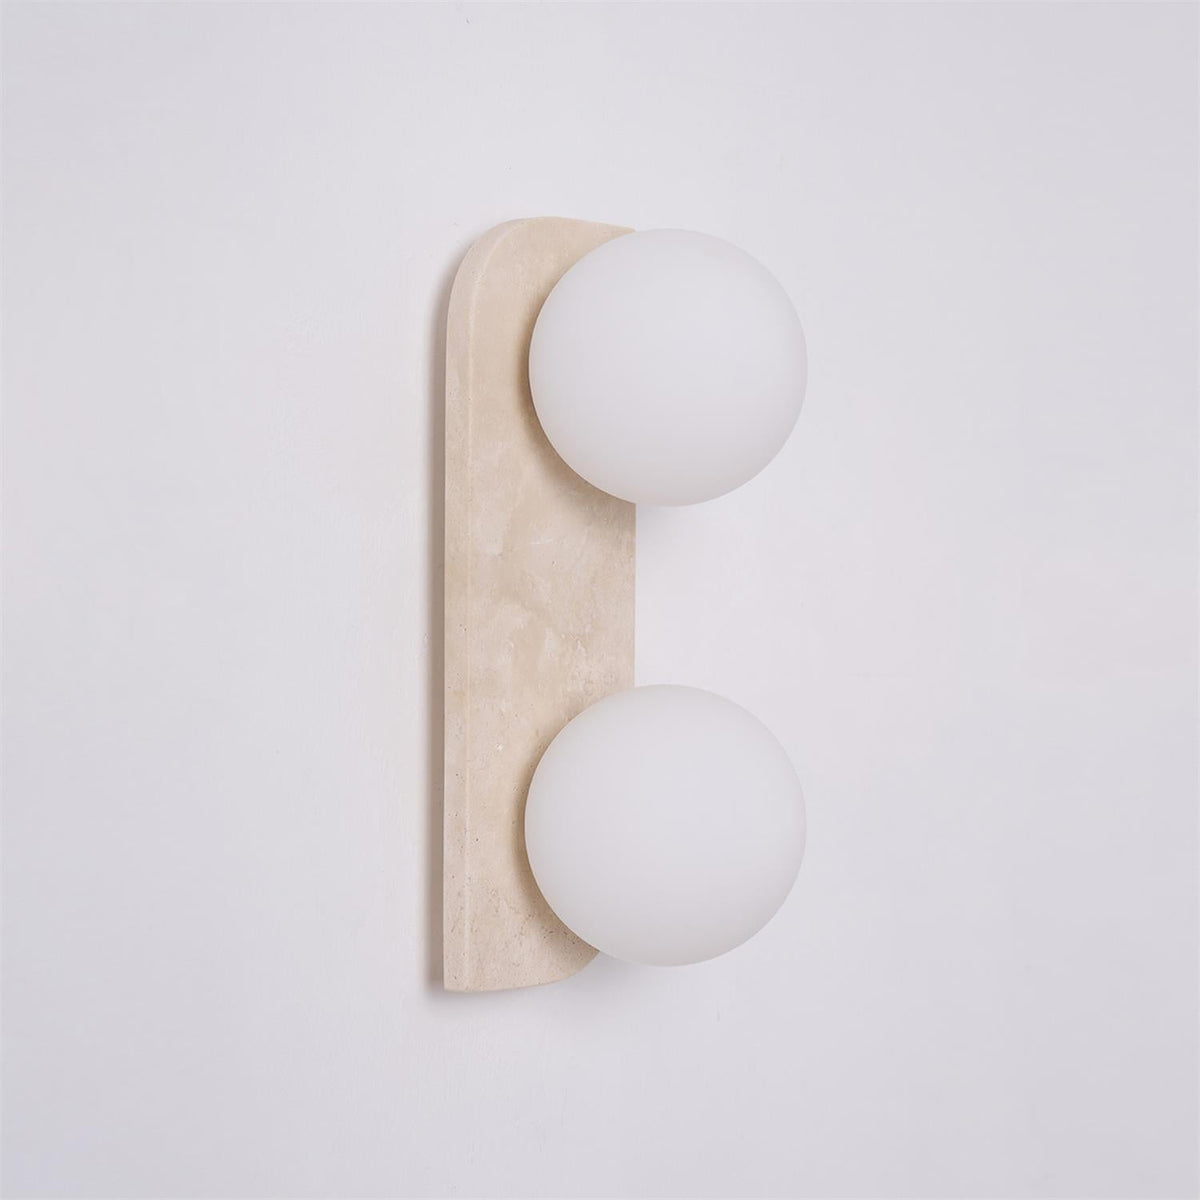
  • Side-on view of this unlit Clérachic wall light, showing the frosted white globes projecting from the stone bar.
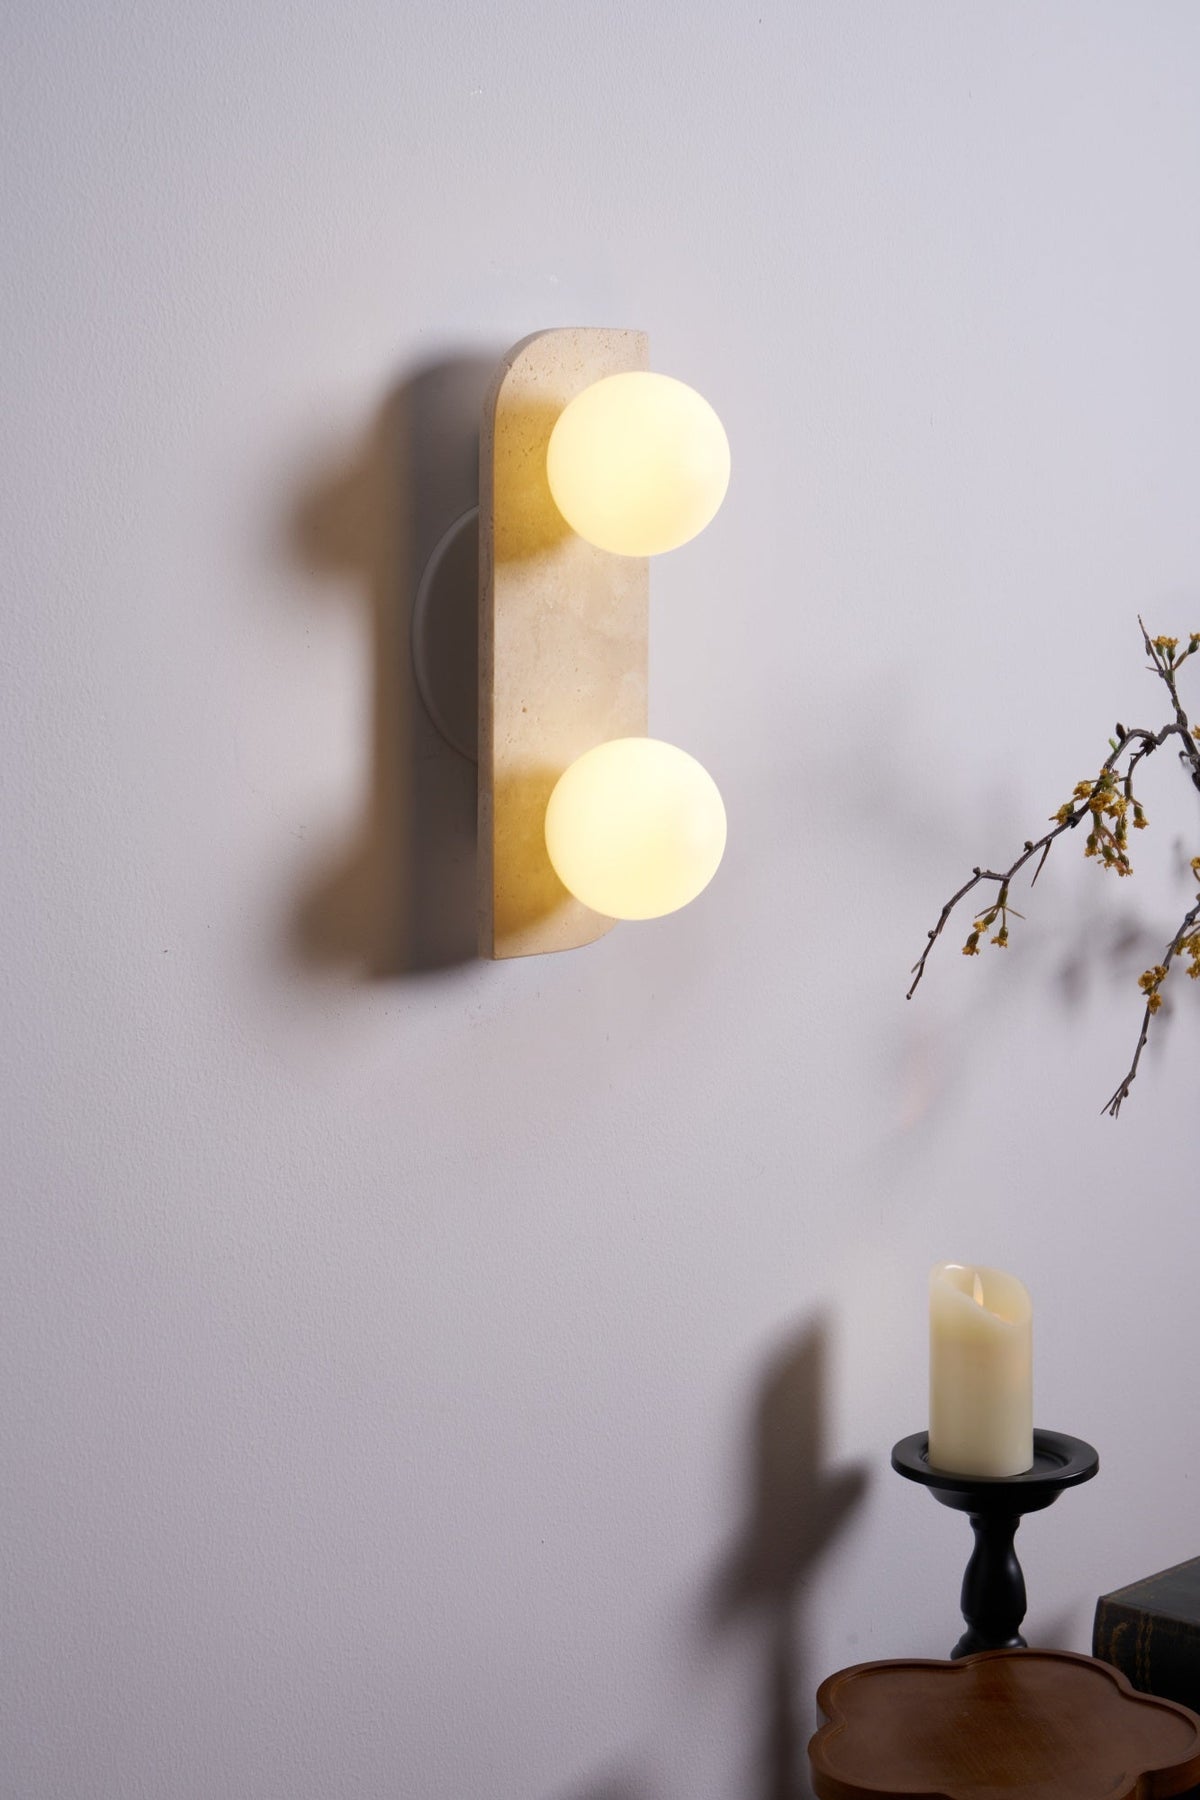
  • Two lit globes on this Clérachic wall light, with a flowering branch crossing the corner of a pale grey wall.
  • Unlit Clérachic wall light viewed at a slight angle, with soft shadows from the globes falling on the wall.
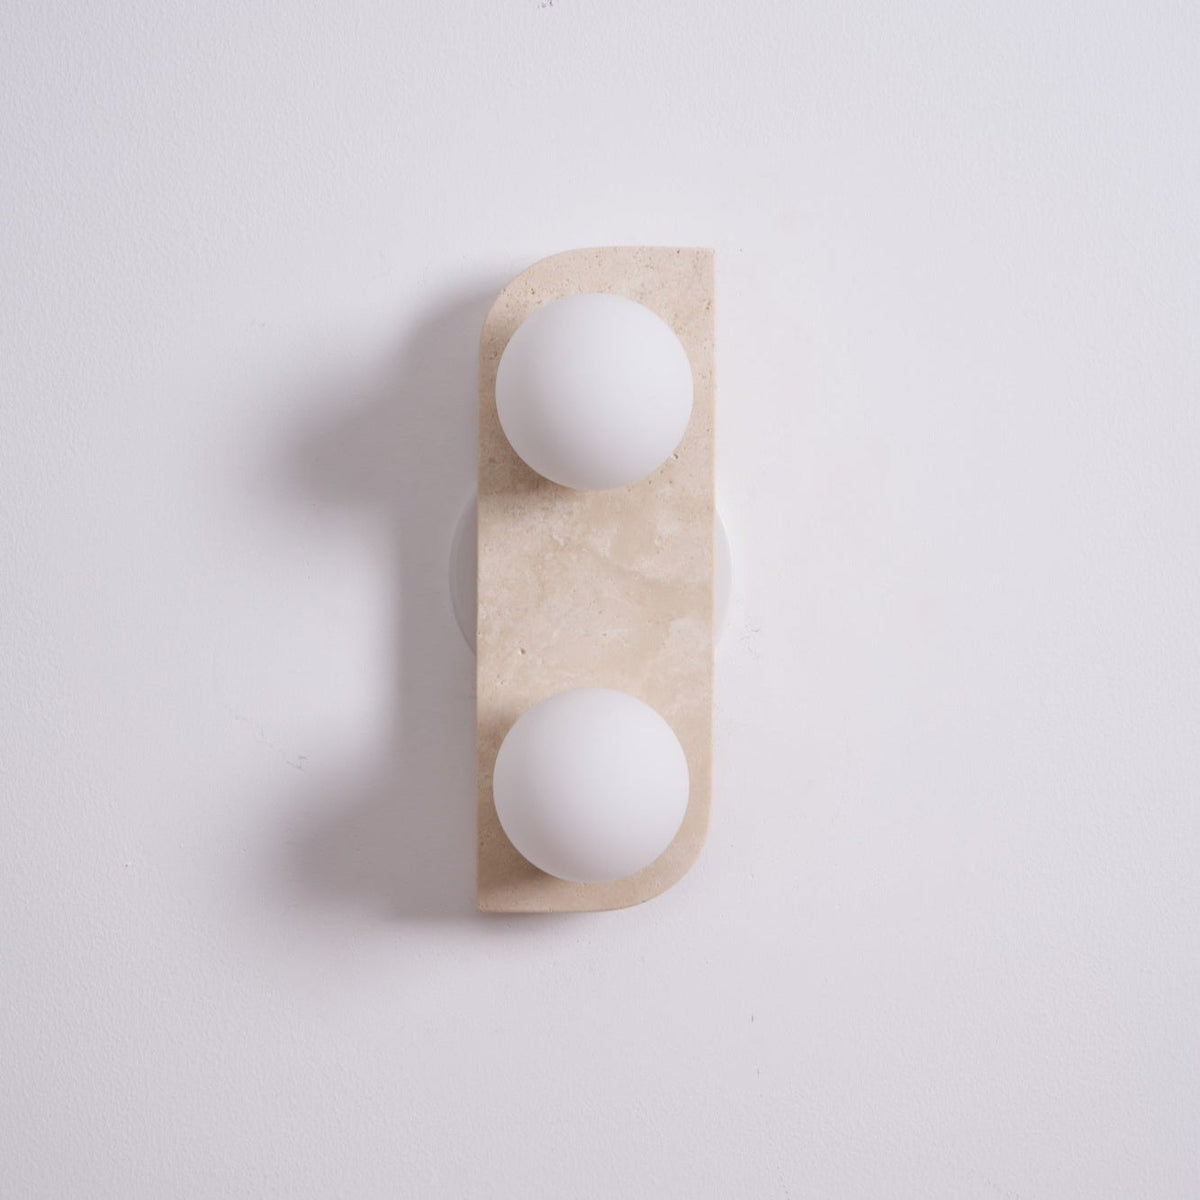
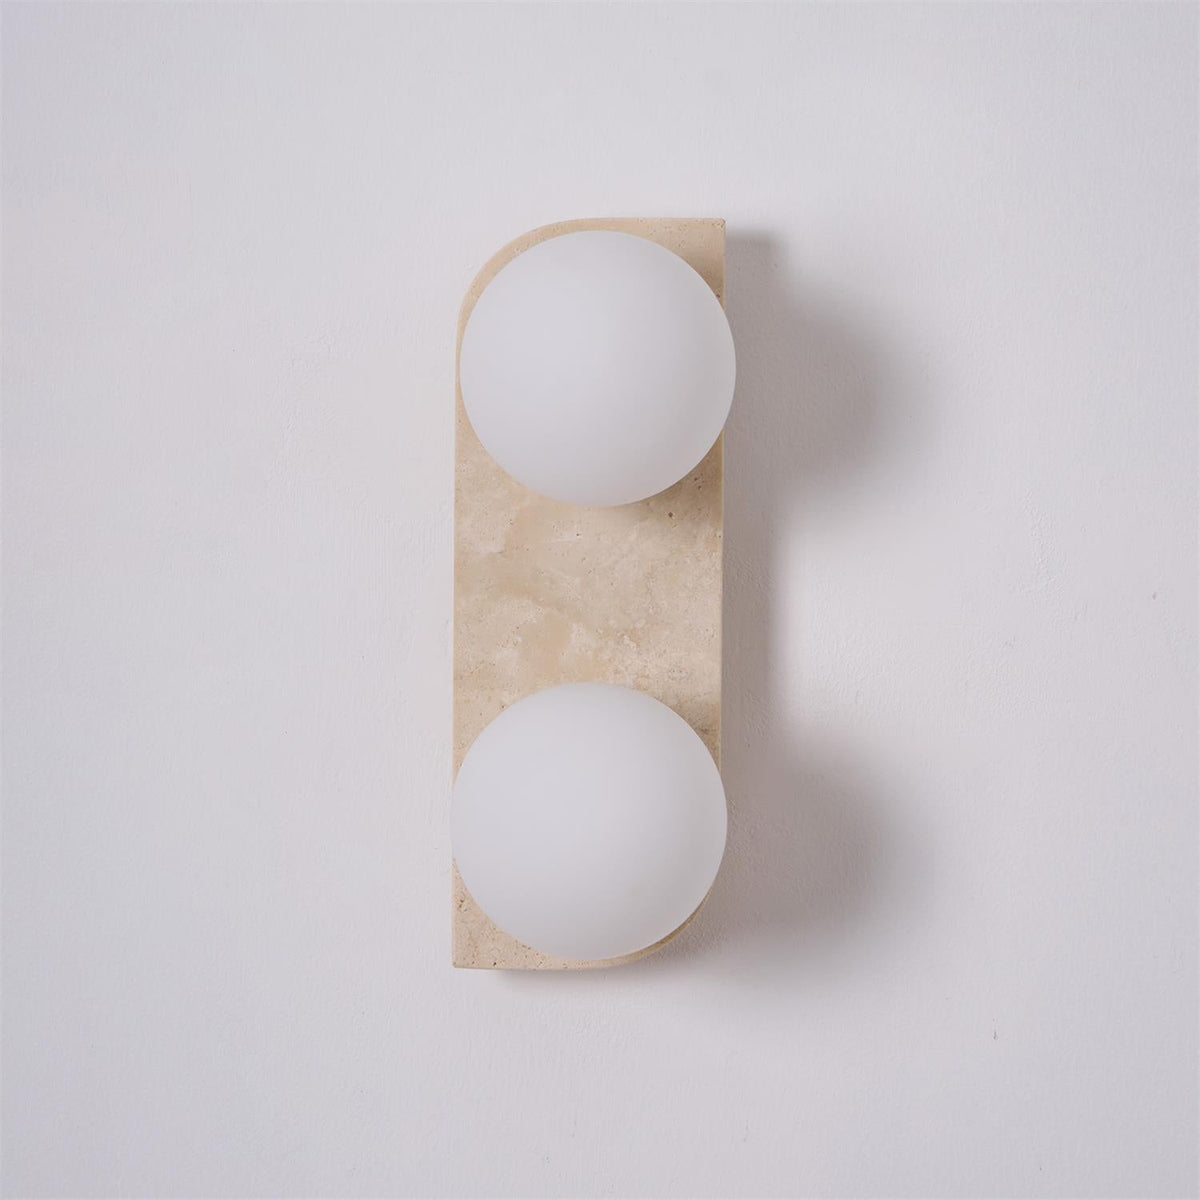
  • Close view of the two frosted globes on this unlit Clérachic wall light, set on a pale travertine plate.
  • Clérachic wall light on a bright white backdrop, its three globes lit and the stone bar showing fine veining.
  • Three-globe Clérachic wall light switched off, its white globes casting gentle shadows on the plain wall.
  • Clérachic wall light shown straight on, all three globes lit and the surface of the stone bar softly glowing.
  • Small Clérachic two-globe wall light lit above a dark sideboard, with a candelabra, a candlestick and a stack of books.
  • A lit two-globe Clérachic wall light on a lilac wall, with a candlestick and a clover-shaped wooden stand below.
  • Two-globe Clérachic wall light lit and seen from the side, with the globes casting shadows against the wall.
  • Three lit globes on this Clérachic wall light, the travertine bar showing warm natural pitting along its length.
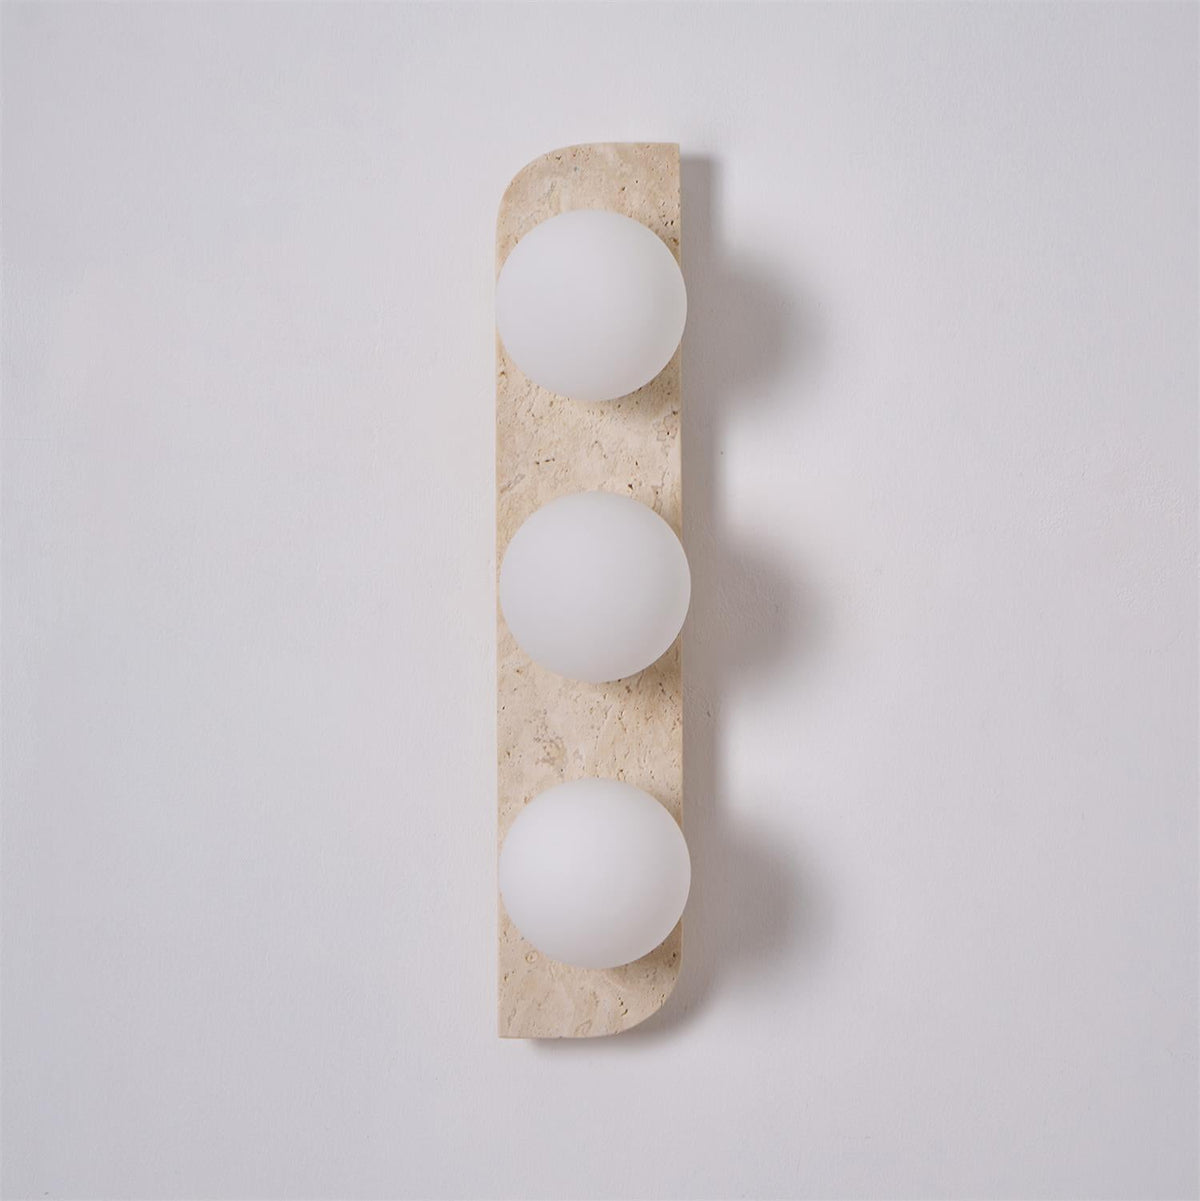
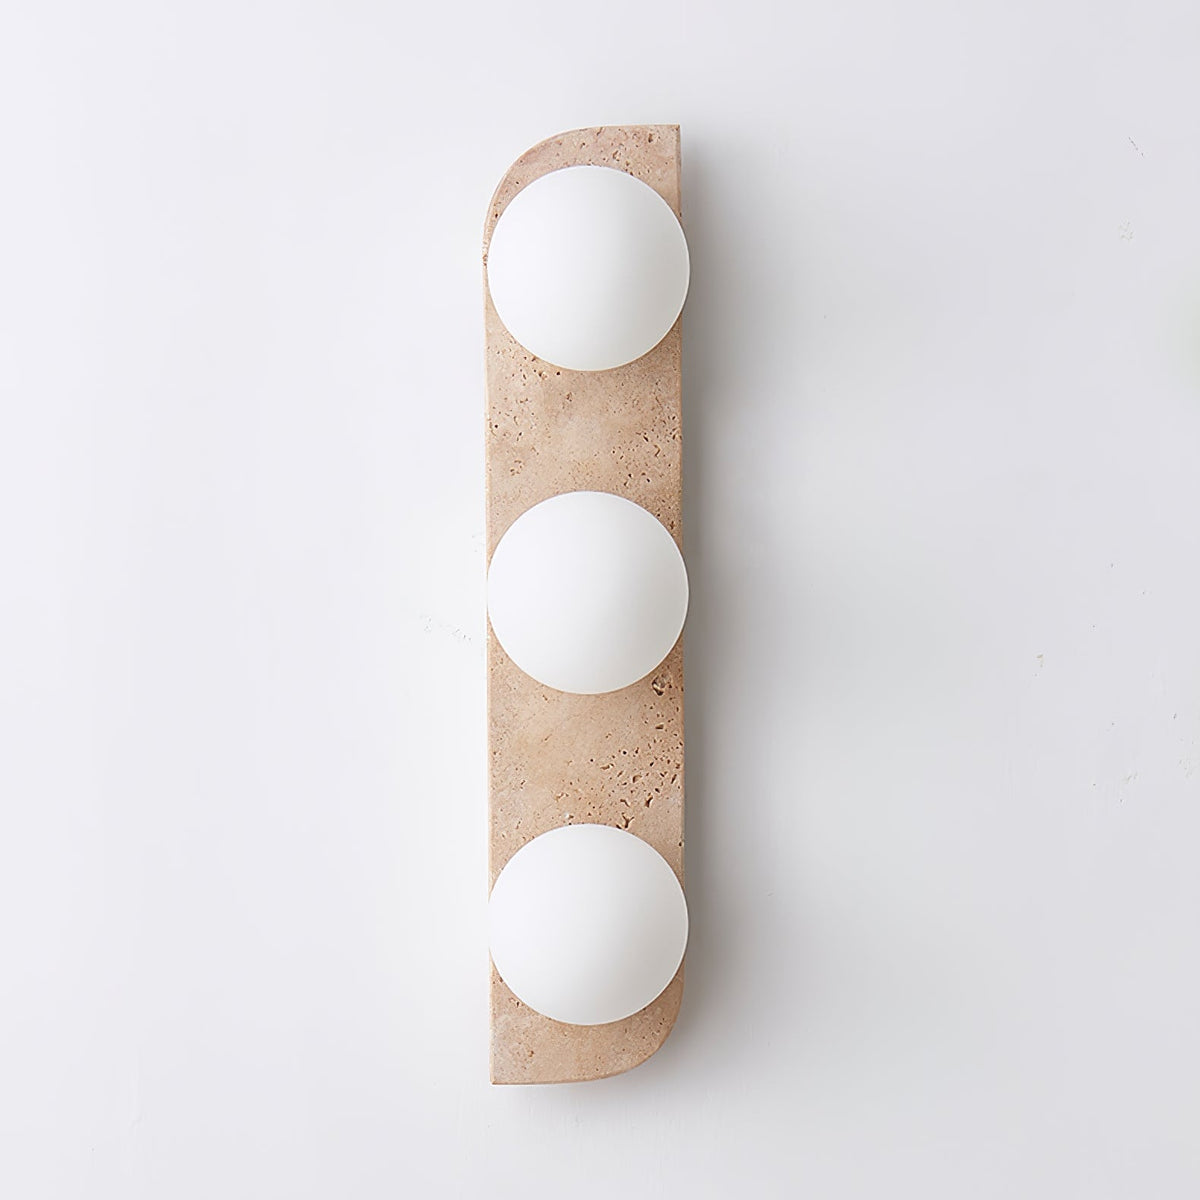
  • Unlit Clérachic wall light on a pale wall, three smooth white globes standing out from the sandy stone bar.
  • Two lengths of this Clérachic wall light side by side on a white backdrop, the longer one with three globes, all lit.
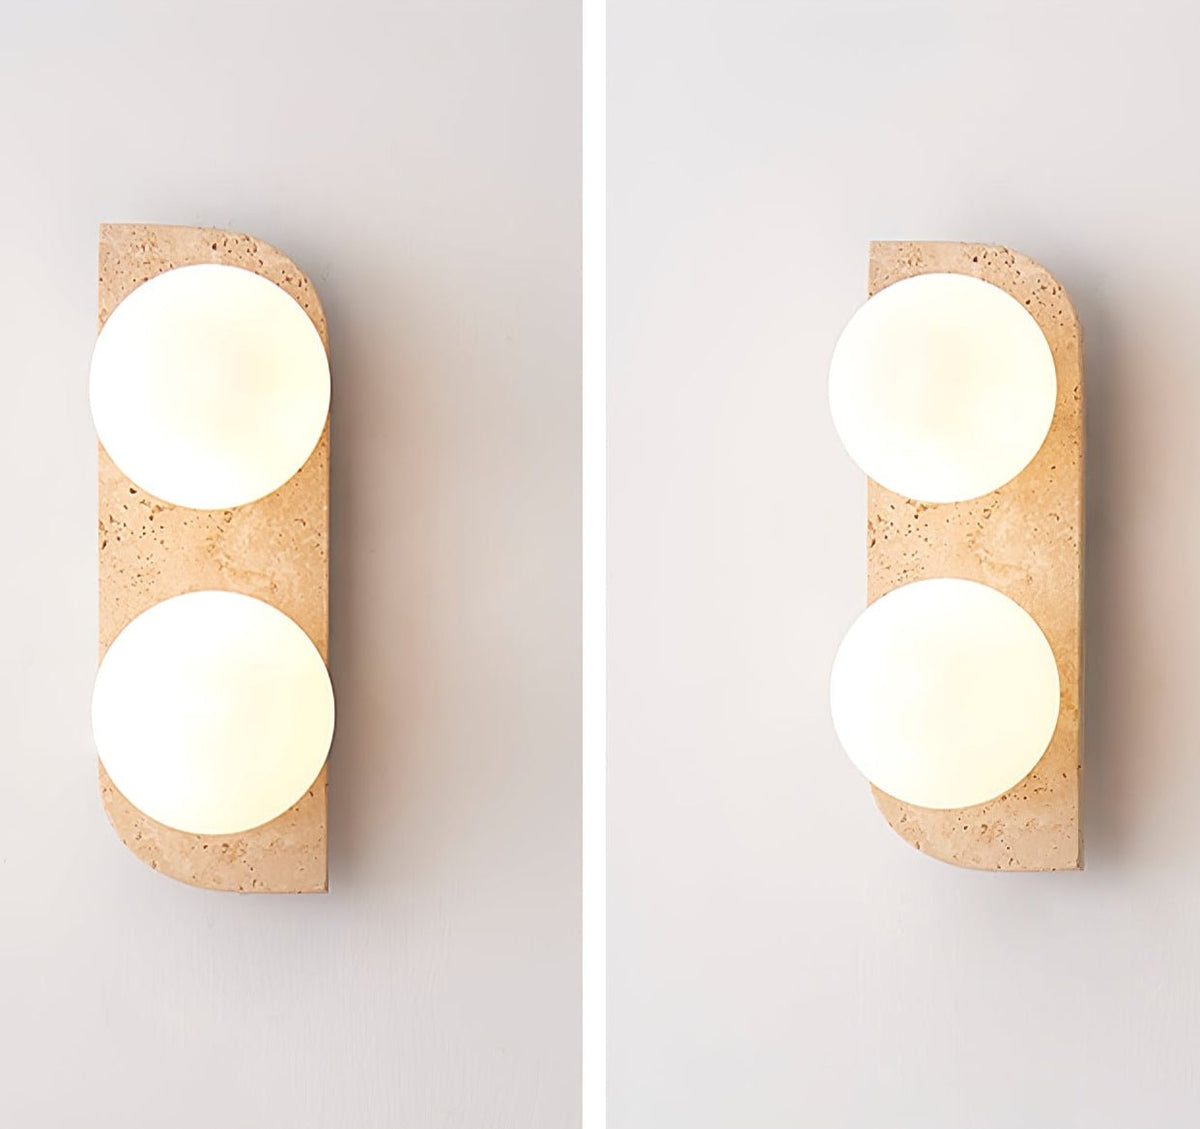
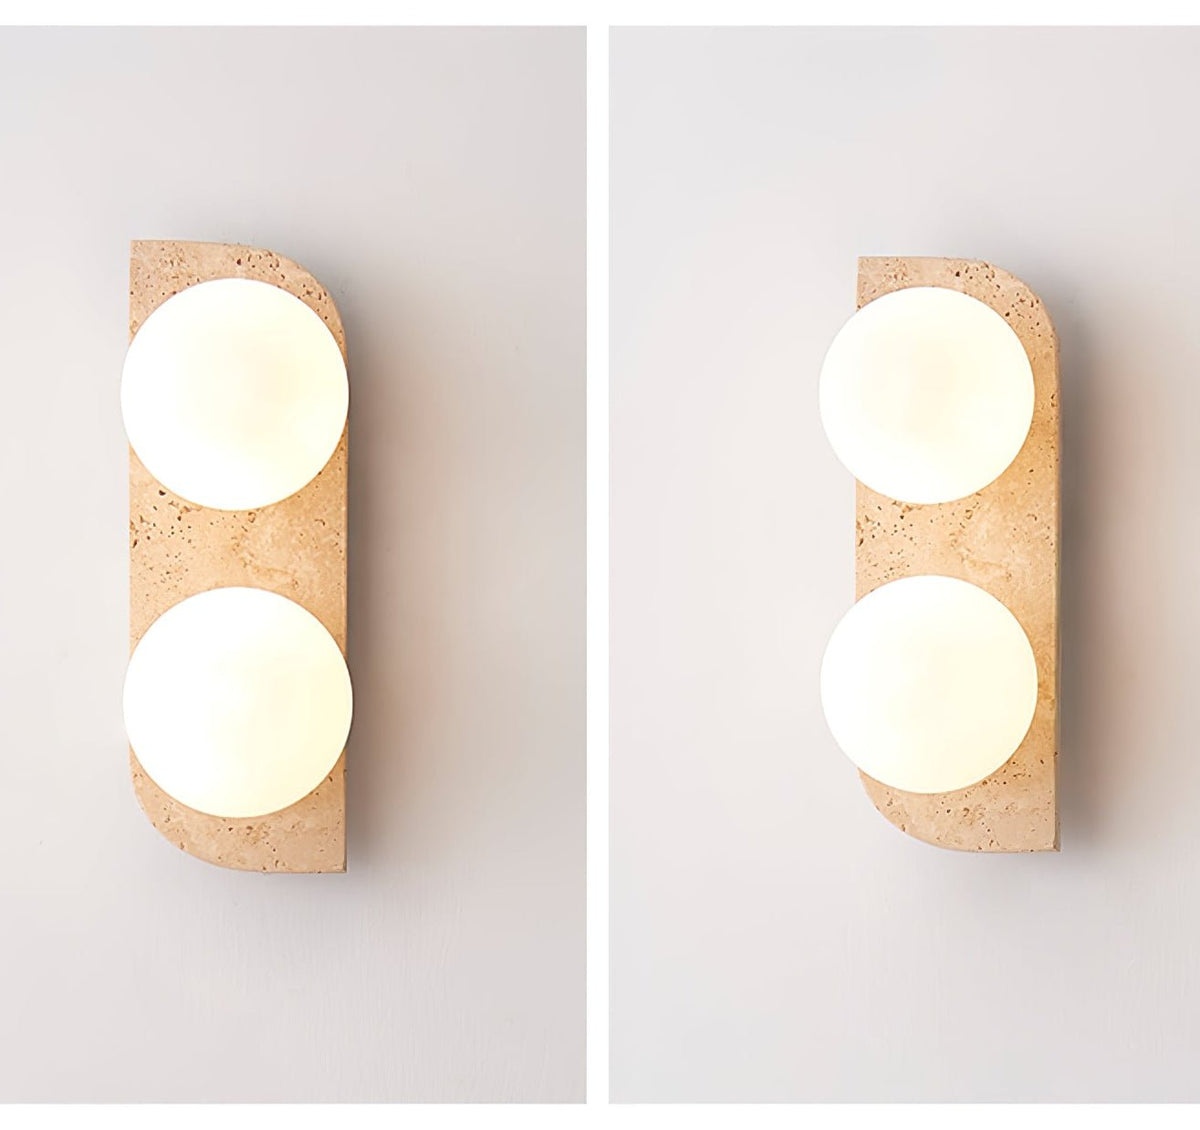
  • Two views of the two-globe Clérachic wall light side by side, both lit against a pale wall with soft shadows.
  • Clérachic wall light with three lit globes beside an arched shelf niche, with a pair of wooden chairs below.
  • Close view of the pitted travertine surface on this Clérachic wall light, with a frosted white globe at its edge.
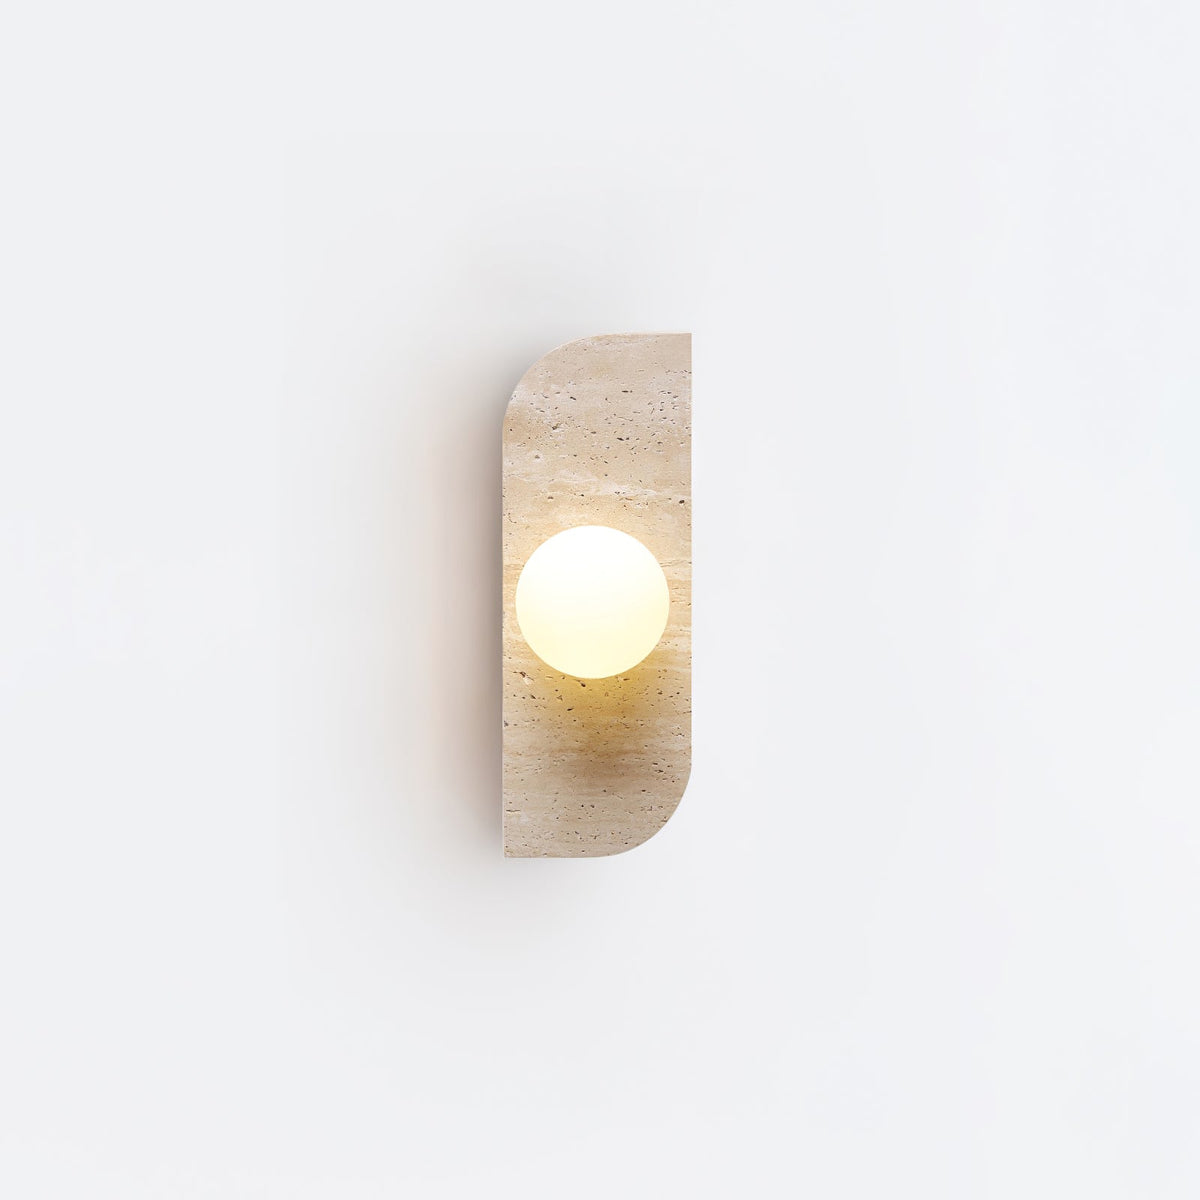
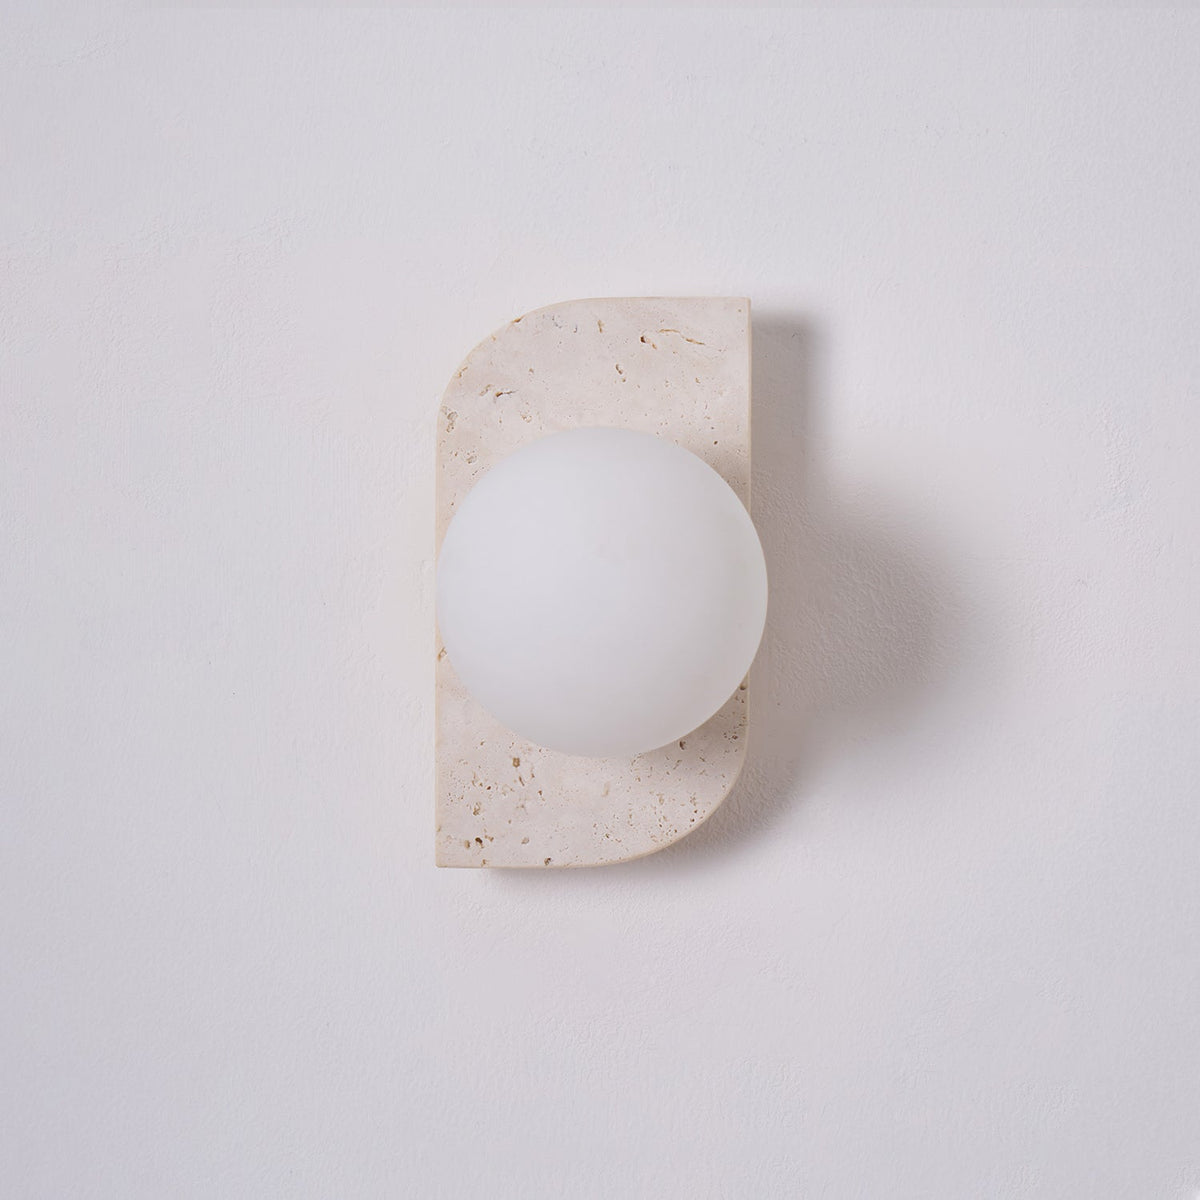
  • Single-globe Clérachic wall light lit on a plain white wall, its rounded travertine plate a little taller than the globe.
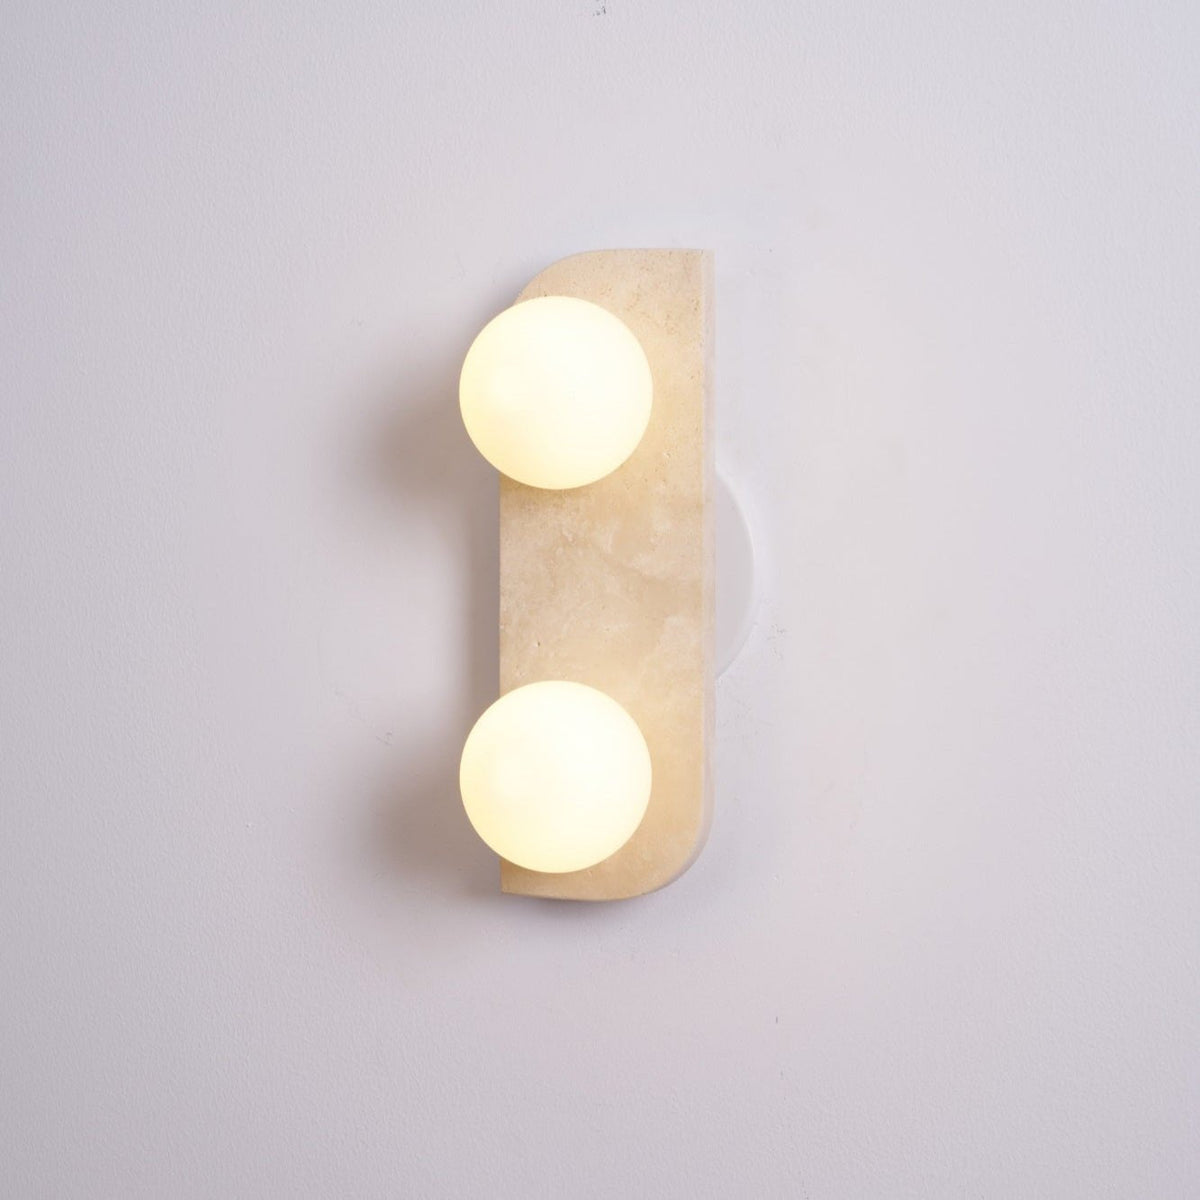
  • Two lit globes on this Clérachic wall light, set against a plain white backdrop with a soft shadow behind.
  • Three-globe Clérachic wall light lit on a plain white backdrop, the stone bar tall and slim beside its glowing globes.
  • Single-globe Clérachic wall light lit on a grey wall, its opal globe glowing against a rounded travertine plate.
  • Unlit three-globe Clérachic wall light on a white wall above a marble console with open books and a small sculpture.
  • Lit Clérachic wall light beside a marble console with art books, a sculptural ornament and soft shadows on the wall.
  • Three glowing globes on this Clérachic wall light, a marble console with open books beneath and shadows to its left.
  • Unlit Clérachic wall light on a white wall, with shadows falling to its left and art books on a console below.
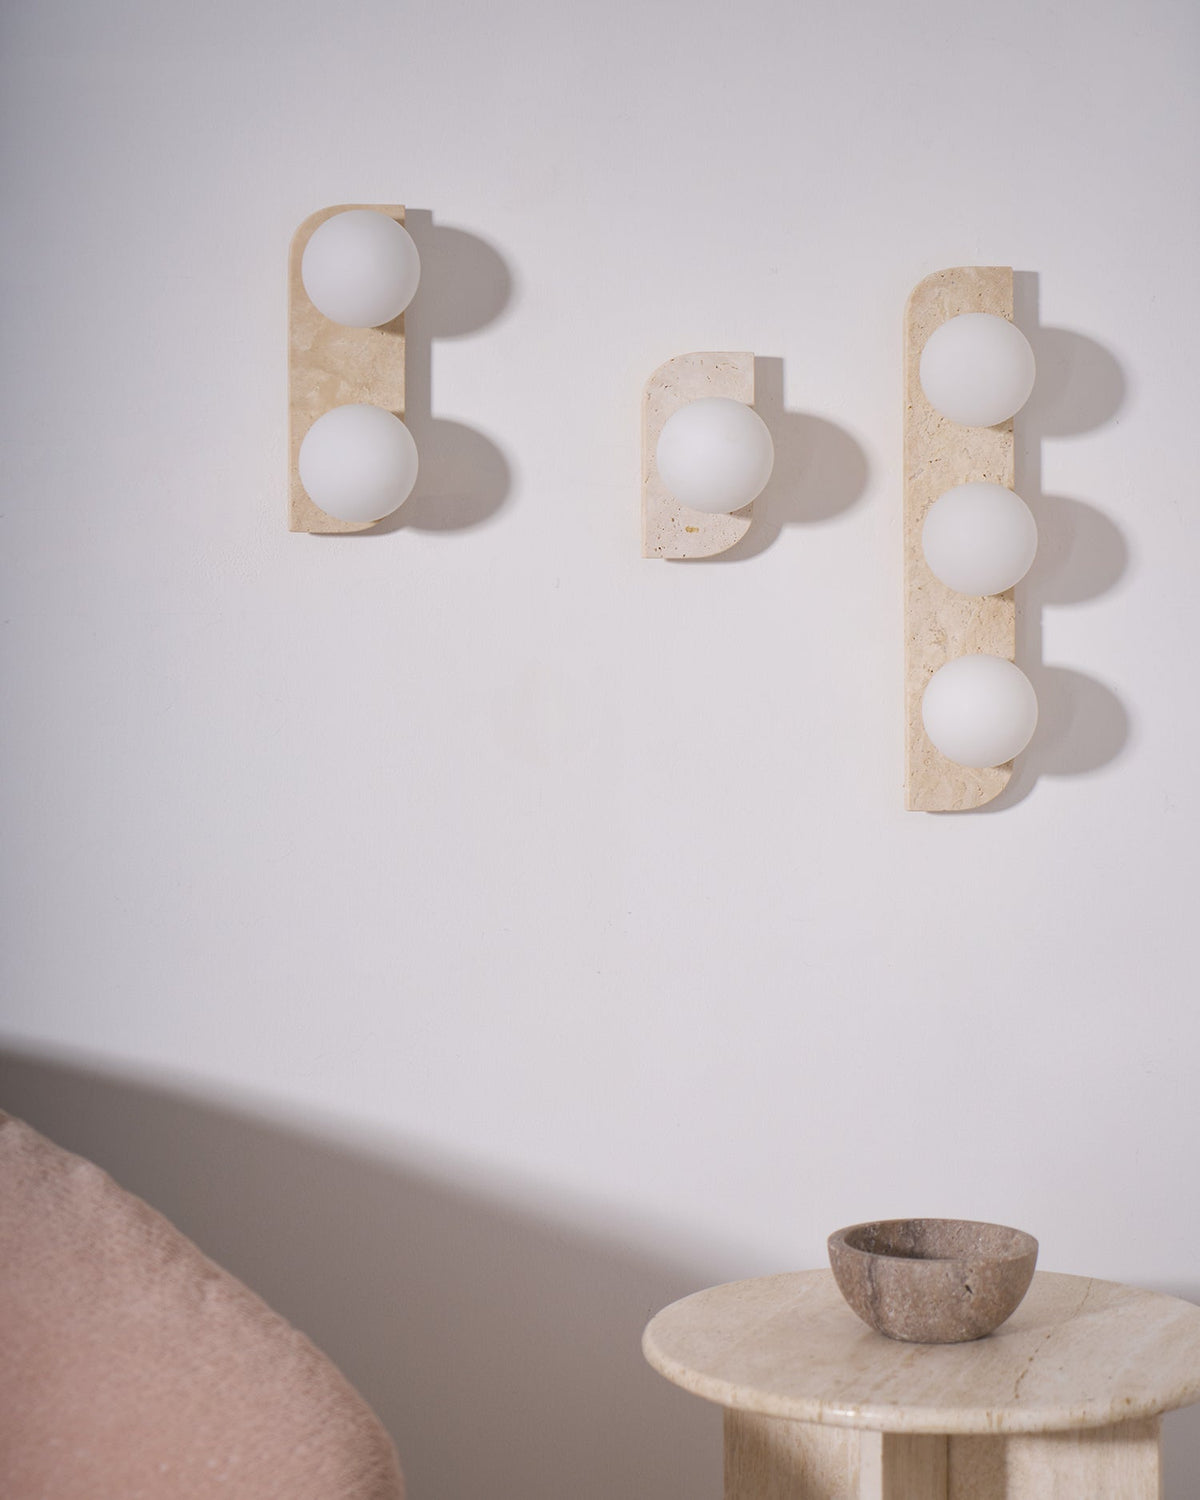
  • Three sizes of this Clérachic wall light grouped on one wall, with a pink cushion and a stone side table below.
  • Unlit Clérachic wall light with three frosted white globes on a pale veined travertine plate, against a soft grey wall.
  • Three lit globes on this Clérachic wall light, a faint warm glow around each against the pale grey wall.
  • Warm-lit three-globe Clérachic wall light on a pale wall, with the travertine bar fading softly into the shadows.
  • Two frosted globes on this unlit Clérachic wall light, standing out in front of a creamy veined travertine plate.
  • Side view of this unlit Clérachic wall light, showing how far the two white globes sit out from the travertine plate.
  • Two lit globes on this Clérachic wall light, their warm glow filling the frosted glass against a veined travertine plate.
  • Single-globe Clérachic wall light unlit, a frosted white globe set in front of a rounded travertine plate.
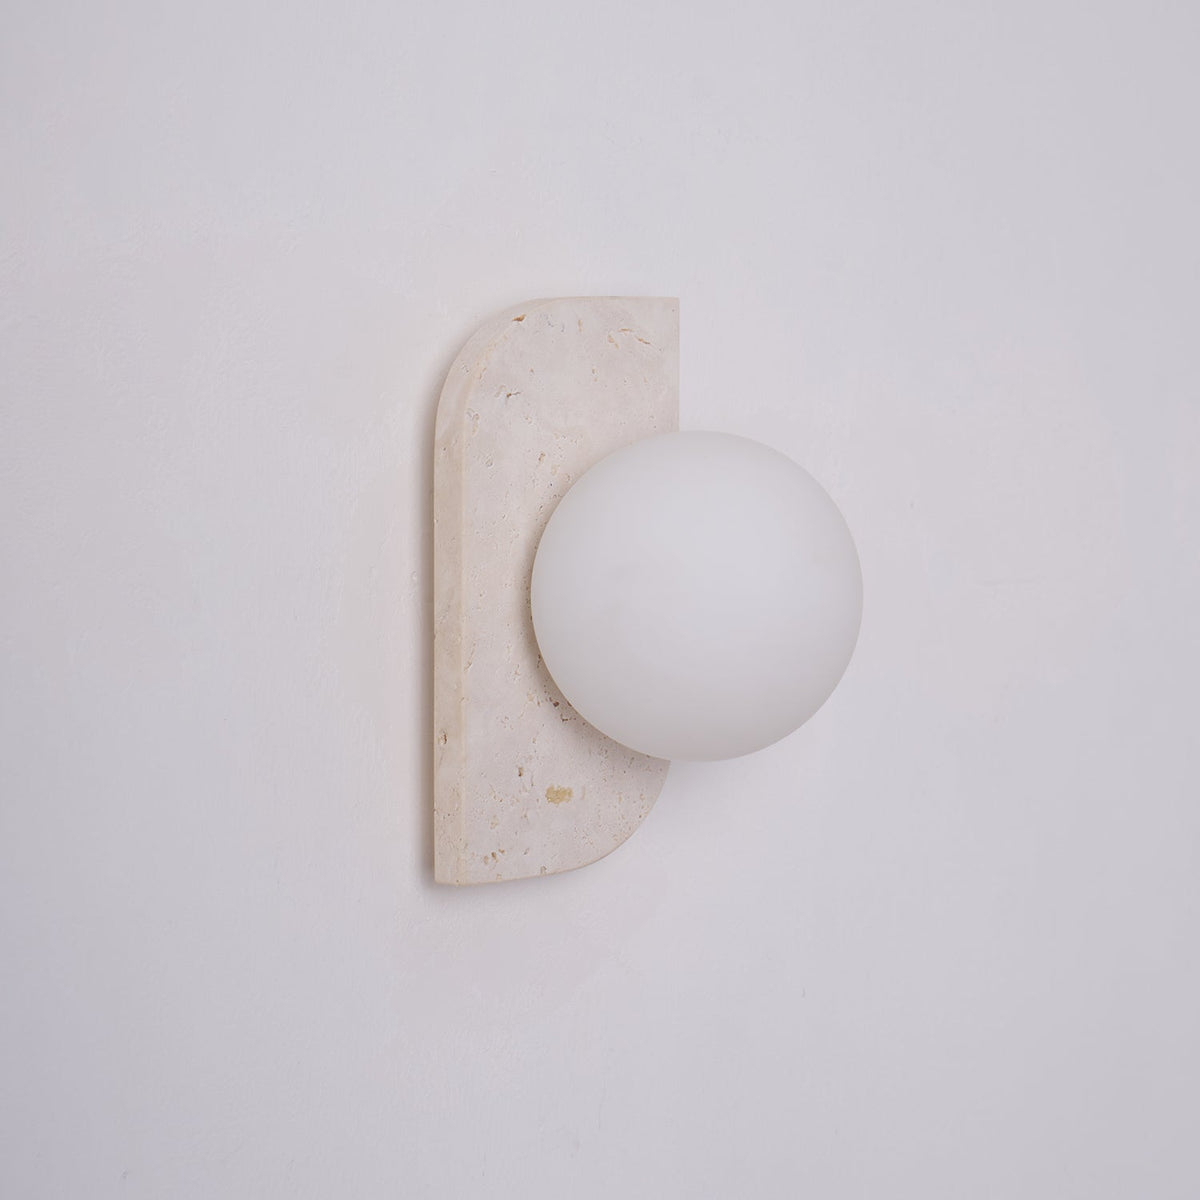
  • Side view of a single-globe Clérachic wall light, the frosted globe projecting from a slim stone plate.
  • Clérachic wall light with three lit globes on a white wall above a bed, beside a wooden shelf niche with books.
  • Two lengths of this Clérachic wall light lit side by side, one with three globes and one with two, against a pale grey wall.
  • Three lit globes on this Clérachic wall light, the tallest of the group, with its travertine bar softly pitted.
  • Two views of the two-globe Clérachic wall light side by side, glowing warmly against a pale blush wall.
  • Two-globe Clérachic wall light lit above a round wooden side table, a patterned throw across the bed below.
  • Three lit globes on this Clérachic wall light against a clean white backdrop, the travertine bar standing out softly.
  • A Clérachic three-globe wall light lit beside an arched shelf niche, with a plant and two wooden chairs below.
  • Unlit three-globe Clérachic wall light on a pale wall, its frosted globes matching the cream tones of the stone.
  • Small in the frame, this lit Clérachic wall light hangs above a cream sofa with a bowl on the table beside it.
3 tamaños

Aplique de pared de globo de travertino, piedra amarilla

€175IVA incluido y envío gratis

ColorTravertino amarillo y blanco

1

Envío a Francia, llega Dec 1–8

Descripción

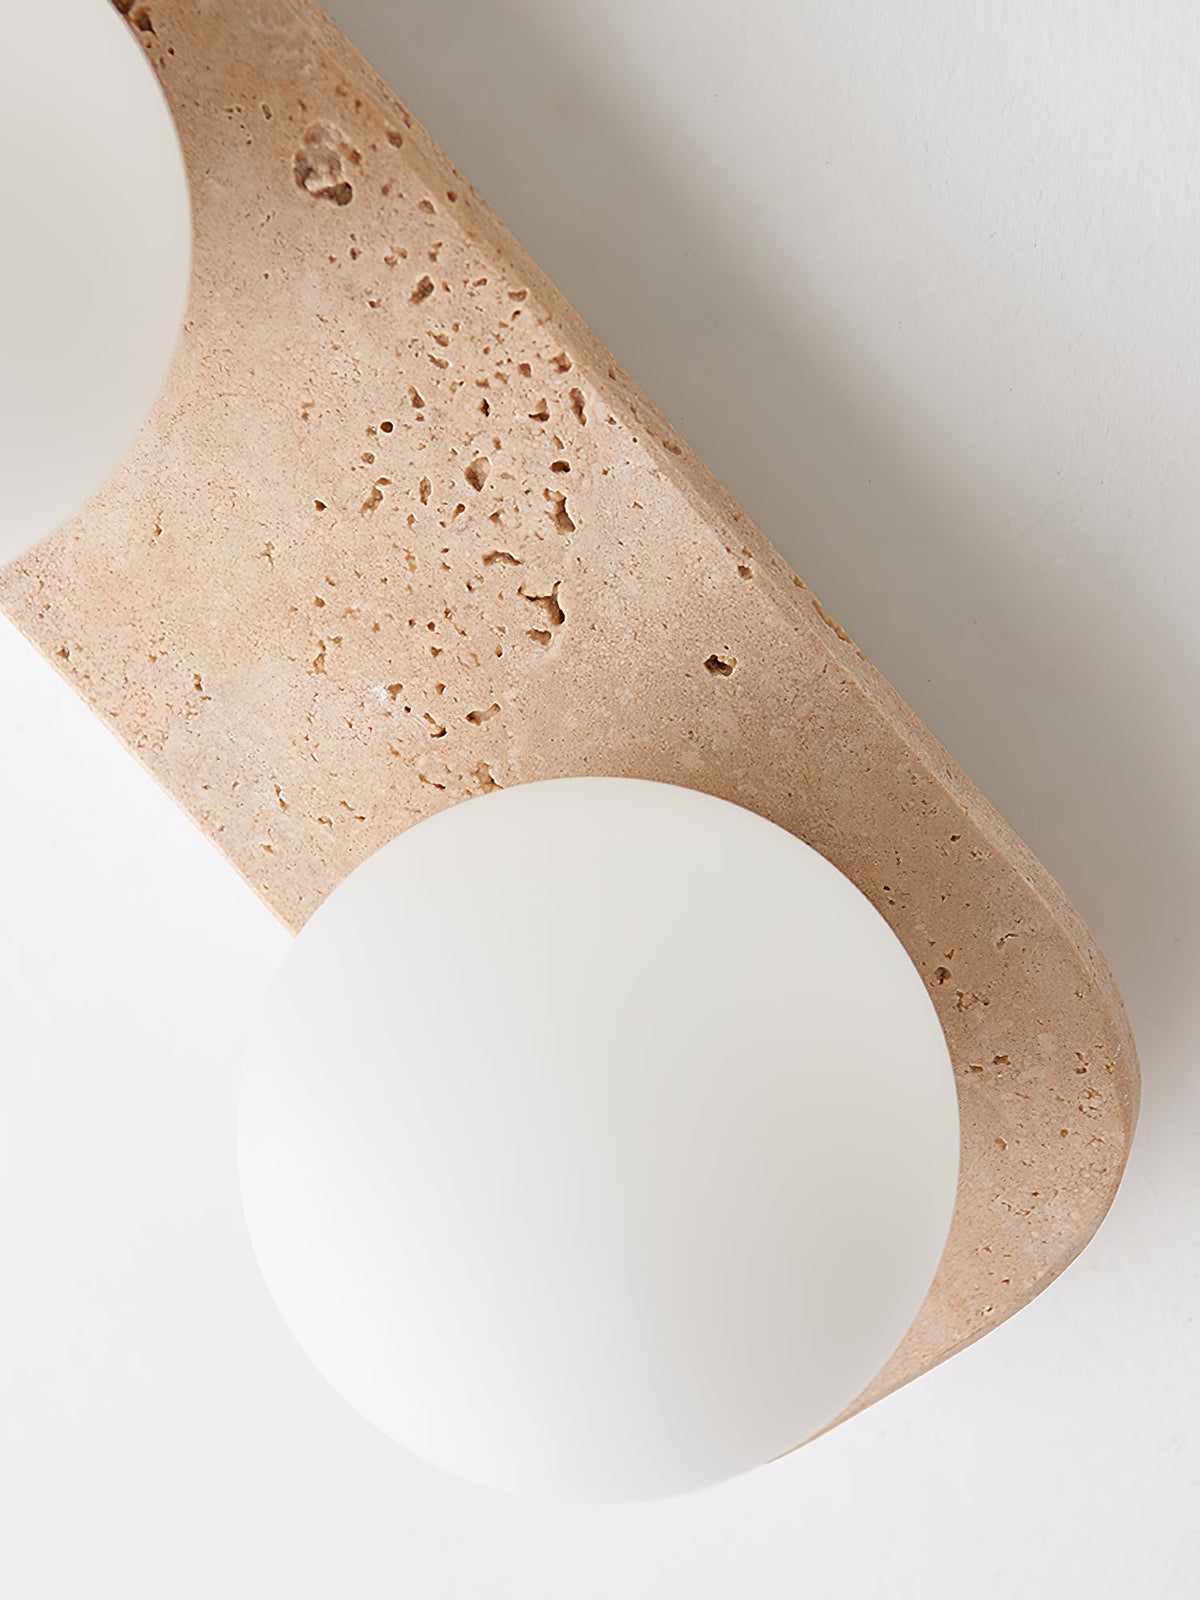
Esferas de vidrio blanco se apoyan sobre un cuerpo de travertino amarillo liso con una textura terrosa, difundiendo una luz cálida y acogedora por la pared. La luminaria combina piedra, metal y vidrio, y utiliza una bombilla LED G9.

Se ofrece en tres alturas, desde 18 cm (7.1″) hasta 48 cm (18.9″). Se conecta directamente a la instalación eléctrica de la pared y es ideal para salas de estar, pasillos y dormitorios.

Envío y entrega

Envío gratis a Francia en todos los pedidos, sin compra mínima.

Cada pieza se fabrica bajo pedido, así que calcula entre 7 y 12 días laborables en total. Haz tu pedido hoy y puedes esperar recibirlo entre 1 December y 8 December.

Devoluciones y cambios

Devolución o cambio en los 30 días siguientes a la entrega, sin usar y en su embalaje original. Sin cargo de reposición. El envío de la devolución corre de tu cuenta salvo que el artículo sea defectuoso, esté dañado o no sea el correcto.

Formas de pago
  • AliPay
  • American Express
  • Apple Pay
  • Bancontact
  • Bizum
  • BLIK
  • Google Pay
  • Maestro
  • Mastercard
  • MB WAY
  • Satispay
  • Shop Pay
  • Union Pay
  • Visa

¿Dudas sobre tamaños o acabados? Escribe a info@clerachic.com y te responderemos en 24 horas en días laborables.
Guía de tallas

Encuentra el tamaño adecuado

Tamaño
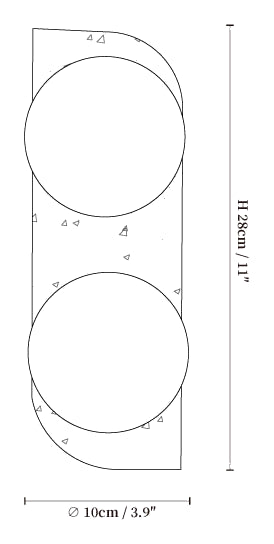
Dimension drawing of this Clérachic wall light, 10 x 18 cm, H18 x Ø10 cm.
Los detalles

Todo lo que debes saber antes de que llegue

Esferas de vidrio blanco descansan sobre un cuerpo de travertino amarillo de acabado liso y aspecto terroso, difundiendo una luz cálida y acogedora por toda la pared.

Guía de instalación

Cada aplique de esta colección se fija a la pared con los herrajes incluidos en la caja. Los pasos siguientes cubren los tres tipos de alimentación que ofrecemos: conexión fija, enchufe y batería recargable. Lee la primera sección para identificar el tuyo y sigue las instrucciones correspondientes.

Antes de empezar

  • Tipo de alimentación: el aplique puede tener conexión fija, enchufe o batería recargable. Las especificaciones del producto anteriores indican cuál es. El tipo de alimentación determina todo el proceso de instalación, así que compruébalo antes de abrir nada.
  • Montaje: todos los apliques se fijan a una superficie plana de la pared. Se incluyen tornillos, tacos y un soporte de montaje.
  • Regulación de intensidad: por lo general, se puede regular la intensidad de las luces con una bombilla estándar reemplazable. Los modelos con LED integrado normalmente no se pueden regular. Las especificaciones anteriores indican qué tipo es el tuyo.
  • Interior o exterior: instala una luz en el exterior solo si su clasificación IP indica que es apta para ello. Una luminaria para interiores se deteriorará rápidamente a la intemperie y no es segura en condiciones de humedad.
  • Tipo de pared: las paredes de cartón yeso, ladrillo y azulejo requieren tacos distintos. Los tornillos incluidos son adecuados para paredes de cartón yeso estándar; compra la fijación adecuada para cualquier otro tipo de pared.

Herramientas que podrías necesitar

  • Destornillador
  • Comprobador de tensión
  • Conectores de torsión o conectores de terminal (incluidos con los modelos de conexión fija)
  • Taladro y una broca adecuada para tu pared, si vas a hacer un nuevo punto de fijación
  • Nivel de burbuja y lápiz

Si tu aplique tiene conexión fija

1. Desconecta la corriente

Desconecta el circuito de iluminación en el cuadro eléctrico o en el panel de disyuntores. No te fíes del interruptor de pared. Comprueba los cables de la caja de conexiones con un comprobador de tensión y asegúrate de que no tengan corriente antes de tocarlos.

2. Retira la luminaria antigua

Si vas a sustituir una luz existente, desatorníllala y desconecta los cables soltando los conectores. Sujeta la luminaria mientras la liberas para que no quede colgando de los cables.

3. Instala el soporte de montaje

Sujeta el soporte nuevo contra la caja de conexiones o en la posición que hayas marcado y comprueba que esté nivelado. Fíjalo con los tornillos incluidos y apriétalos de forma uniforme para que el soporte quede plano contra la pared.

4. Conecta los cables

  • Fase con fase: negro, marrón o el terminal marcado L
  • Neutro con neutro: blanco, azul o el terminal marcado N
  • Tierra con tierra: verde, verde y amarillo o sin recubrimiento, al terminal o tornillo de tierra

Retuerza cada par de cables y fíjelo con un conector. Vuelva a colocar los cables en la caja para que no queden atrapados al cerrar la lámpara sobre el soporte.

5. Monte la lámpara

Alinee el cuerpo con el soporte y fíjelo con los tornillos incluidos. Debe quedar a ras de la pared, sin huecos ni movimiento.

6. Coloque la bombilla

Si la lámpara utiliza una bombilla reemplazable, coloque una del tipo y la potencia indicados en las especificaciones del producto anteriores. No supere la potencia impresa en el casquillo.

7. Restablezca la corriente y pruebe la lámpara

Vuelva a encender el circuito y pruebe la lámpara. Si no se enciende, vuelva a cortar la corriente antes de abrir nada.

Si la lámpara se enchufa

Fije el soporte a la pared con los tornillos y tacos incluidos y compruebe que esté nivelado. Acople el cuerpo al soporte y, después, lleve el cable hasta el enchufe más cercano. Sujete o recoja el cable para que no provoque tropiezos ni quede tenso en el punto donde sale de la lámpara.

Si la lámpara es recargable

Fije el soporte a la pared y cargue completamente la lámpara con el cable incluido antes de usarla por primera vez; la primera carga, si está totalmente descargada, tarda más que las siguientes. Coloque la lámpara en el soporte y enciéndala. En la mayoría de los modelos, la lámpara se retira del soporte para recargarla sin herramientas.

Consejos importantes

  • Siga las normas de cableado vigentes en su zona. Si algo de esto no le resulta familiar, encargue el trabajo a un electricista cualificado; para él será una tarea rápida.
  • Antes de montar la lámpara, compruebe que la caja de conexiones esté en buen estado y pueda soportar su peso.
  • Quite el polvo de la lámpara de vez en cuando con un paño suave y seco. No utilice disolventes ni limpiadores abrasivos en acabados pintados o chapados.
  • Deje que la bombilla se enfríe antes de manipularla y nunca coloque una bombilla que supere la potencia nominal.

Si tiene dudas sobre la lámpara o el cableado, escriba a info@clerachic.com y una persona le responderá.

Especificaciones
Dimensiones, 10 x 18 cm
10 cm × 18 cm (3.9″ × 7.1″)
Dimensiones, 10 x 28 cm
10 cm × 28 cm (3.9″ × 11″)
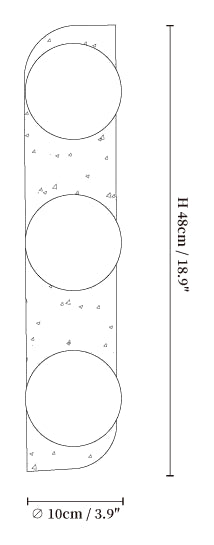
Dimensiones, 10 x 48 cm
10 cm × 48 cm (3.9″ × 18.9″)
Material
travertino amarillo, metal, vidrio
Casquillo de bombilla
G9
Tipo de bombilla
LED
Voltaje
CA 110–240 V
Montaje
en pared, cableado fijo
Control
compatible con un interruptor de pared estándar (no incluido), conectado a un interruptor de luz externo para controlar el suministro eléctrico
Acabados
travertino amarillo y blanco
En la estancia

Míralo en la estancia

A matching pair of Clérachic wall lights glowing either side of a wall-mounted television in a calm grey living room.
Clérachic wall lights beside a rustic wood-framed mirror over a double basin, set against a pale tiled bathroom wall.
Lit three-globe Clérachic wall light on a cream wall above a soft sofa, with a shallow ceramic bowl on the table below.
Close view of the pitted travertine surface on this Clérachic wall light, with a frosted white globe at its edge.
Diseñado en Oslo La selección Clérachic Diseñado en Oslo
El objeto

Por qué te encantará

  • Cuerpo de travertino amarillo con una textura suave y terrosa
  • Las esferas de vidrio difunden una luz cálida y acogedora
  • Tres alturas: 18 cm, 28 cm y 48 cm, todas de 10 cm de diámetro
  • Montado en la pared y conectado directamente a la instalación eléctrica, se enciende con un interruptor de pared
Completa la estancia

También te puede gustar...

Preguntas frecuentes

Preguntas y respuestas

¿Cuáles son las tres opciones de tamaño?

Elige ∅ 10 cm (3.9″) × H 18 cm (7.1″), ∅ 10 cm (3.9″) × H 28 cm (11″) o ∅ 10 cm (3.9″) × H 48 cm (18.9″). Las tres tienen el mismo diámetro; la altura determina cuántas esferas caben y el impacto visual en la pared.

¿Este aplique es adecuado para el baño?

Sí. Está clasificado para uso en interiores y diseñado para espacios como baños y pasillos. Instálalo a los lados del espejo del tocador o como luz de acento individual sobre el lavabo.

¿Qué fuentes de luz son compatibles con esta lámpara?

El casquillo G9 admite bombillas LED o Edison. Elige la temperatura de color y el brillo que prefieras; las fuentes LED son reemplazables y la lámpara es compatible con un interruptor de pared.

¿Cómo se instala este aplique?

Se monta directamente en la pared mediante una conexión fija. Un interruptor de pared externo (no incluido) controla la luz. La lámpara es compatible con 110–240 V CA y funciona en todo el mundo.

¿Y si no encaja en mi espacio?

Devuélvela o cámbiala en un plazo de 30 días desde la entrega, sin usar y en su embalaje original. Sin gastos de reposición. Los gastos de envío de la devolución corren de tu cuenta, salvo que el artículo esté defectuoso, dañado o sea incorrecto. Los reembolsos se emiten en un plazo de 7 días hábiles.

¿Cuánto tarda la entrega?

Los pedidos realizados antes de las 17:00 (GMT+1) se preparan en 1–2 días hábiles y luego tardan 6–10 días hábiles en tránsito: 7–12 días hábiles en total. El envío es gratuito en todos los pedidos y recibirás un enlace de seguimiento por correo electrónico.

¿Y si llega dañada?

Envía fotos del artículo y del embalaje a info@clerachic.com en las 48 horas siguientes a la entrega y te enviaremos un repuesto o te devolveremos el importe.
A pair of Clérachic wall lights flanking a square mirror above a floating oak vanity, with a stone basin and a woven mat below.
Asesoramiento gratuito antes de comprar

¿No sabes qué tamaño encaja en tu estancia?

Cuéntanos cómo es el espacio, el sillón junto al que irá o la altura del techo, y una persona del equipo te sugerirá un tamaño y un acabado.

  • info@clerachic.com · respondemos en 24 horas en días laborables
  • De lunes a viernes, de 09:00 a 17:00 (GMT+1)
  • ¿Aún con dudas? Devolución o cambio en los 30 días siguientes a la entrega.